WebSocket | Netty实现WebSocket服务端
Netty实现WebSocket服务端
- 一丶前言
- 二丶快速开始
- 1. pom 坐标
- 2. 创建 Handler 处理器
- 3. 启动springboot 创建Netty 链接
- 4. html 连接demo
- 5. 启动验证
- 三丶总结
一丶前言
本文讲述 基于springboot + netty 实现websocket服务端搭建。
不过这种方式不推荐使用, 不过可以参考看一下。暂时我还无法找到通过url的方式来进行路由区分的,需要每个业务场景定义一个端口。
需要了解netty的 请点击网址查看我总结的一些netty的介绍
netty介绍地址:还没完善后边不上
netty-websocket-spring-boot-starter实现方式地址: https://blog.csdn.net/qq825478739/article/details/126894239
二丶快速开始
1. pom 坐标
引入 netty pom坐标
       <dependency>
            <groupId>io.netty</groupId>
            <artifactId>netty-all</artifactId>
            <version>4.1.45.Final</version>
        </dependency>
2. 创建 Handler 处理器
这里创建 Netty Handler 处理器 这就不用我说了把
@Slf4j
public class MessageNettyHandler extends SimpleChannelInboundHandler {

    private RedisService<String> redisService;

    private String userId;

    public MessageNettyHandler(RedisService<String> redisService) {
        this.redisService = redisService;
    }

    /**
     * 读取消息
     *
     * @param channelHandlerContext
     * @param json
     * @throws Exception
     */
    @Override
    protected void channelRead0(ChannelHandlerContext channelHandlerContext, Object json) throws Exception {
        //缓存每个连接
        if (json instanceof TextWebSocketFrame) {//正常的数据
            try {
                TextWebSocketFrame textWebSocketFrame = (TextWebSocketFrame) json;
                log.info("MessageNettyHandler 客户端消息:{}", textWebSocketFrame.text());

                textWebSocketFrame = new TextWebSocketFrame("success");
                //发送消息
                channelHandlerContext.writeAndFlush(textWebSocketFrame);
            } catch (Exception e) {
                e.printStackTrace();
            }
        }
    }

    /**
     * 客户端连接成功
     *
     * @param ctx
     * @throws Exception
     */
    @Override
    public void channelActive(ChannelHandlerContext ctx) throws Exception {
        log.info("MessageNettyHandler 客户端连接成功!");
        TextWebSocketFrame textWebSocketFrame = new TextWebSocketFrame("success");
        //发送消息
        ctx.writeAndFlush(textWebSocketFrame);
    }

    /**
     * 客户端断开连接
     *
     * @param ctx
     * @throws Exception
     */
    @Override
    public void channelInactive(ChannelHandlerContext ctx) throws Exception {
        log.info("MessageNettyHandler 客户端断开连接!");
        // 获取过程中如果channelGroup长度都为0 会删除缓存
        ctx.channel().close();
    }
}
3. 启动springboot 创建Netty 链接
我这里使用 ApplicationRunner springboot 启动成功后在创建Netty websocket 服务端。
/**
 * websocker 监听服务
 *
 * @Author su
 * @Date 2022/5/15 13:15
 */
@Slf4j
@Configuration
public class WebSocketRunner implements ApplicationRunner {

    @Autowired
    private RedisService redisService;

    @Override
    public void run(ApplicationArguments args) throws Exception {
        NioEventLoopGroup bossGroup = new NioEventLoopGroup(2);
        NioEventLoopGroup workGroup = new NioEventLoopGroup(4);

        ServerBootstrap serverBootstrap = new ServerBootstrap();
        serverBootstrap.group(bossGroup, workGroup)
                .channel(NioServerSocketChannel.class)
                //端口
                .localAddress(new InetSocketAddress(8081))
                .option(ChannelOption.SO_BACKLOG, 1024)
                .childHandler(new ChannelInitializer<SocketChannel>() {

                    @Override
                    protected void initChannel(SocketChannel socketChannel) throws Exception {
                        ChannelPipeline pipeline = socketChannel.pipeline();
                        //解码
                        pipeline.addLast(new HttpServerCodec());
                        // 添加一个聚合器,这个聚合器主要是将HttpMessage聚合成FullHttpRequest/Response
                        pipeline.addLast(new HttpObjectAggregator(65536));
                        pipeline.addLast(new WebSocketServerProtocolHandler("/ws"));
                        //自定义Hander处理器
                        pipeline.addLast(new MessageNettyHandler(redisService));
                    }
                });
        serverBootstrap.bind().sync().channel();
        log.info("netty server startStructRecord state:success, port:{}", 8081);
    }
}
4. html 连接demo
<html>
<head>
    <meta charset="UTF-8">
    <title>Insert title here</title>
</head>
<body>
<div style="width:400px;margin:20px auto;border:1px solid lightgray;padding:20px;text-align:center;">
    当前价格为:¥<span style="color:#ff4719" id="price">10000</span>
</div>
</body>
<script type="text/javascript">
    var websocket=null;
    //判断浏览器是否支持websocket
    if('WebSocket' in window){
        websocket=new WebSocket("ws://127.0.0.1:8081/ws");
        websocket.onopen=function(){
            websocket.send("测试客户端连接成功");
        }
        websocket.onerror=function(){
            websocket.send("测试客户端连接失败");
        }
        websocket.onclose=function(){
            websocket.send("测试客户端连接关闭");
        }
        websocket.onmessage=function(e){
            console.log("onmessage-----------------",e)
            send(e.data);
        }
        //监听窗口关闭事件,当窗口关闭时,主动去关闭websocket连接,防止连接还没断开就关闭窗口,server端会抛异常。
        window.onbeforeunload = function () {
            closeWebSocket();
        }
    }
    else {
        alert('当前浏览器 Not support websocket')
    }
    //将消息显示在网页上
    function send(e) {
        document.getElementById('price').innerHTML =e;
    }
    //关闭WebSocket连接
    function closeWebSocket() {
        websocket.close();
    }
</script>
</html>
5. 启动验证
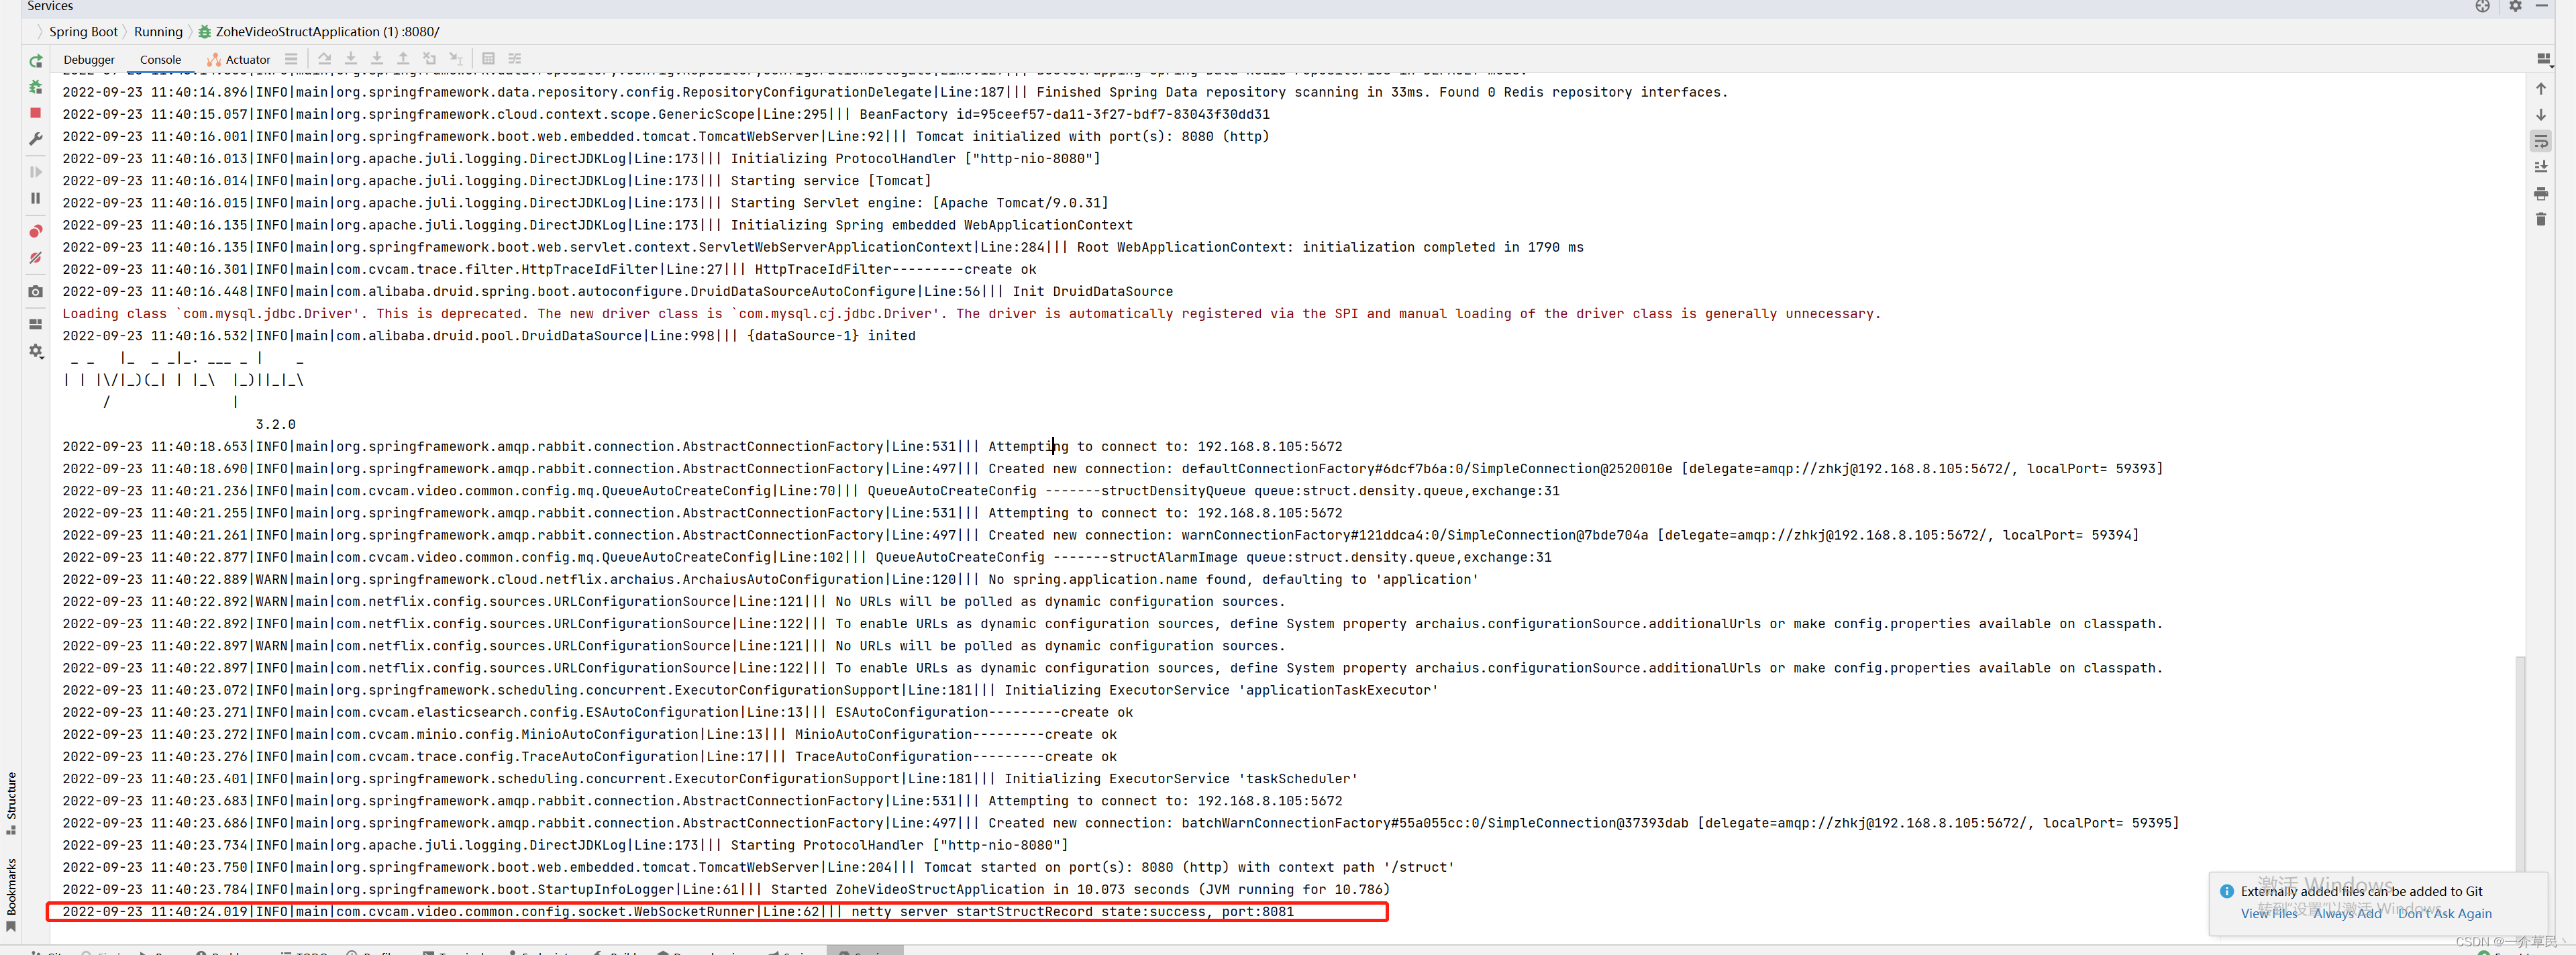
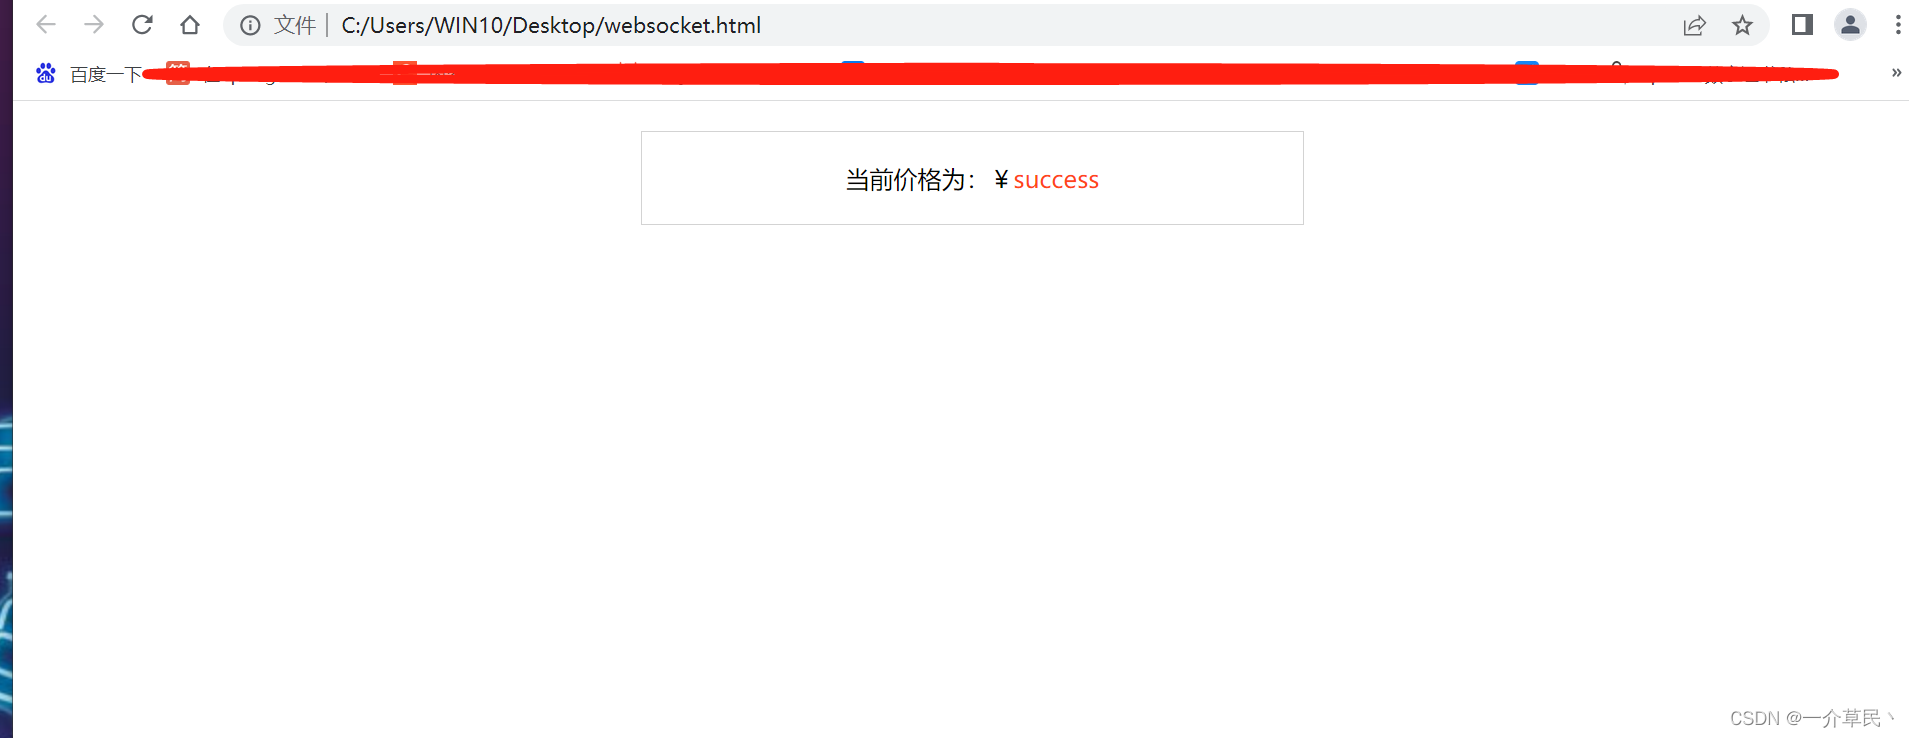
链接成功
三丶总结
使用Netty手动创建 websocket 服务端 这种方式还是有点生硬的。不推荐这种 。
我个人哈,捣鼓半天没有实现 websocket 那种通过 url 路径来 作为路由转发的那种方式。有知道方式的可以评论下, 我也想知道怎么搞。
最后发现可以可以使用netty-websocket-spring-boot-starter 来实现与 spring-boot-starter-websocket 的方式websocket 开发方式。
netty-websocket-spring-boot-starter 实现websocket 地址:https://blog.csdn.net/qq825478739/article/details/126894239