创建自己的AVA行为识别数据集以及MMLAB系列训练、测试自己的数据
第一步:新建好这些文件夹,也就是接下来咱们完成的内容

第二步:配置好ffmpeg的环境变量,也就是把这个bin所在路径添加到环境变量


这一步完成之后,可能需要重启才能用ffmpeg,然后打开命令行试一下这个命令表示成功
 第三步:对已经选择好的视频进行切割,比如固定长度是45秒(自己定)

右键git bash打开命令行,执行脚本文件sh cut_videos.sh
 脚本文件
脚本文件
#!/usr/bin/env bash

# Copyright (c) Facebook, Inc. and its affiliates.
#
# Licensed under the Apache License, Version 2.0 (the "License");
# you may not use this file except in compliance with the License.
# You may obtain a copy of the License at
#
#     http://www.apache.org/licenses/LICENSE-2.0
#
# Unless required by applicable law or agreed to in writing, software
# distributed under the License is distributed on an "AS IS" BASIS,
# WITHOUT WARRANTIES OR CONDITIONS OF ANY KIND, either express or implied.
# See the License for the specific language governing permissions and
# limitations under the License.
##############################################################################

# Cut each video from its 15th to 30th minute.

IN_DATA_DIR="F:/source_code/action/ava_data/ava/videos"
OUT_DATA_DIR="F:/source_code/action/ava_data/ava/videos_cut"

if [[ ! -d "${OUT_DATA_DIR}" ]]; then
  echo "${OUT_DATA_DIR} doesn't exist. Creating it.";
  mkdir -p ${OUT_DATA_DIR}
fi

for video in $(ls -A1 -U ${IN_DATA_DIR}/*)
do
  out_name="${OUT_DATA_DIR}/${video##*/}"
  if [ ! -f "${out_name}" ]; then
    ffmpeg -ss 0 -t 15 -i "${video}" -r 30 -strict experimental "${out_name}"
  fi
done
第四步:对裁剪好的视频进行截帧操作,默认一秒30张图像
sh extract_rgb_frames_ffmpeg.sh
#!/usr/bin/env bash

# Copyright (c) Facebook, Inc. and its affiliates.
#
# Licensed under the Apache License, Version 2.0 (the "License");
# you may not use this file except in compliance with the License.
# You may obtain a copy of the License at
#
#     http://www.apache.org/licenses/LICENSE-2.0
#
# Unless required by applicable law or agreed to in writing, software
# distributed under the License is distributed on an "AS IS" BASIS,
# WITHOUT WARRANTIES OR CONDITIONS OF ANY KIND, either express or implied.
# See the License for the specific language governing permissions and
# limitations under the License.
##############################################################################
##-r表示一秒多少帧 -q:v表示存储jpeg的图像质量,一般2是高质量。
# Extract frames from videos.

IN_DATA_DIR="./ava/videos_cut"
OUT_DATA_DIR="./ava/rawframes"

if [[ ! -d "${OUT_DATA_DIR}" ]]; then
  echo "${OUT_DATA_DIR} doesn't exist. Creating it.";
  mkdir -p ${OUT_DATA_DIR}
fi

for video in $(ls -A1 -U ${IN_DATA_DIR}/*)
do
  video_name=${video##*/}

  if [[ $video_name = *".webm" ]]; then
    video_name=${video_name::-5}
  else
    video_name=${video_name::-4}
  fi

  out_video_dir=${OUT_DATA_DIR}/${video_name}
  mkdir -p "${out_video_dir}"

  out_name="${out_video_dir}/img_%05d.jpg"

  ffmpeg -i "${video}" -r 30 -q:v 1 "${out_name}"
done
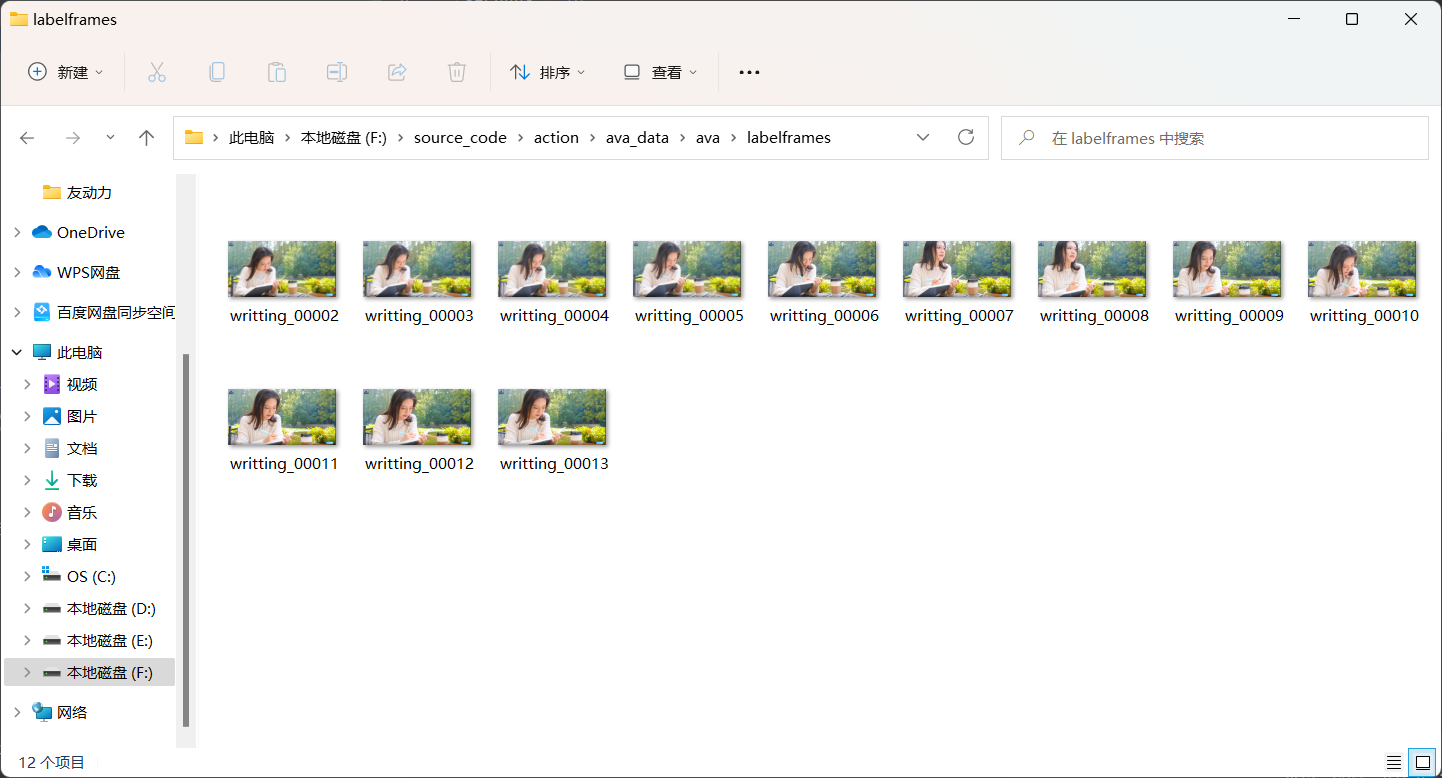
第五步:把需要标注的文件单独整出来
即每1s只取一帧图像,同时去掉头部和尾部,执行video2img.py即可
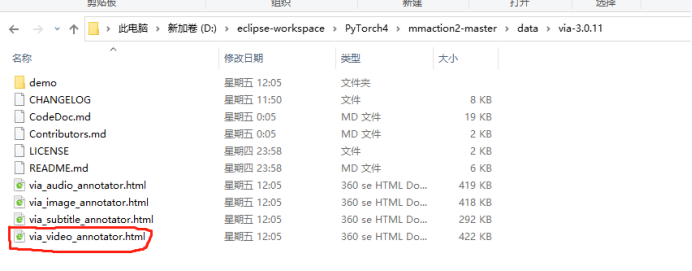
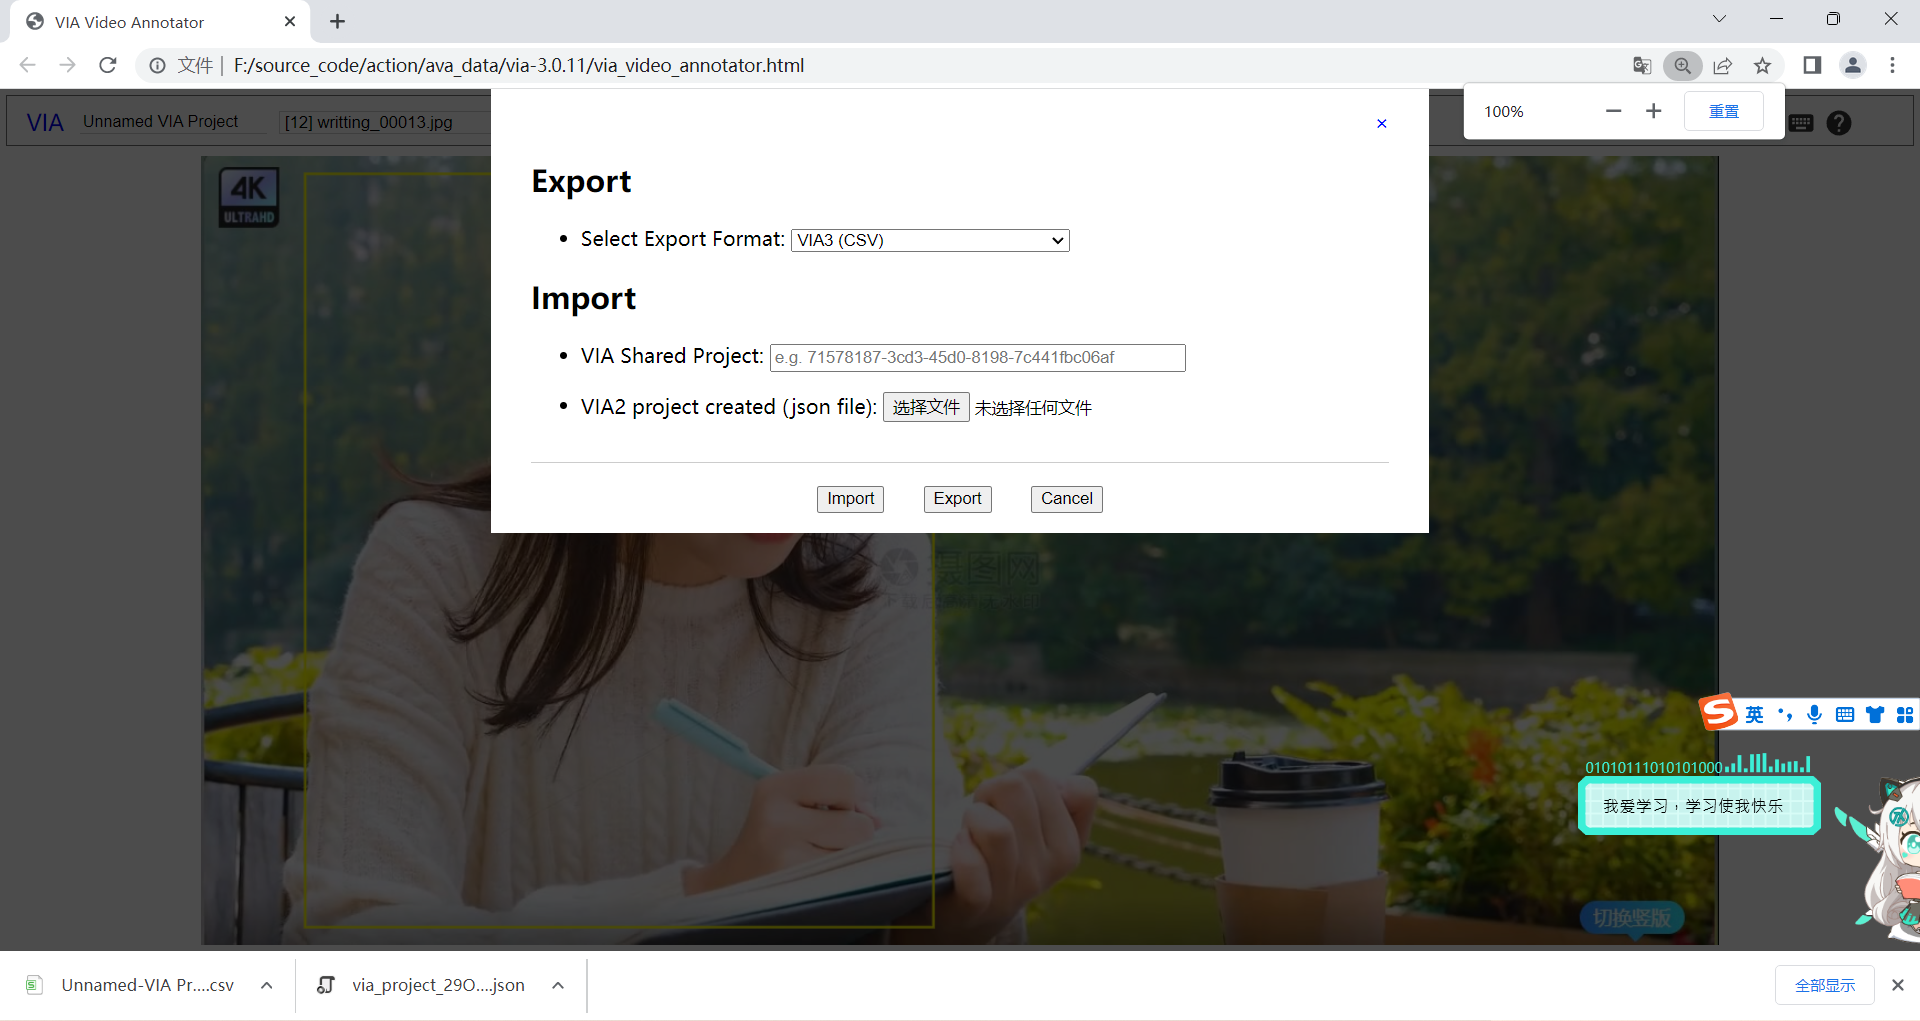
第六步:开始标注任务
使用VIA来进行数据标注
第七步:把标注数据转换成AVA格式
 把红色部分改成自己导出的文件名字,生成结果如下:

2.MMaction训练自己的数据
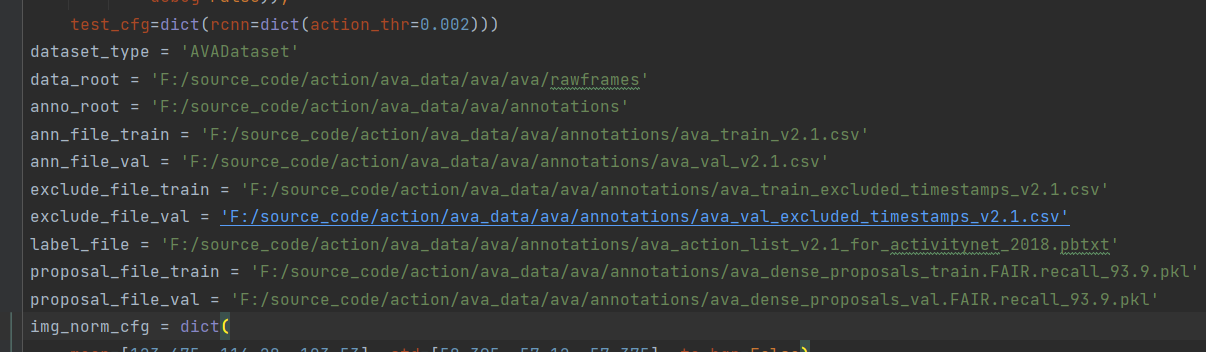
修改运行配置:F:/source_code/action/mmaction2master/configs/detection/ava/slowfast_kinetics_pretrained_r50_4x16x1_20e_ava_rgb.py
生成对应的配置文件,修改对应的配置文件
- 指定行为类别

指定数据地址:
另外需要将F:\source_code\action\mmaction2-master\mmaction\datasets\ava_dataset.py ,
timestamp_start,原来的ava数据是从第900秒开始

3. MMaction测试自己的数据
参数设置:
'''
--video F:/source_code/action/ava_data/ava/videos/writting.mp4
--config F:/source_code/action/mmaction2-master/tools/model/my_slowfast_kinetics_pretrained_r50_4x16x1_20e_ava_rgb_custom_classes.py
--checkpoint F:/source_code/action/mmaction2-master/tools/work_dirs/ava/slowfast_kinetics_pretrained_r50_4x16x1_20e_ava_rgb_custom/epoch_20.pth
--det-config faster_rcnn_r50_fpn_2x_coco.py
--det-checkpoint http://download.openmmlab.com/mmdetection/v2.0/faster_rcnn/faster_rcnn_r50_fpn_2x_coco/faster_rcnn_r50_fpn_2x_coco_bbox_mAP-0.384_20200504_210434-a5d8aa15.pth
--det-score-thr 0.9
--action-score-thr 0.5
--label-map F:/source_code/action/ava_data/ava/annotations/labelmap.txt
--predict-stepsize 8
--output-stepsize 4
--output-fps 6
--out-filename writte.mp4
'''