Spring Cloud使用ZooKeeper作为注册中心的示例
简单的Spring Cloud应用程序使用ZooKeeper作为注册中心的示例:
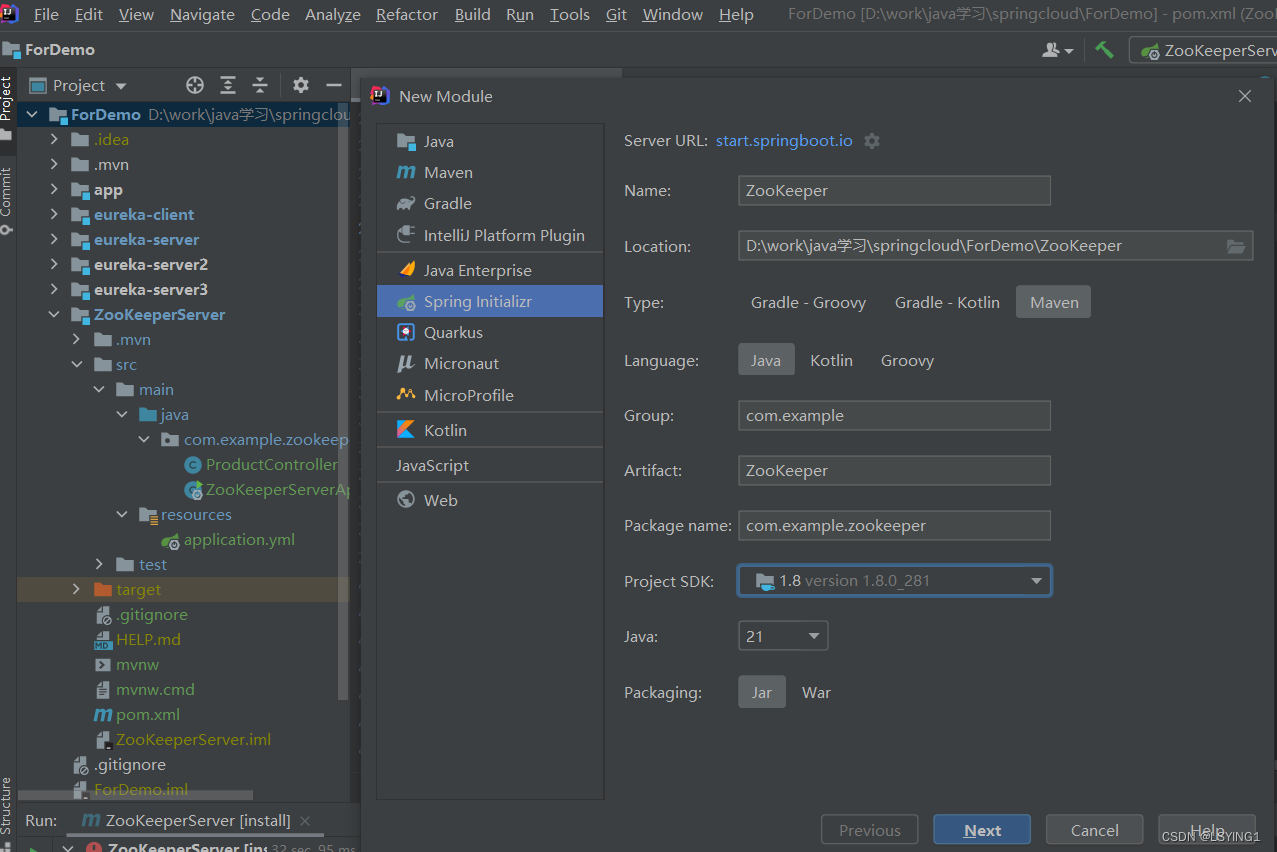
1.新建模块:
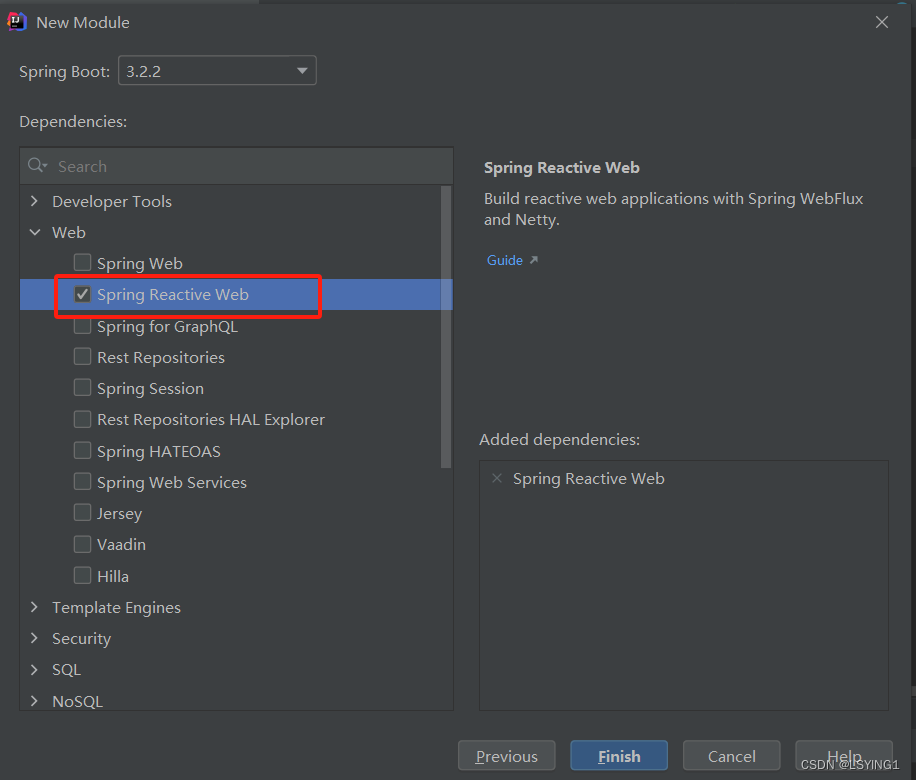
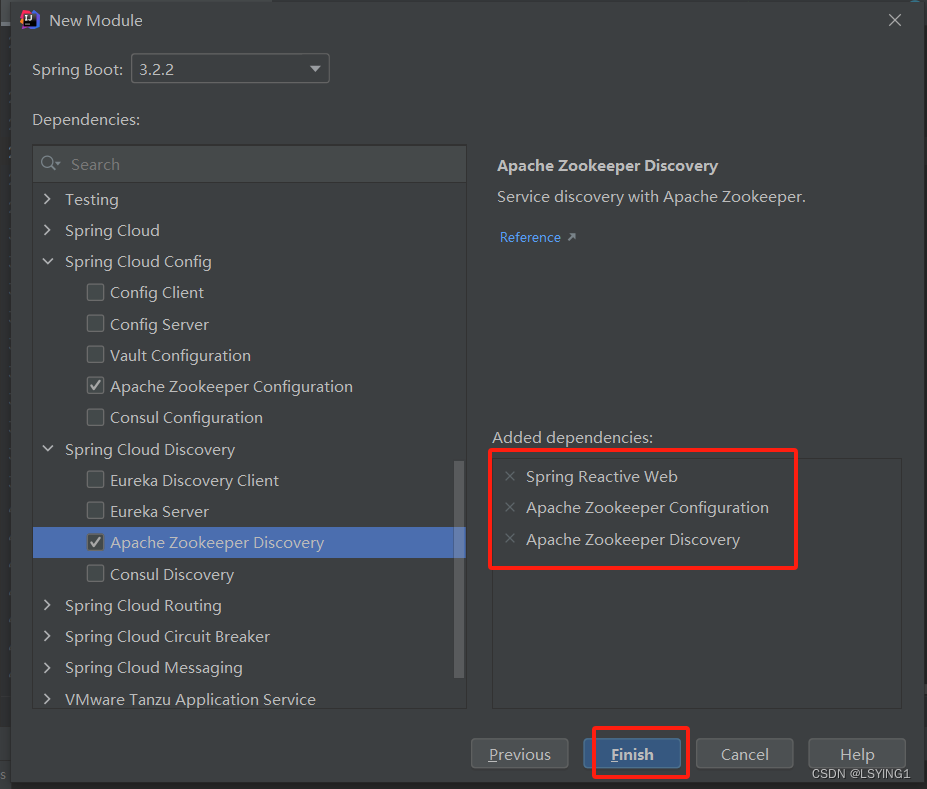
2.勾选依赖:

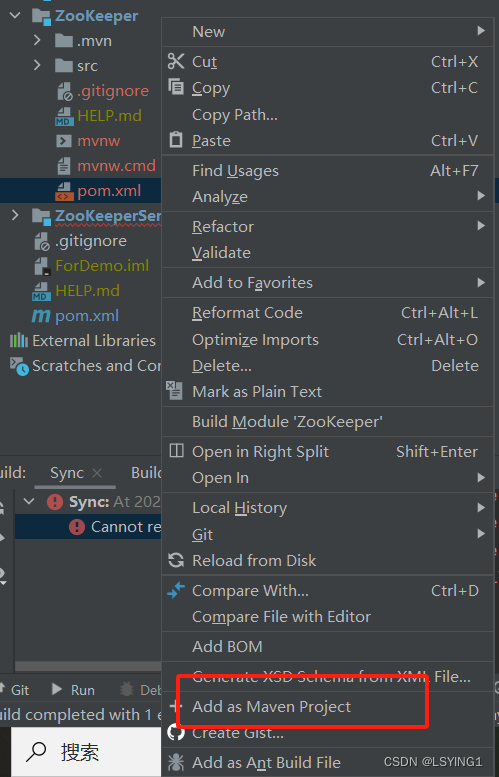
3.在pom.xml文件中做出部分修改及添加Spring Cloud Zookeeper 依赖版本:
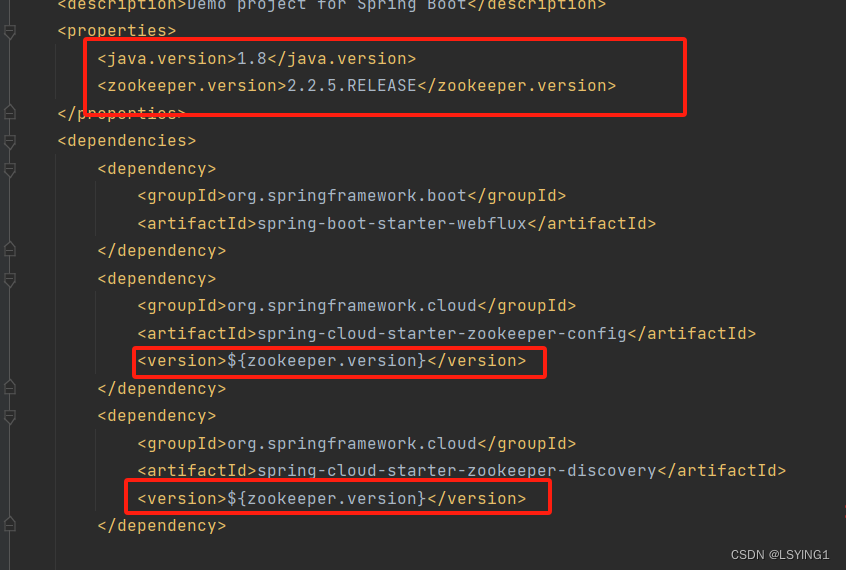
完整pom文件
<?xml version="1.0" encoding="UTF-8"?>
<project xmlns="http://maven.apache.org/POM/4.0.0" xmlns:xsi="http://www.w3.org/2001/XMLSchema-instance"xsi:schemaLocation="http://maven.apache.org/POM/4.0.0 https://maven.apache.org/xsd/maven-4.0.0.xsd"><modelVersion>4.0.0</modelVersion><parent><groupId>org.springframework.boot</groupId><artifactId>spring-boot-starter-parent</artifactId><version>3.2.2</version><relativePath/> <!-- lookup parent from repository --></parent><!-- Generated by https://start.springboot.io --><!-- 优质的 spring/boot/data/security/cloud 框架中文文档尽在 => https://springdoc.cn --><groupId>com.example</groupId><artifactId>ZooKeeper</artifactId><version>0.0.1-SNAPSHOT</version><name>ZooKeeper</name><description>Demo project for Spring Boot</description><properties><java.version>1.8</java.version><zookeeper.version>2.2.5.RELEASE</zookeeper.version></properties><dependencies><dependency><groupId>org.springframework.boot</groupId><artifactId>spring-boot-starter-webflux</artifactId></dependency><dependency><groupId>org.springframework.cloud</groupId><artifactId>spring-cloud-starter-zookeeper-config</artifactId><version>${zookeeper.version}</version></dependency><dependency><groupId>org.springframework.cloud</groupId><artifactId>spring-cloud-starter-zookeeper-discovery</artifactId><version>${zookeeper.version}</version></dependency><dependency><groupId>org.springframework.boot</groupId><artifactId>spring-boot-starter-test</artifactId><scope>test</scope></dependency><dependency><groupId>io.projectreactor</groupId><artifactId>reactor-test</artifactId><scope>test</scope></dependency></dependencies><dependencyManagement><dependencies></dependencies></dependencyManagement><build><plugins><plugin><groupId>org.springframework.boot</groupId><artifactId>spring-boot-maven-plugin</artifactId></plugin></plugins></build></project>
4.配置ZooKeeper连接:在application.yml文件中配置ZooKeeper的连接字符串。
spring:application:name: productcloud:zookeeper:connect-string: localhost:2181
server:port: 8101
5.新增Controller:
package com.example.zookeeperserver;import org.springframework.web.bind.annotation.GetMapping;
import org.springframework.web.bind.annotation.RequestMapping;
import org.springframework.web.bind.annotation.RestController;@RestController
@RequestMapping
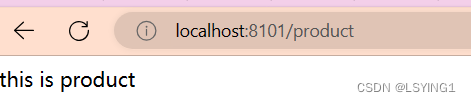
public class ProductController {@GetMapping("product")public String product(){return "this is product";}
}
package com.example.zookeeper;import org.springframework.beans.factory.annotation.Autowired;
import org.springframework.cloud.client.ServiceInstance;
import org.springframework.cloud.client.discovery.DiscoveryClient;
import org.springframework.web.bind.annotation.GetMapping;
import org.springframework.web.bind.annotation.PathVariable;
import org.springframework.web.bind.annotation.RestController;import java.util.List;@RestController
public class ServiceController {@Autowiredprivate DiscoveryClient discoveryClient;/*** @Description:通过注入DiscoveryClient实例来获取服务实例的信息* @Author: * @Date: 2024/2/7 15:46* @return: java.util.List<java.lang.String>*     访问地址:http://localhost:8101/services**/@GetMapping("/services")public List<String> getServices(){//返回所有注册到服务发现中心的服务名称return discoveryClient.getServices();}/*** @Description:* @Author: * @Date: 2024/2/7 15:52* @param serviceName:* @return: java.util.List<org.springframework.cloud.client.ServiceInstance>*     访问地址:http://localhost:8101/serviceInstances/product**/@GetMapping("/serviceInstances/{serviceName}")public List<ServiceInstance> getServiceInstance(@PathVariable String serviceName){//getServiceInstances方法接受一个服务名称作为参数,返回该服务的所有实例。//每个ServiceInstance对象包含了服务实例的详细信息,如主机名、端口号等return discoveryClient.getInstances(serviceName);}}
6.启动本地的服务端:
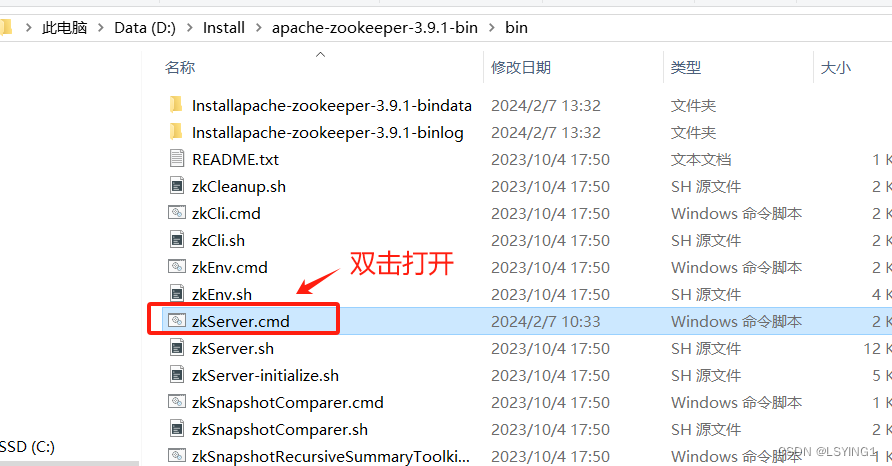
7.启动服务注册和发现:在主应用类中,通过@EnableDiscoveryClient注解启用服务注册和发现

8.访问:localhost:8101/product
完整项目代码