Android Compose 一个音视频APP——Magic Music Player
Magic Music APP
Magic Music APP
- Magic Music APP
- 概述
- 效果预览-视频资源
- 功能预览
- Library
- 歌曲播放
- 效果预览
- 歌曲播放
- 依赖注入
- 设置播放源
- 播放进度
- 上一首&下一首
- UI响应
- 歌词
- 歌词解析
- 解析成行
- 逐行解析
- 视频播放
- AndroidView引入Exoplayer
- 自定义Exoplayer样式
- 横竖屏切换
- 歌曲多任务下载
- 下载处理
- 通知栏前台服务
- 媒体服务
- 下载服务
- Other
- 评论
- 搜索
- 搜索结果
- 登录
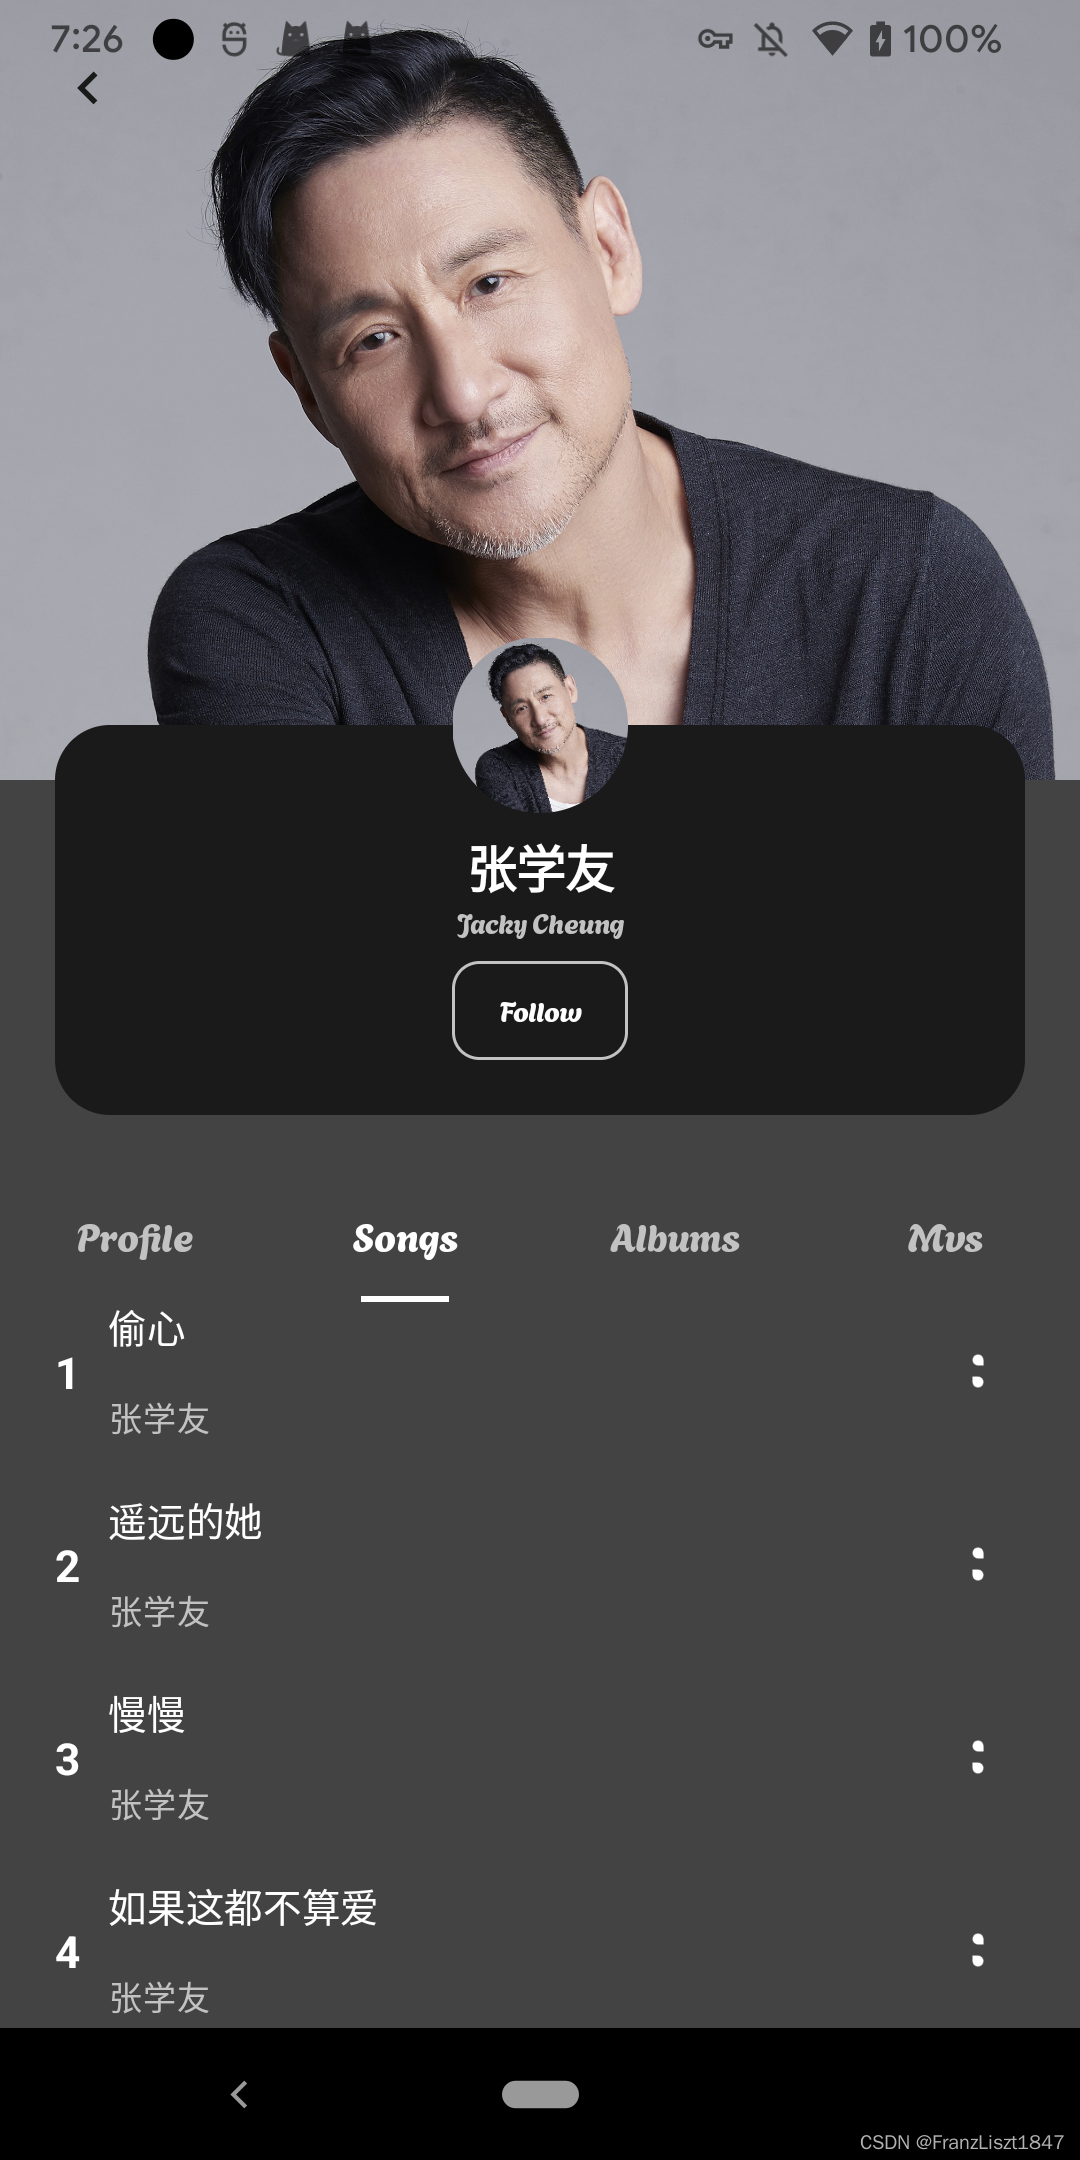
- 歌手详情
- navigation
- End
- Link
概述
此项目基于网易云API,使用Compose UI编写而成,项目整体采用MVVM架构,主要实现主题切换(适配深色模式
)、音视频资源播放(Media3-Exoplayer)(其中视频播放对Exoplayer进行了自定义样式、竖屏和横屏切换等处理)、前台服务(通知栏)、歌曲下载、资源评论、歌曲解析、歌词逐行匹配等功能
效果预览-视频资源
MagicPlayer
功能预览
-
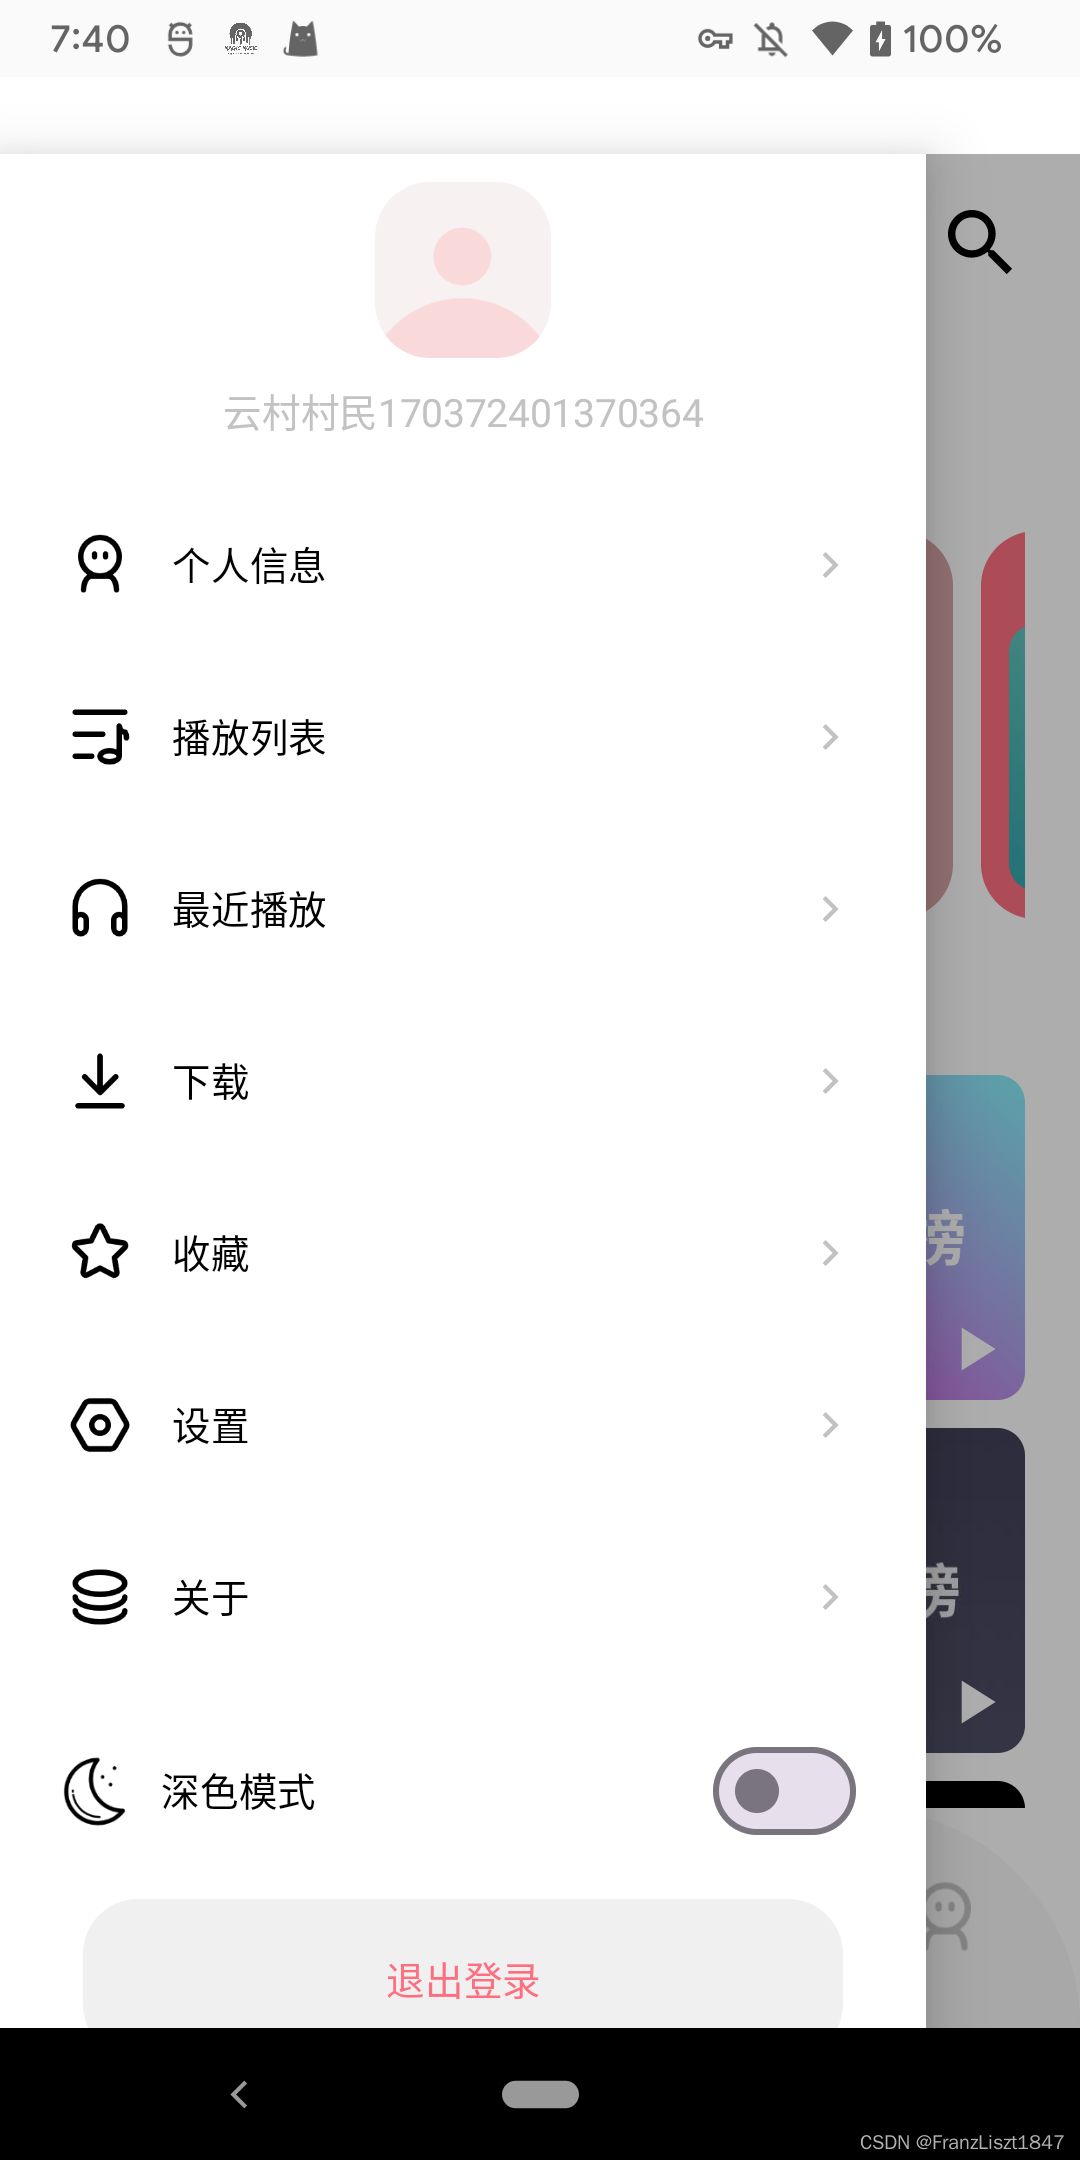
主题
- 亮色主题
- 深色主题
- 手动切换主题样式
- 系统切换主题样式
-
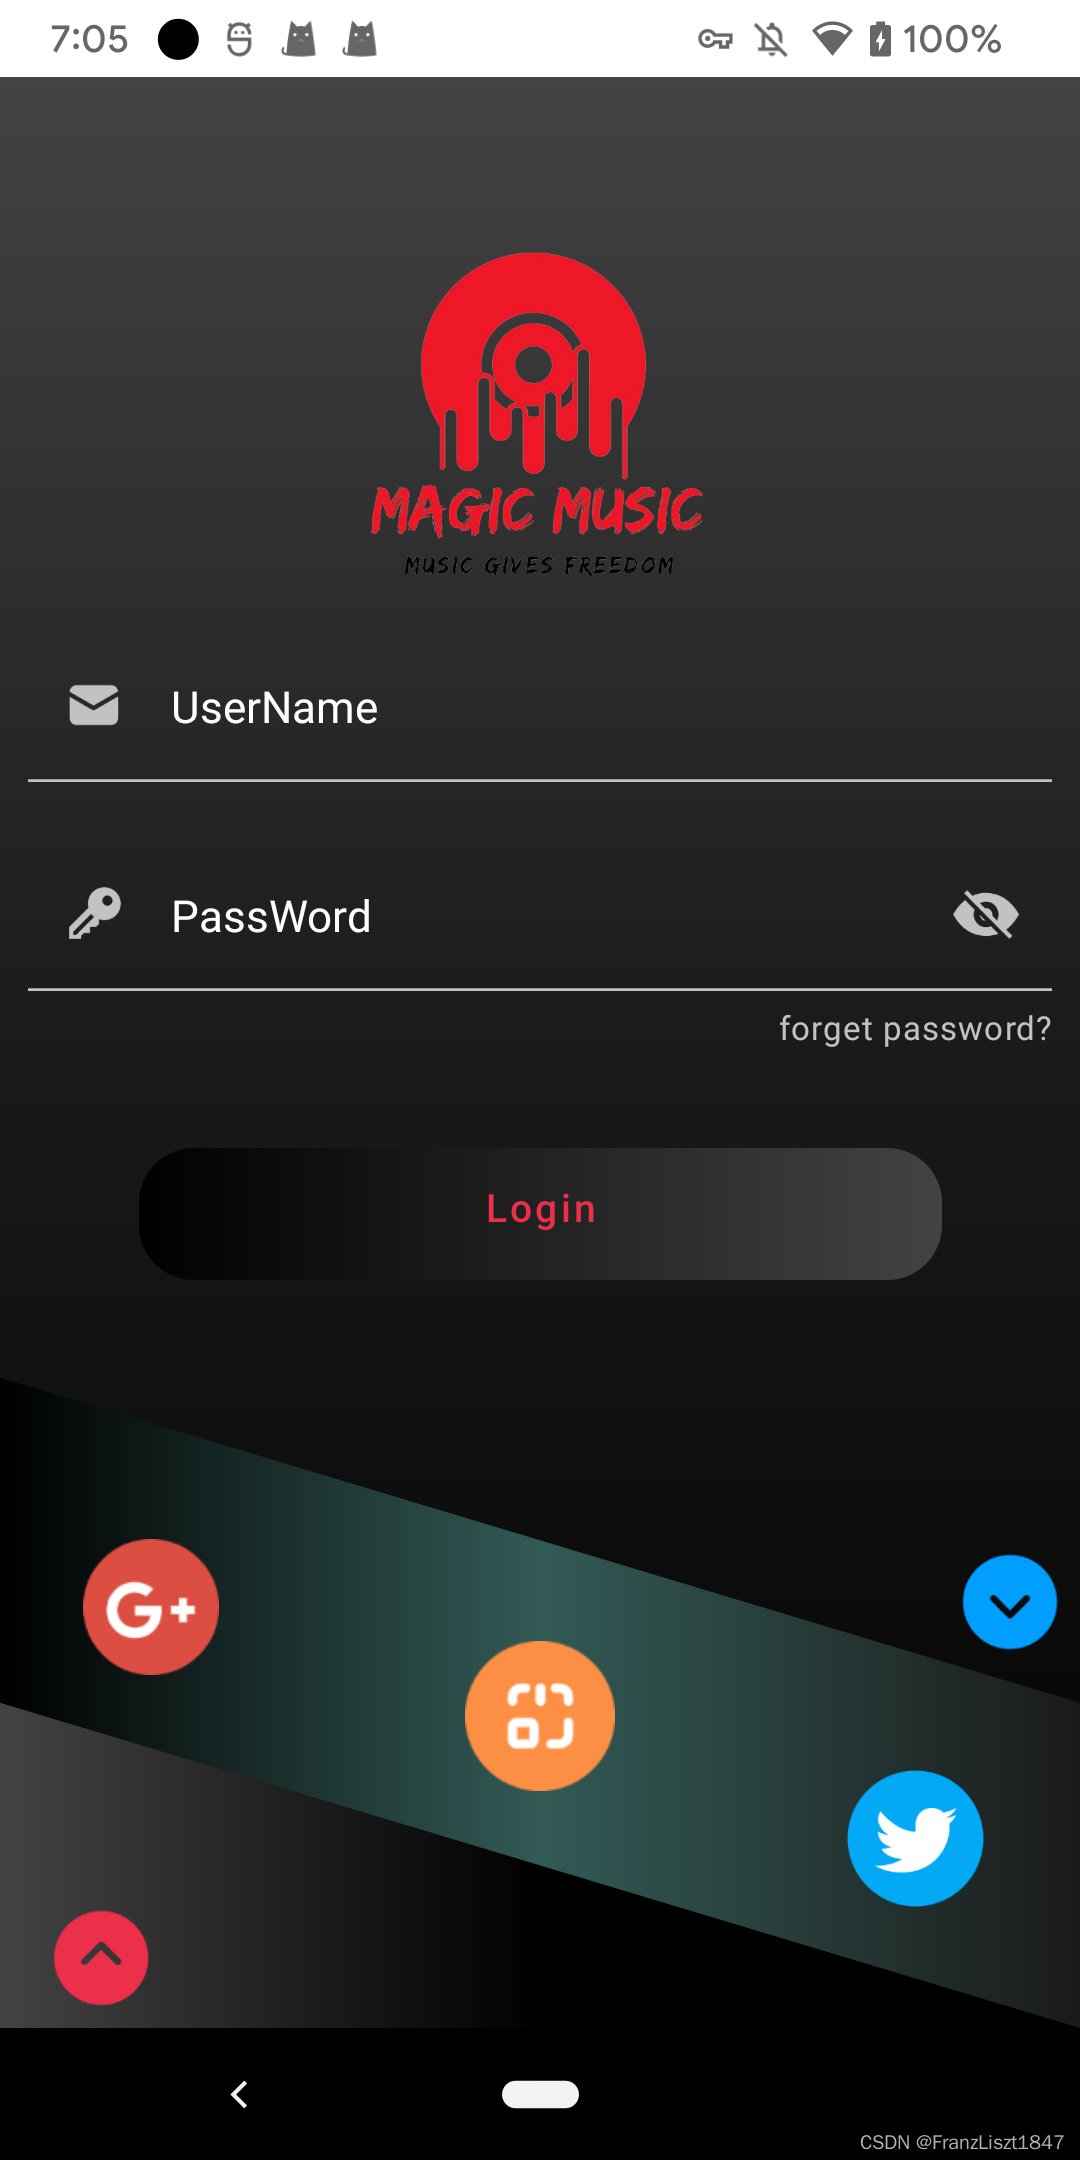
登录
- 手机号码登录
- 邮箱登录
- 扫码登录
-
歌曲(Media3-Exoplayer)
- 歌曲播放(本地资源、网络资源)
- 歌词解析
- 歌词匹配(逐行)
- 评论歌曲
- 收藏歌曲
- 前台服务(通知栏媒体样式)
-
视频(Media3-Exoplayer)
- 自定义exoplayer样式
- 视频横屏与竖屏切换
- 收藏视频
- 评论视频
- 分享视频
- 前台服务(通知栏媒体样式)
-
下载(Aria)
- 歌曲下载
- 前台服务(通知栏媒体样式)
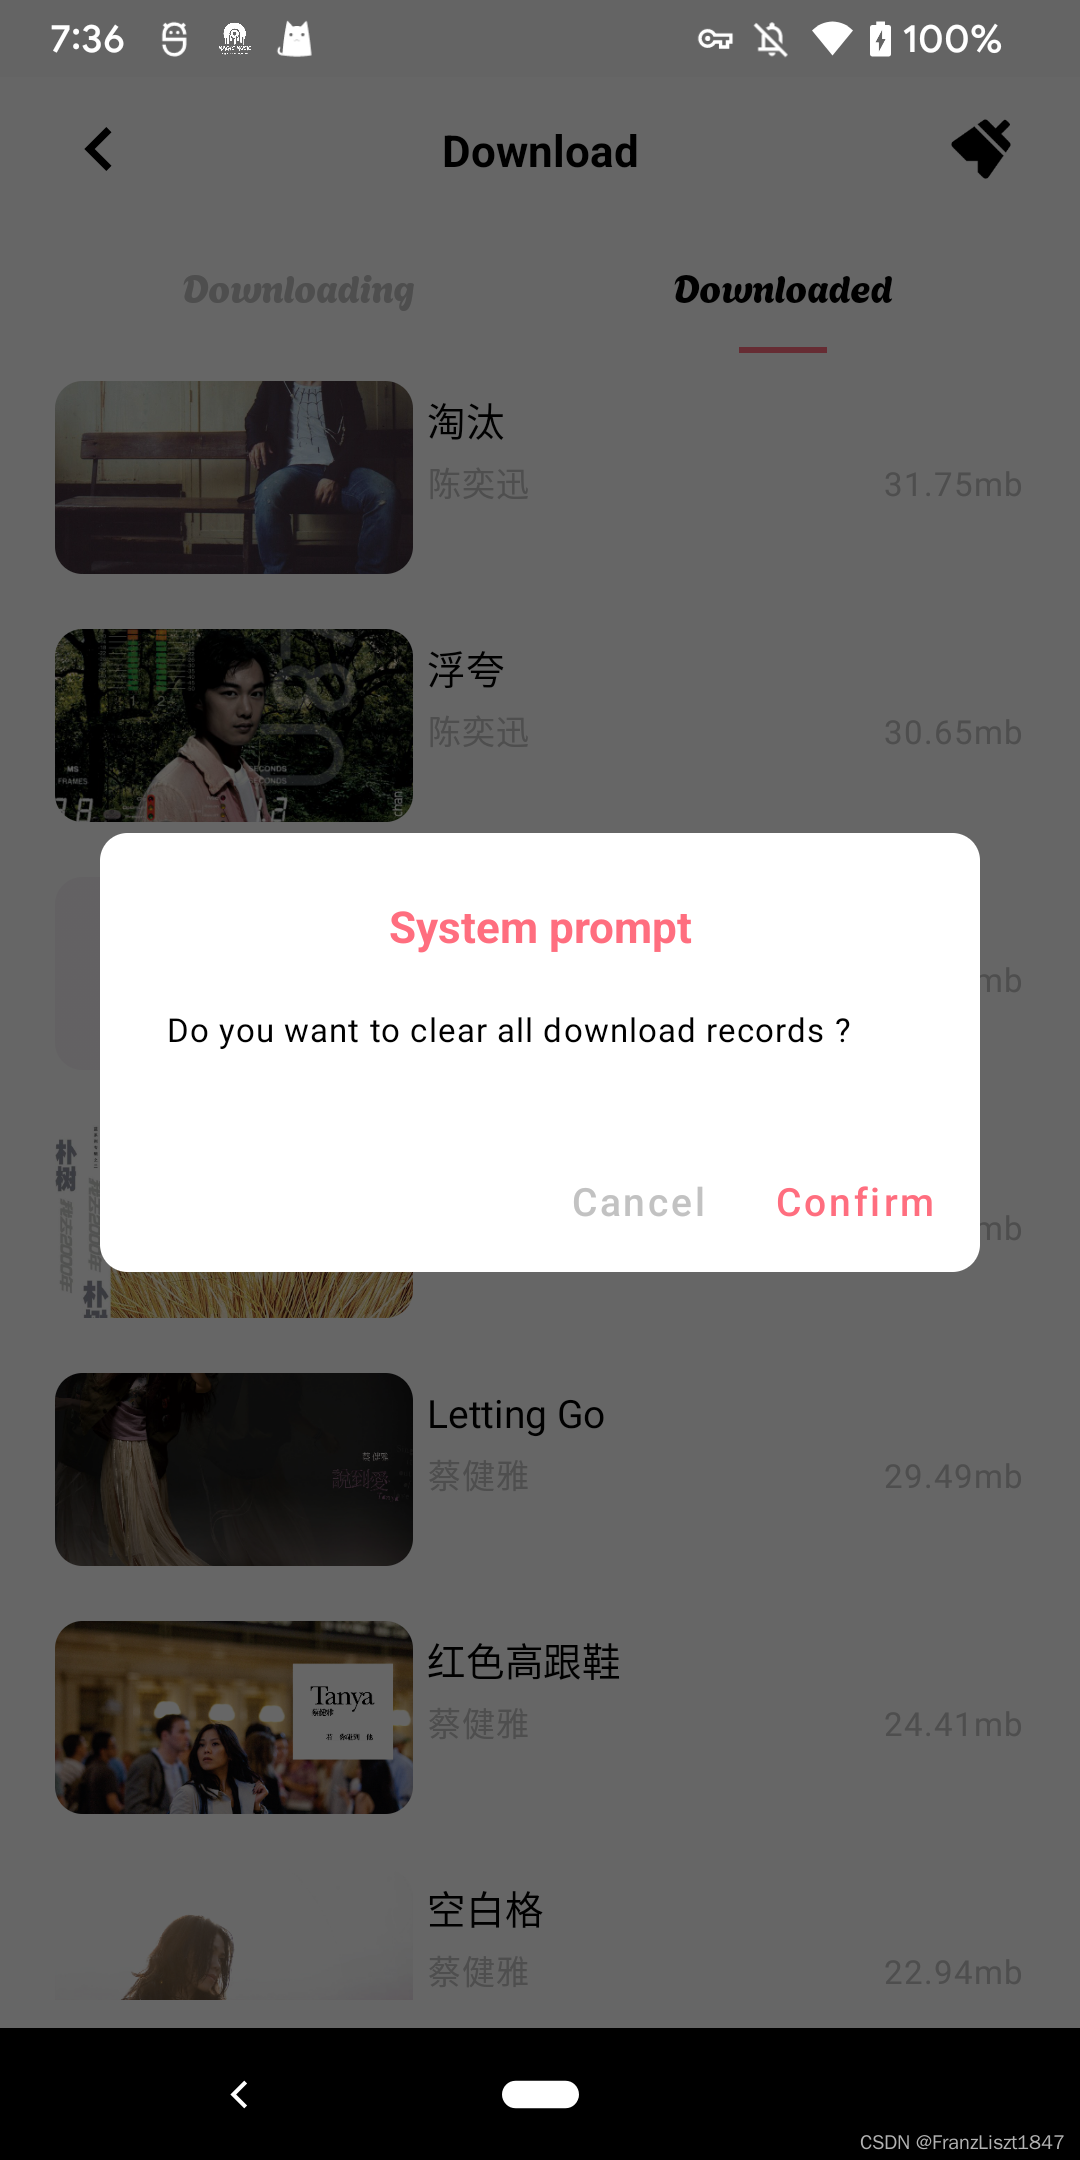
- 清空下载内容
-
前台服务
- 音视频媒体通知栏样式
- 下载进度条通知栏样式
-
歌单
- 歌单
- 专辑
- 电台
-
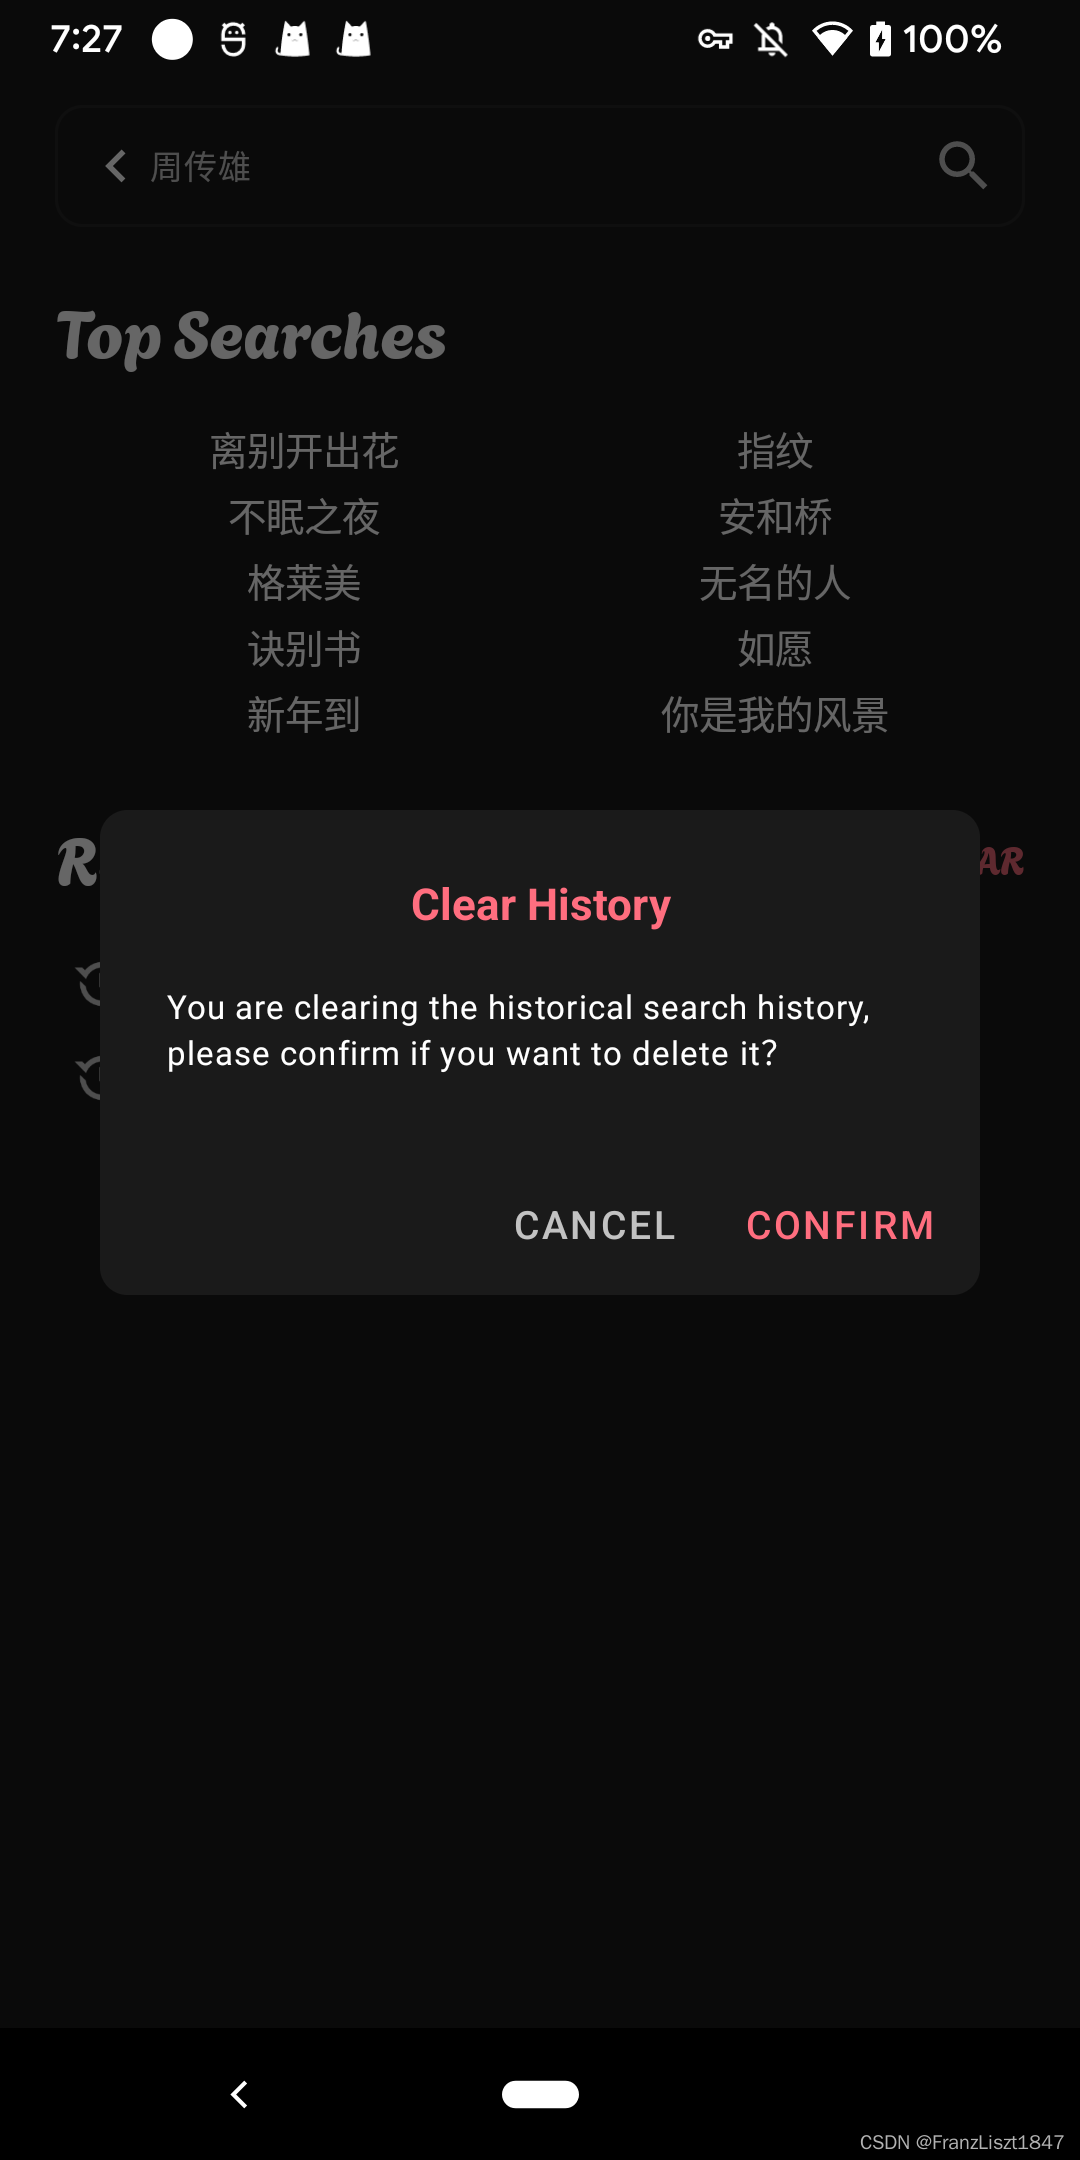
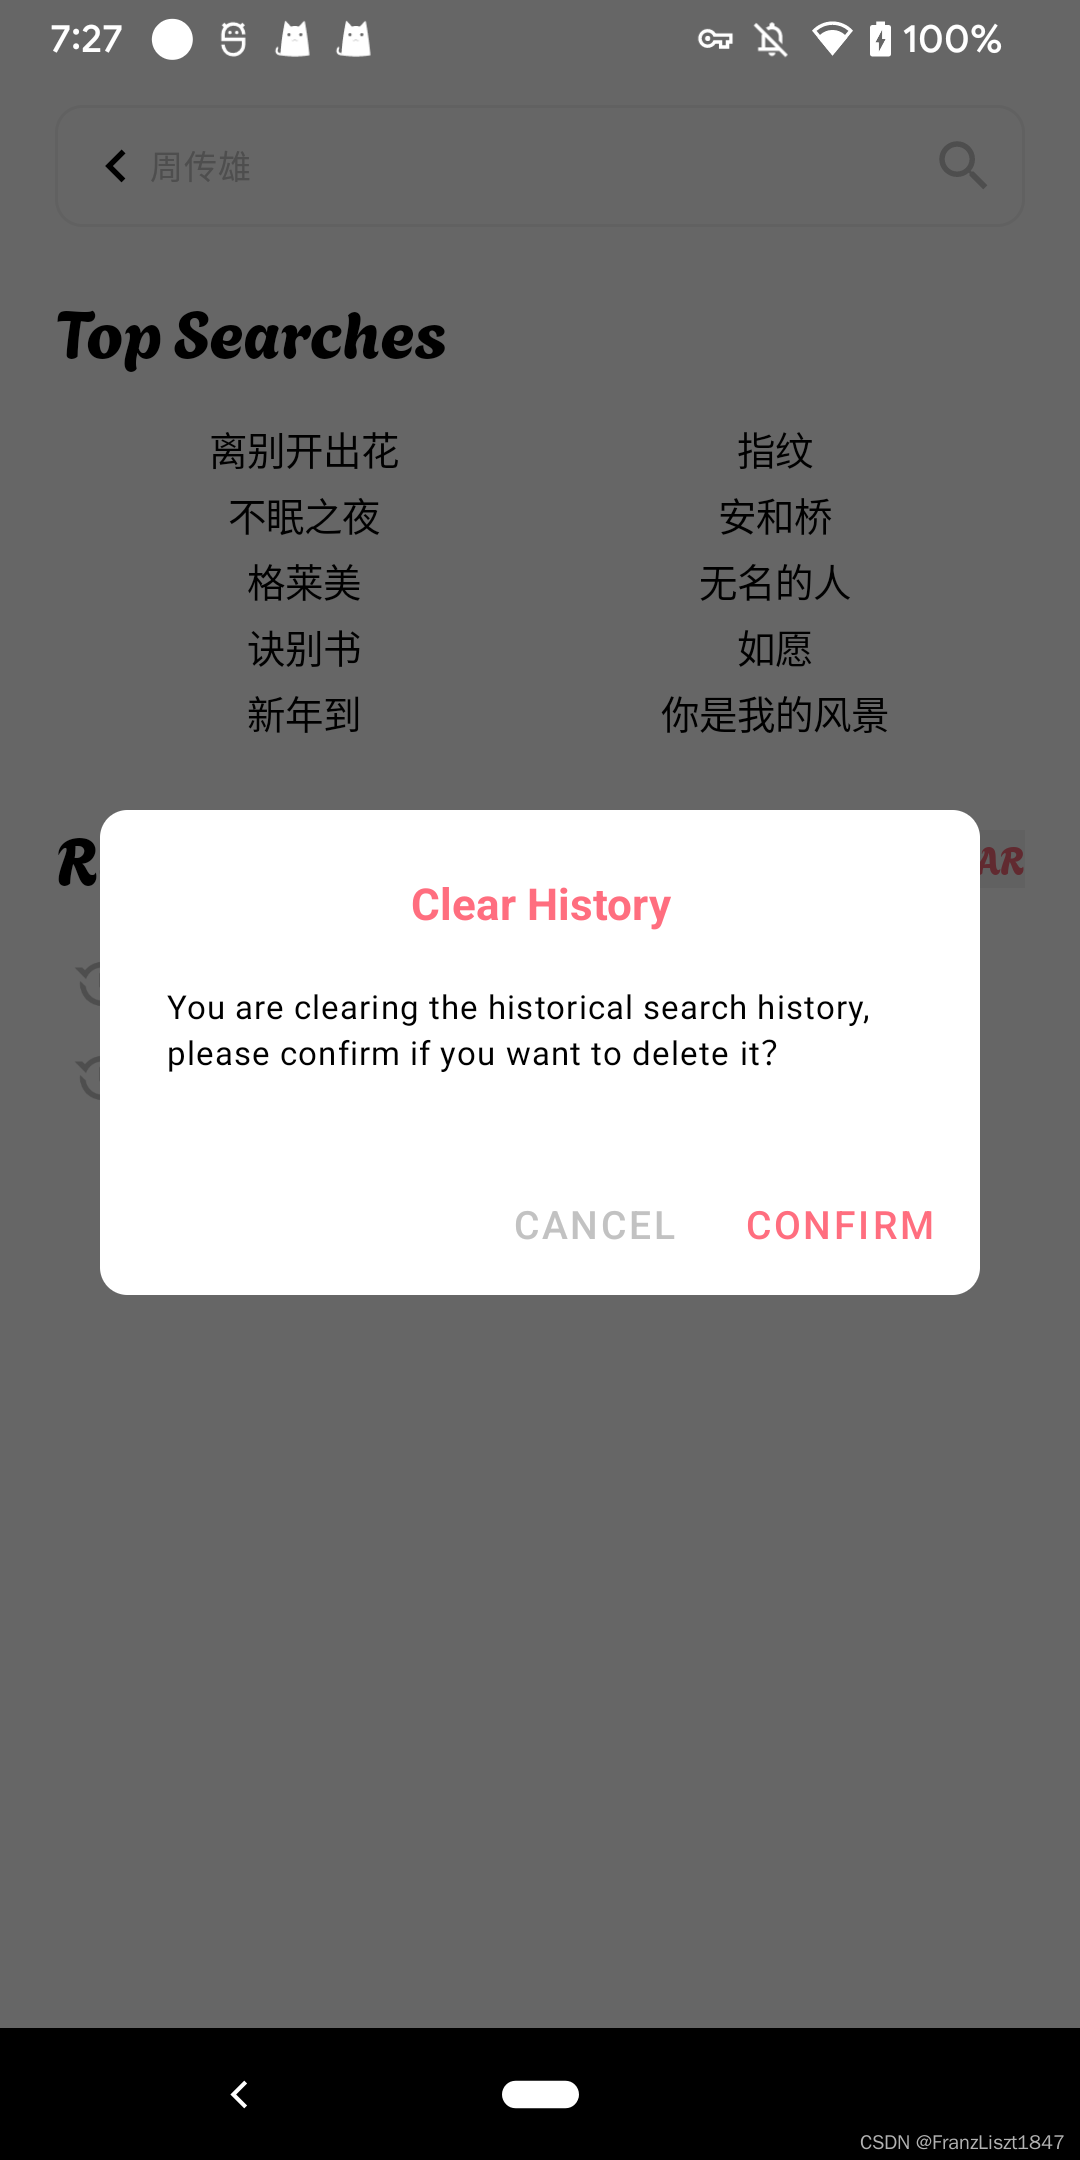
搜索
- 搜索记录
- 清空搜索记录
- 搜索建议
- 热门搜索
- 搜索结果(歌曲、歌单、专辑、歌手…)
-
评论
- 资源评论(歌曲、歌单、专辑…)
- 楼层评论(回复某人的评论)
- 发送评论
- 点赞评论
-
收藏
-
最近播放
-
播放列表
-
用户信息
-
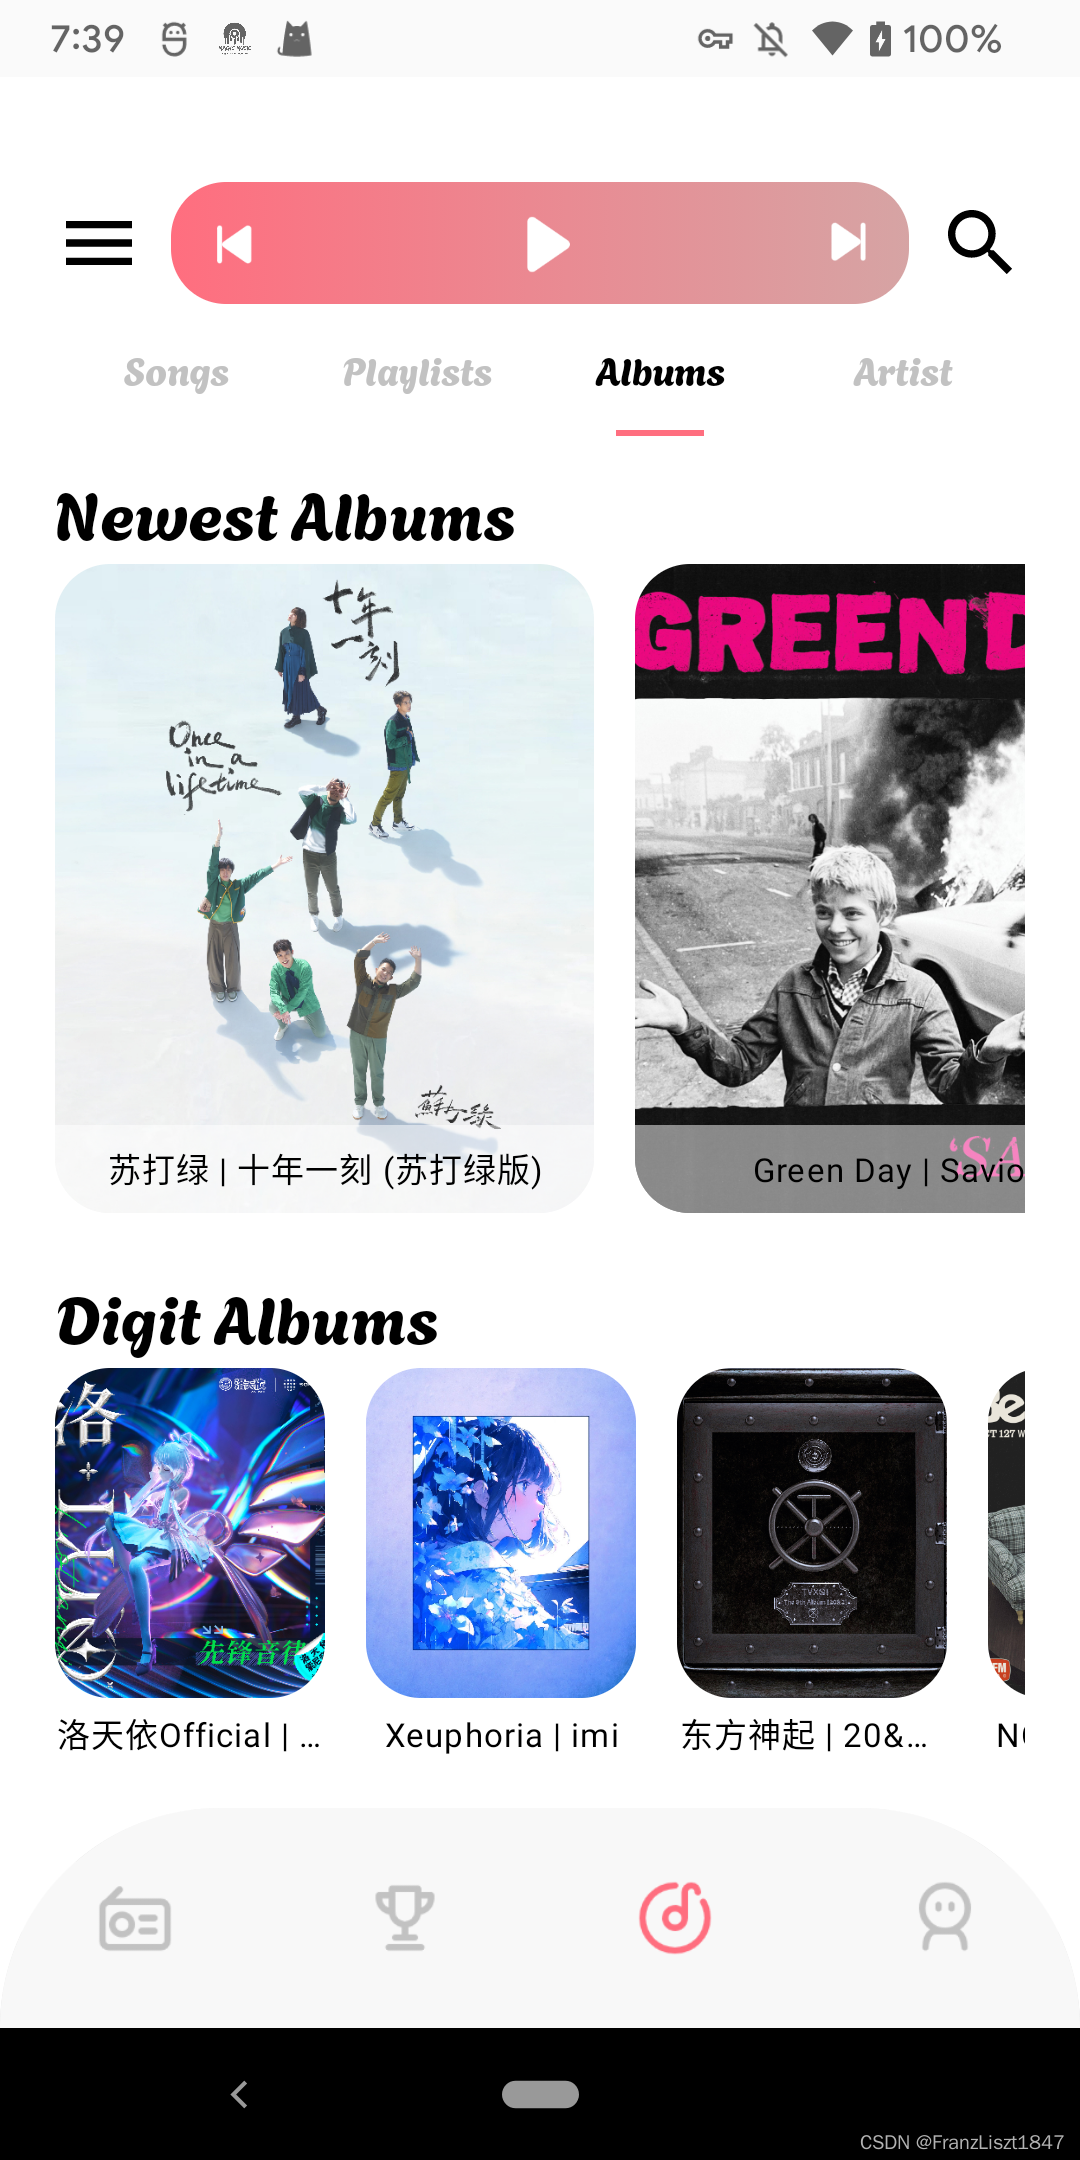
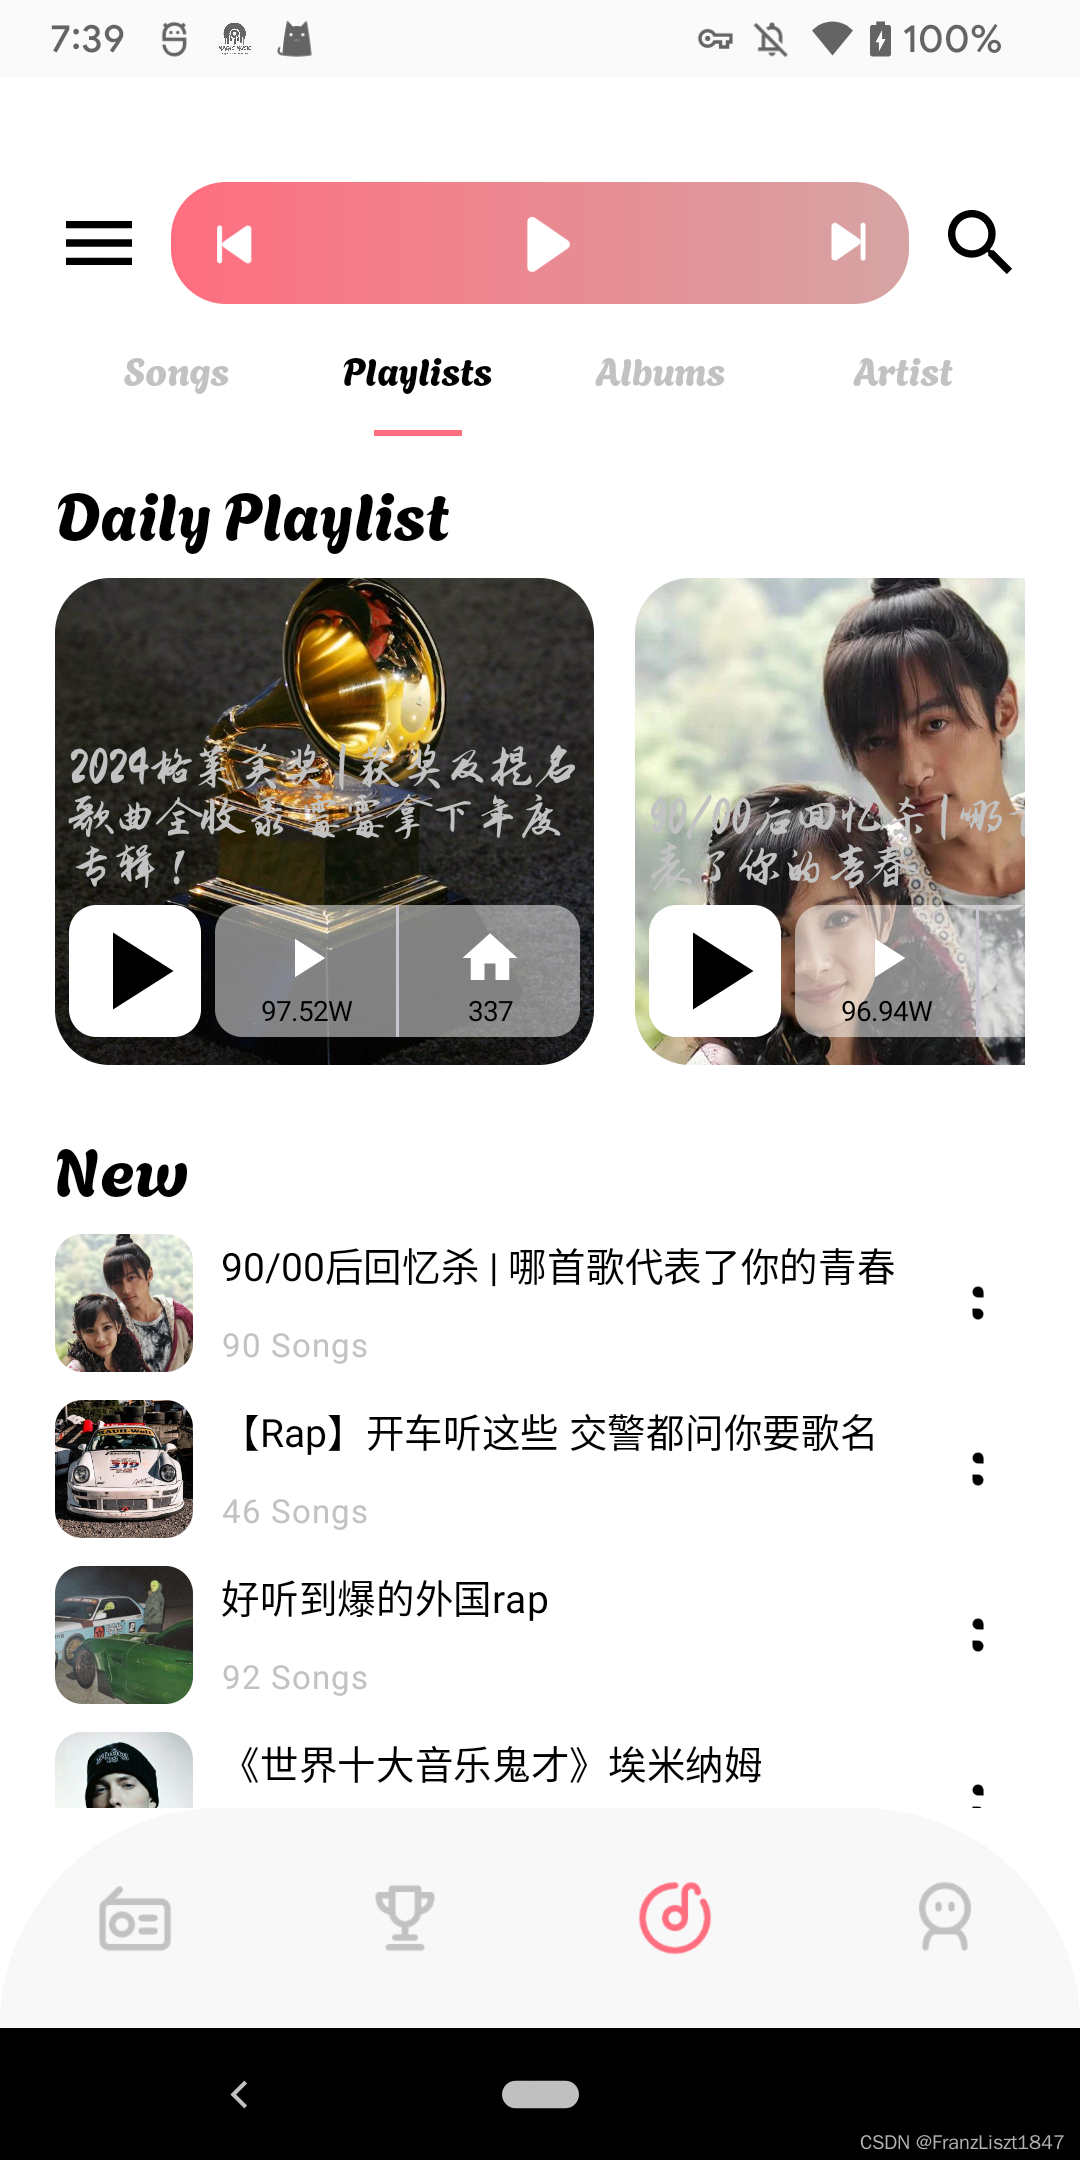
推荐
- 歌单推荐
- 专辑推荐
- 歌曲推荐
- 歌手推荐
-
榜单
Library
| Library Name | Description |
|---|---|
| retrofit、okhttp | 用户网络请求 |
| hilt | 用于依赖注入 |
| media-exoplayer | 用于音视频播放 |
| aria | 用于资源下载 |
| coil | 用于网络图片加载 |
| pager | 用户多页面切换 |
| paging3 | 用户分页加载 |
| room | 本地资源存储 |
| … | … |
歌曲播放
效果预览
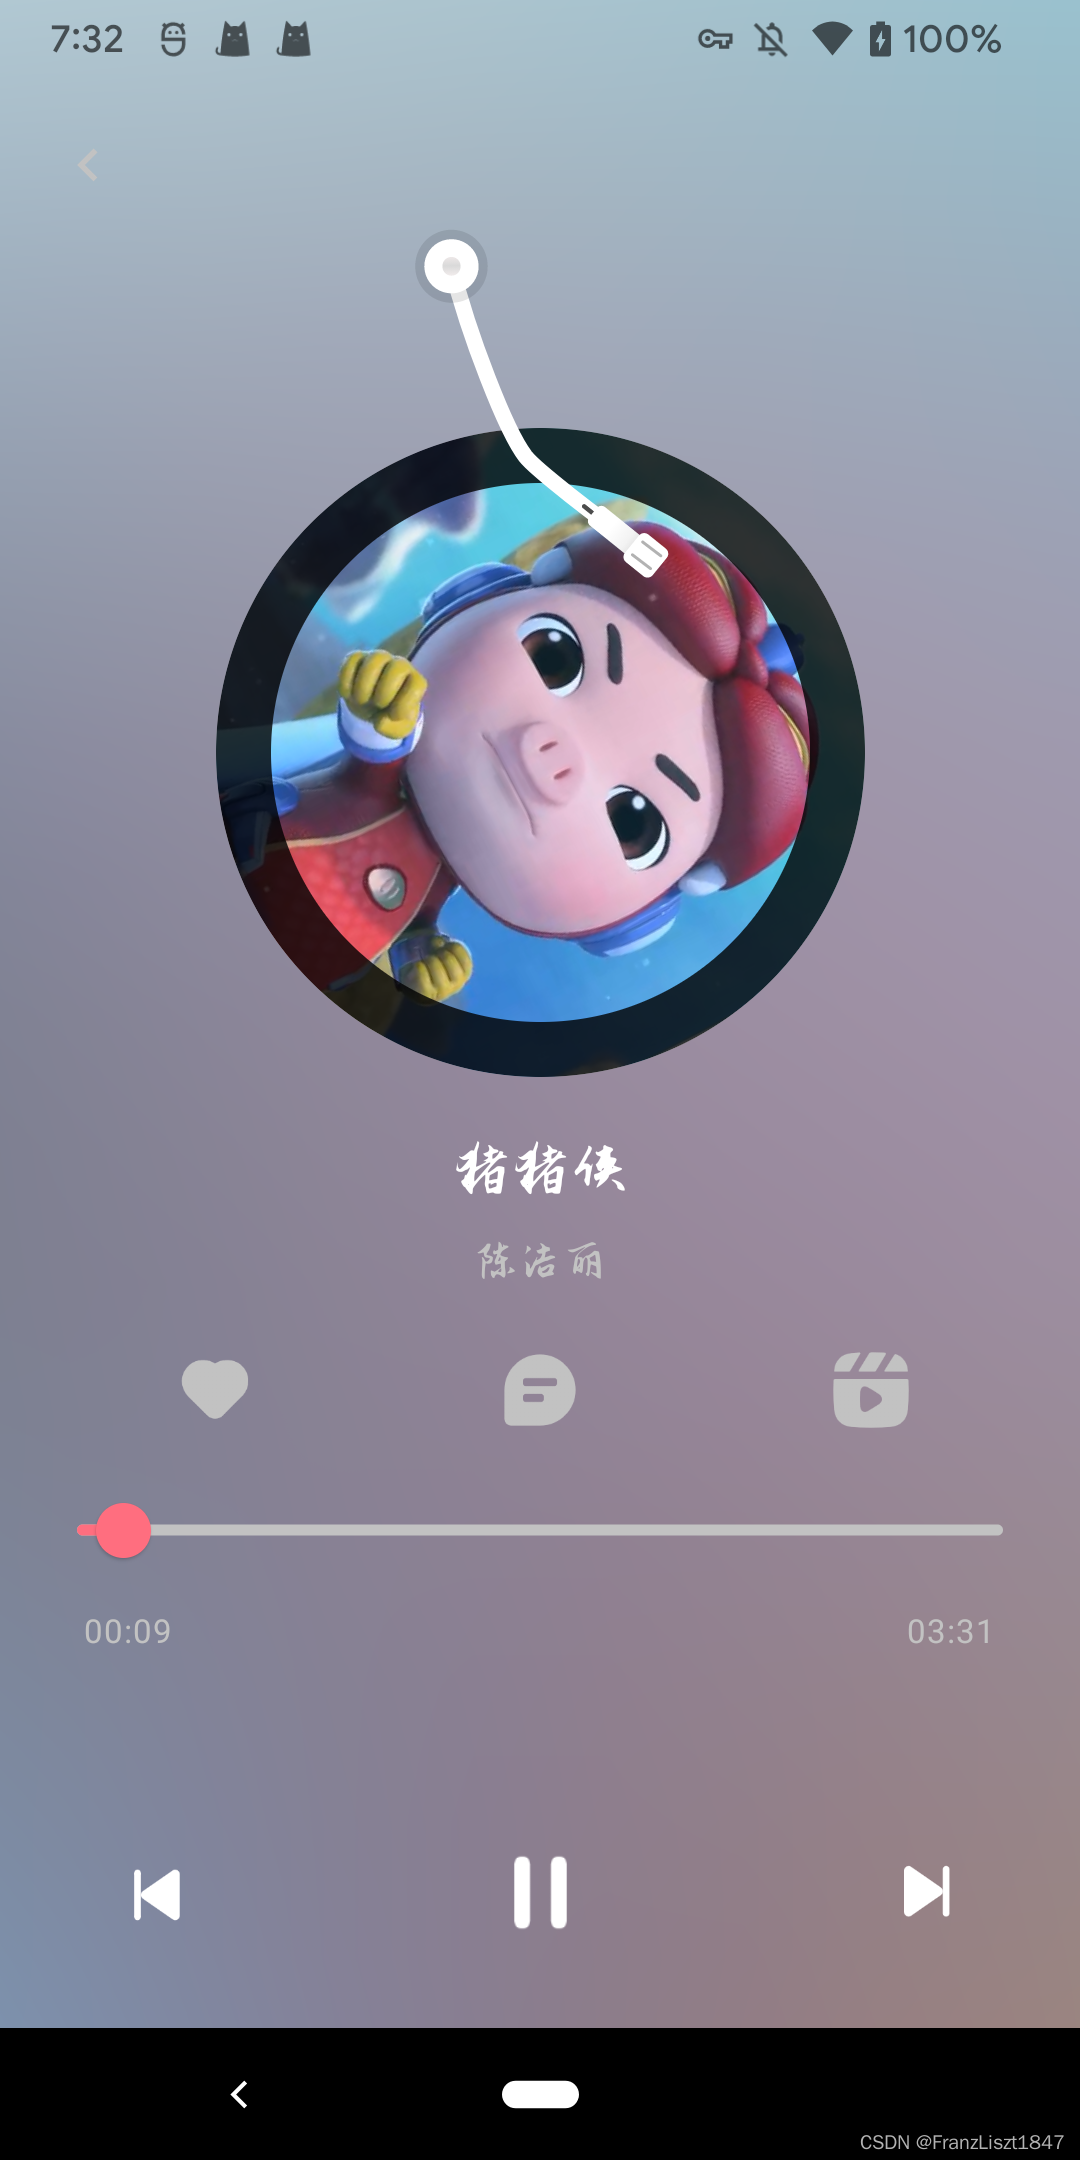

歌曲播放
播放组件使用Media3-Exoplayer,通过hilt注入Exoplayer、MediaSession以及NotificationManager等依赖,通过在中间层监听Exoplayer播放状态和通过使用ShareFlow将所监听的数据转发至需要更新UI的ViewModel层。
依赖注入
下方通过Hilt提供了AudioAttributes、ExoPlayer、MediaSession、MusicNotificationManager、MusicServiceHandler等依赖,在外部我们只需注入MusicServiceHandler依赖,便可完成数据监听,并更新UI。在中间层MusicServiceHandler我们只需注入ExoPlayer依赖,通过实现其Player.Listener接口的一系列方法,完成对播放状态以及播放数据的监听
@Providesfun provideAudioAttributes():AudioAttributes = AudioAttributes.Builder().setContentType(C.AUDIO_CONTENT_TYPE_MUSIC).setUsage(C.USAGE_MEDIA).build()@OptIn(UnstableApi::class)@Singleton@Providesfun provideMusicExoPlayer(@ApplicationContext context: Context,audioAttributes: AudioAttributes):ExoPlayer = ExoPlayer.Builder(context).setAudioAttributes(audioAttributes, true).setHandleAudioBecomingNoisy(true).setTrackSelector(DefaultTrackSelector(context)).build()@Provides@Singletonfun provideMediaSession(@ApplicationContext context: Context,player: ExoPlayer,): MediaSession = MediaSession.Builder(context, player).build()@Provides@Singletonfun provideNotificationManager(@ApplicationContext context: Context,player: ExoPlayer,): MusicNotificationManager = MusicNotificationManager(context = context,exoPlayer = player)@Provides@Singletonfun provideServiceHandler(exoPlayer: ExoPlayer,musicUseCase: MusicUseCase,service: MusicApiService): MusicServiceHandler= MusicServiceHandler(exoPlayer = exoPlayer,musicUseCase = musicUseCase,service = service)
设置播放源
为了避免重复无效网络请求,对歌曲URL进行本地缓存,已经拥有URL的歌曲便不再重复获取URL,直接将其设置为当前播放项,通过MediaMetadata设置媒体相关信息,便于之后在开启前台通知栏服务时,获取相关信息
private suspend fun replaceMediaItem(index: Int){if (playlist.isEmpty())returncurrentPlayIndex = indexif (!playlist[currentPlayIndex].isLoading) {//未加载getMusicUrl(playlist[currentPlayIndex].songID){ url,duration,size->playlist[currentPlayIndex].url = urlplaylist[currentPlayIndex].duration = durationplaylist[currentPlayIndex].isLoading = trueplaylist[currentPlayIndex].size = CommonUtil.formatFileSize(size.toDouble())setMediaItem(playlist[currentPlayIndex])}}else{setMediaItem(playlist[currentPlayIndex])}}private suspend fun setMediaItem(bean: SongMediaBean){exoPlayer.setMediaItem(MediaItem.Builder().setUri(bean.url) //播放链接.setMediaMetadata(MediaMetadata.Builder().setArtist(bean.artist) //歌手.setTitle(bean.songName) //歌曲名称.setSubtitle(bean.artist) // 歌手.setArtworkUri(bean.cover.toUri()) //封面.setDescription("${bean.songID}").build()).build())exoPlayer.prepare()exoPlayer.playWhenReady = truestartProgress()_eventFlow.emit(AudioPlayState.CurrentPlayItem(playlist[currentPlayIndex]))_eventFlow.emit(AudioPlayState.Playing(true))}
播放进度
通过JOB开启一个协程,并每隔0.5s获取一次当前播放进度,并通过ShareFlow传递到下游
/*** 为歌曲播放时,每隔0.5s查询一次当前播放progress,并通知UI进行更新*/private suspend fun startProgress() = job.run {while(true){delay(500L)_eventFlow.emit(AudioPlayState.Progress(exoPlayer.currentPosition,exoPlayer.duration))}}/*** 当歌曲暂停时,停止更新progress*/private suspend fun stopProgress(){job?.cancel()_eventFlow.emit(AudioPlayState.Playing(false))}
上一首&下一首
每次APP首次加载时,将缓存到本地的播放列表项取出存储到进程中,之后的每次数据更新都在进程中的播放列表进行变化,并变更到数据库
fun getNextIndex():Int = (currentPlayIndex + 1) % playlist.sizefun getPriorIndex(): Int =if (currentPlayIndex <= 0)playlist.size - 1else(currentPlayIndex - 1) % playlist.size/*** 切换播放列表下一首*/private suspend fun next(){if (playlist.isNotEmpty()){val next = getNextIndex()replaceMediaItem(next)}else{currentPlayIndex = -1}}/*** 切换播放列表上一首*/private suspend fun prior(){if (playlist.isNotEmpty()){val prior = getPriorIndex()replaceMediaItem(prior)}else{currentPlayIndex = -1}}
UI响应
在需要响应数据的ViewModel层,只需注入MusicServiceHandler依赖即可,并对其传递的事件进行监听,并根据事件状态,做出不同的处理,在ViewModel从对各数据值通过mutableStateOf封装在一个data class中,并绑定至Composable函数中,当ViewModel值的状态发生改变时,UI界面及时响应变更并更新UI
private fun playerStatus(){viewModelScope.launch(Dispatchers.IO) {musicServiceHandler.eventFlow.collect {when(it){is AudioPlayState.Ready->{_uiStatus.value = uiStatus.value.copy(totalDuration = transformTime(it.duration))}is AudioPlayState.Buffering->{calculateProgress(it.progress,it.duration)}is AudioPlayState.Playing->{_uiStatus.value = uiStatus.value.copy(isPlaying = it.isPlaying)}is AudioPlayState.Progress->{calculateProgress(it.progress,it.duration)val line = matchLyric(it.progress)_uiStatus.value = _uiStatus.value.copy(currentLine = line)}is AudioPlayState.CurrentPlayItem->{if (it.bean != null){_uiStatus.value = uiStatus.value.copy(artist = it.bean.artist,name = it.bean.songName,cover = it.bean.cover,musicID = it.bean.songID,totalDuration = transformTime(it.bean.duration))//同步更新数据库musicUseCase.updateUrl(it.bean.songID,it.bean.url)musicUseCase.updateLoading(it.bean.songID, true)musicUseCase.updateDuration(it.bean.songID, it.bean.duration)musicUseCase.updateSize(it.bean.songID, it.bean.size)}}is AudioPlayState.Reenter->{if (it.bean != null){_uiStatus.value = uiStatus.value.copy(artist = it.bean.artist,name = it.bean.songName,cover = it.bean.cover,musicID = it.bean.songID,totalDuration = transformTime(it.bean.duration))}}is AudioPlayState.NetworkFailed->{_eventFlow.emit(MusicPlayerStatus.NetworkFailed(it.msg))}}}}}
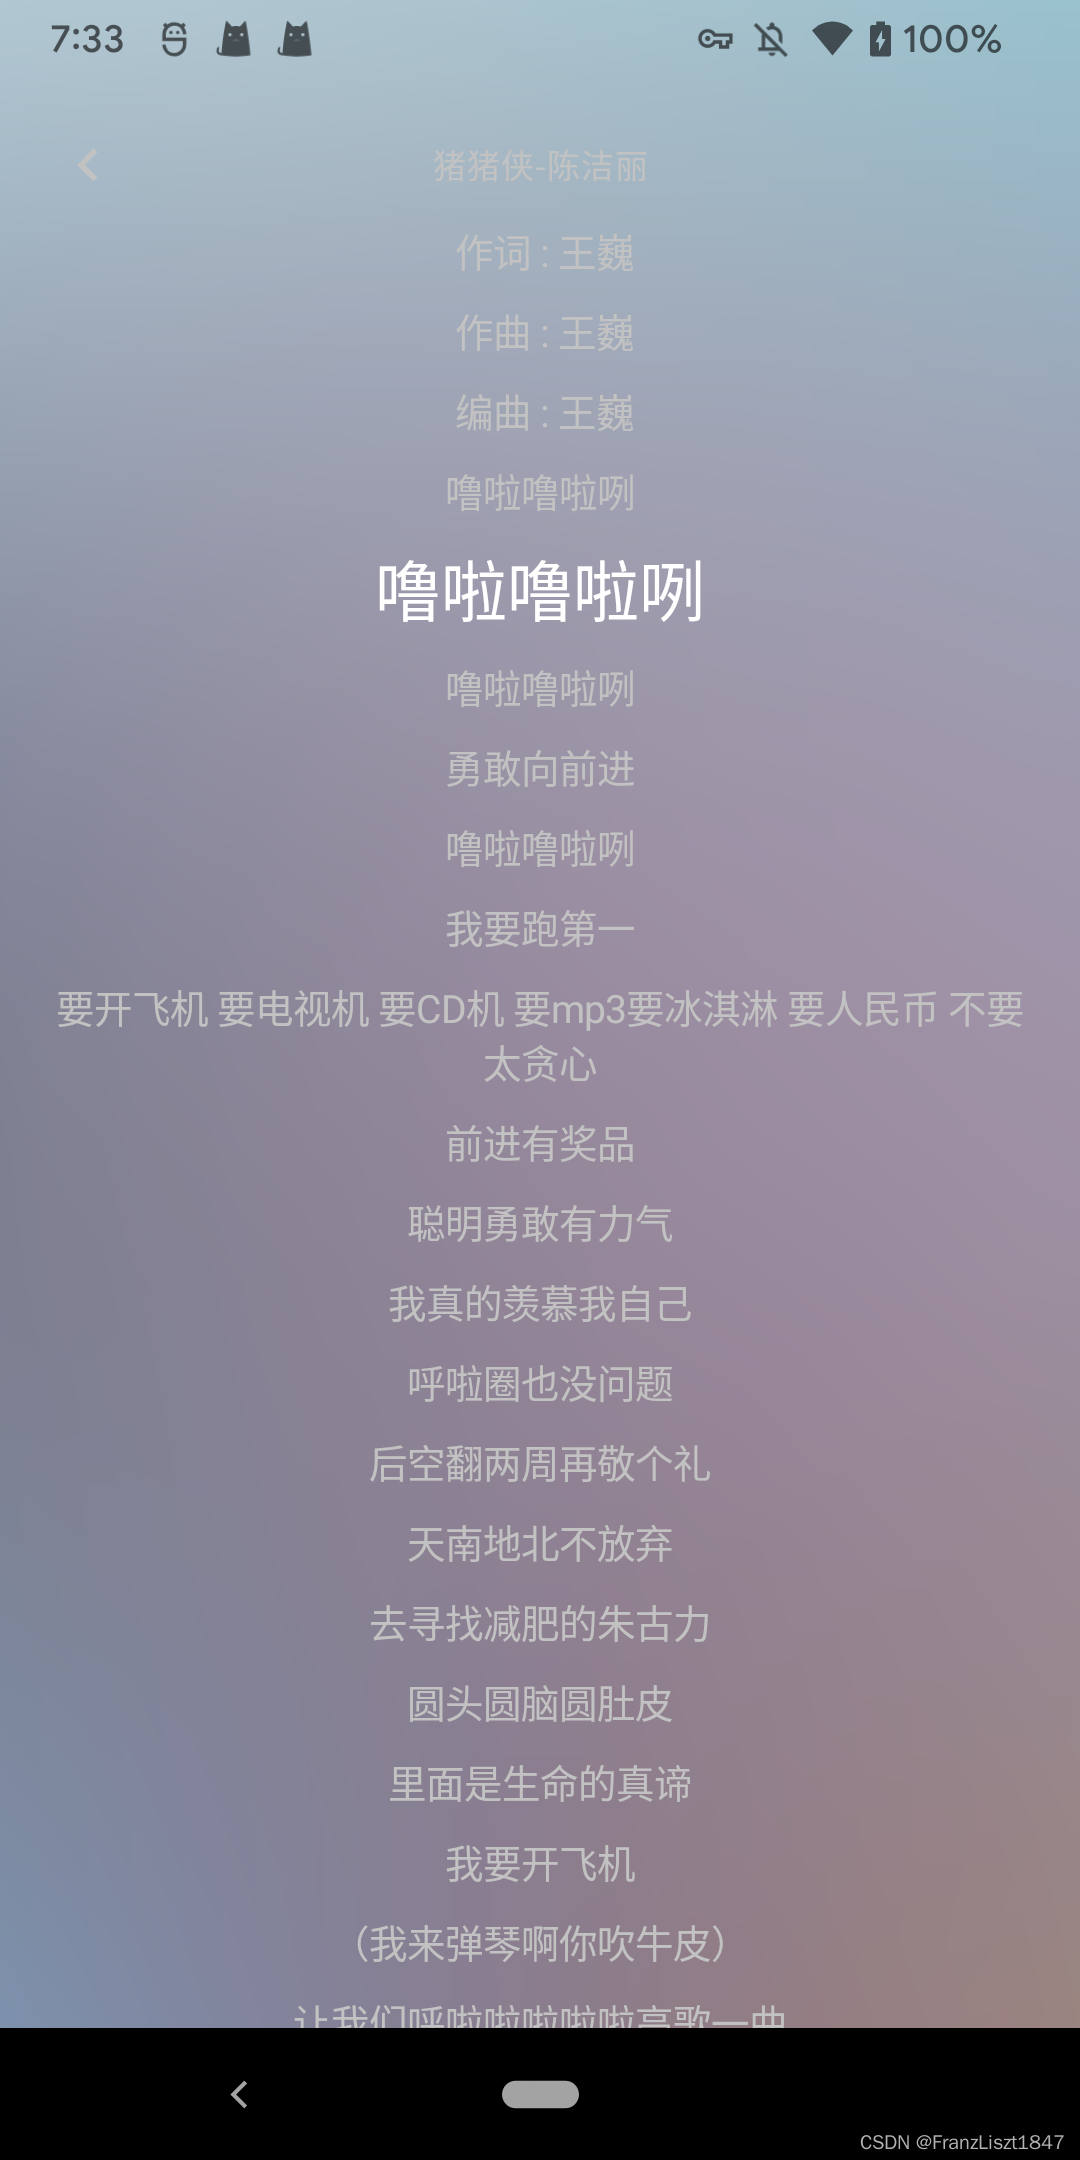
歌词
歌词解析
此项目采用的是歌词逐行解析,首先了解一下lrc歌词格式
[00:18.466]今天我 寒夜里看雪飘过
分别代表[分:秒:毫秒]内容
逐行歌词解析主要采用两个正则表达式:一个将所有歌词拆分成行的形式,一个解析每一行的内容
其中“(.+)”是匹配任意长度字符,"\\d"是匹配0-9任一数字,“\\d{2,3}”是匹配2位或者3位数字
private val PATTERN_LINE = Pattern.compile("((\\[\\d\\d:\\d\\d\\.\\d{2,3}\\])+)(.+)")
private val PATTERN_TIME = Pattern.compile("\\[(\\d\\d):(\\d\\d)\\.(\\d{2,3})\\]")
解析成行
通过\\n将歌词解析成数行,此处\\为转义字符,实为\,故\\n为\n,意味换行符。然后对每一行歌词进行解析
fun parseLyric(lrcText: String): List<LyricBean>? {if (lrcText.isEmpty()) {return null}val entityList: MutableList<LyricBean> = ArrayList<LyricBean>()// 以换行符为分割点val array = lrcText.split("\\n".toRegex()).dropLastWhile { it.isEmpty() }.toTypedArray()for (line in array) {// 循环遍历按行解析val list: List<LyricBean>? = parseLine(line)list?.let {entityList.addAll(it)}}// 以时间为基准,从小到大排列entityList.sortBy {it.time}return entityList}
逐行解析
由于此处部分歌曲的歌词URL并未严格遵守lrc格式,部分歌曲歌词首部作者信息等使用JSON字符进行返回,所有在对每一行进行解析时,对此情况进行JSON处理,然后解析添加到歌词列表中。余下,便是常规lrc正则表达式判定,并读取其中的数据
/*** 解析每一句歌词* 其中头部和尾部存在歌手、编曲等JSON信息* 中间为标准LRC歌词格式* @param line*/private fun parseLine(line: String): List<LyricBean>? {var newLine = lineval entryList: MutableList<LyricBean> = ArrayList<LyricBean>()if (newLine.isEmpty()) {return null}// 去除空格newLine = line.trim { it <= ' ' }/*** 作者等信息:* [{"t":0,"c":[{"tx":"作词: "},{"tx":"黄家驹","li":"http://p1.music.126.net/2rERC5bz1BD0GZrU06saTw==/109951166629360845.jpg","or":"orpheus://nm/artist/home?id=189688&type=artist"}]},* {"t":1000,"c":[{"tx":"作曲: "},{"tx":"黄家驹","li":"http://p1.music.126.net/2rERC5bz1BD0GZrU06saTw==/109951166629360845.jpg","or":"orpheus://nm/artist/home?id=189688&type=artist"}]},* {"t":2000,"c":[{"tx":"编曲: "},{"tx":"Beyond"},{"tx":"/"},{"tx":"梁邦彦"}]},* {"t":3000,"c":[{"tx":"制作人: "},{"tx":"Beyond"},{"tx":"/"},{"tx":"梁邦彦"}]},* {"t":271852,"c":[{"tx":"录音: "},{"tx":"Shunichi Yokoi"}]}]* *//**** 歌词和时间:[00:18.466]今天我 寒夜里看雪飘过* */val lineMatcher: Matcher = PATTERN_LINE.matcher(newLine)// 正则表达式,判断line中是否包含“[00:00.00]xxx”格式的内容"// 如果没有,则为JSON字符串try {if (!lineMatcher.matches()) {if (!PATTERN_TIME.matcher(newLine).matches()){//解析作者等信息val infoBean = GsonFormat.fromJson(newLine,LyricAuthorBean::class.java)var content = ""infoBean.c.forEach {//将所有信息组成一行content += it.tx}entryList.add(LyricBean(infoBean.t,content))}else{//某一行歌词只包含“[00:00.00]”内容,不包含文字,则不进行处理return null}}}catch (e:Exception){println(e.message)return null}// 获取文本内容val text: String? = lineMatcher.group(3)// 获取时间标签val times: String? = lineMatcher.group(1)val timeMatcher: Matcher? = times?.let { PATTERN_TIME.matcher(it) }if (timeMatcher != null) {//将时间转为毫秒级while (timeMatcher.find()) {val min: Long = timeMatcher.group(1)?.toLong() ?:0L // 分val sec: Long = timeMatcher.group(2)?.toLong() ?:0L // 秒val mil: Long = timeMatcher.group(3)?.toLong() ?:0L // 毫秒val time: Long = min * DateUtils.MINUTE_IN_MILLIS + sec * DateUtils.SECOND_IN_MILLIS + mil * 10entryList.add(LyricBean(text = text ?: "", time = time))}}return entryList}
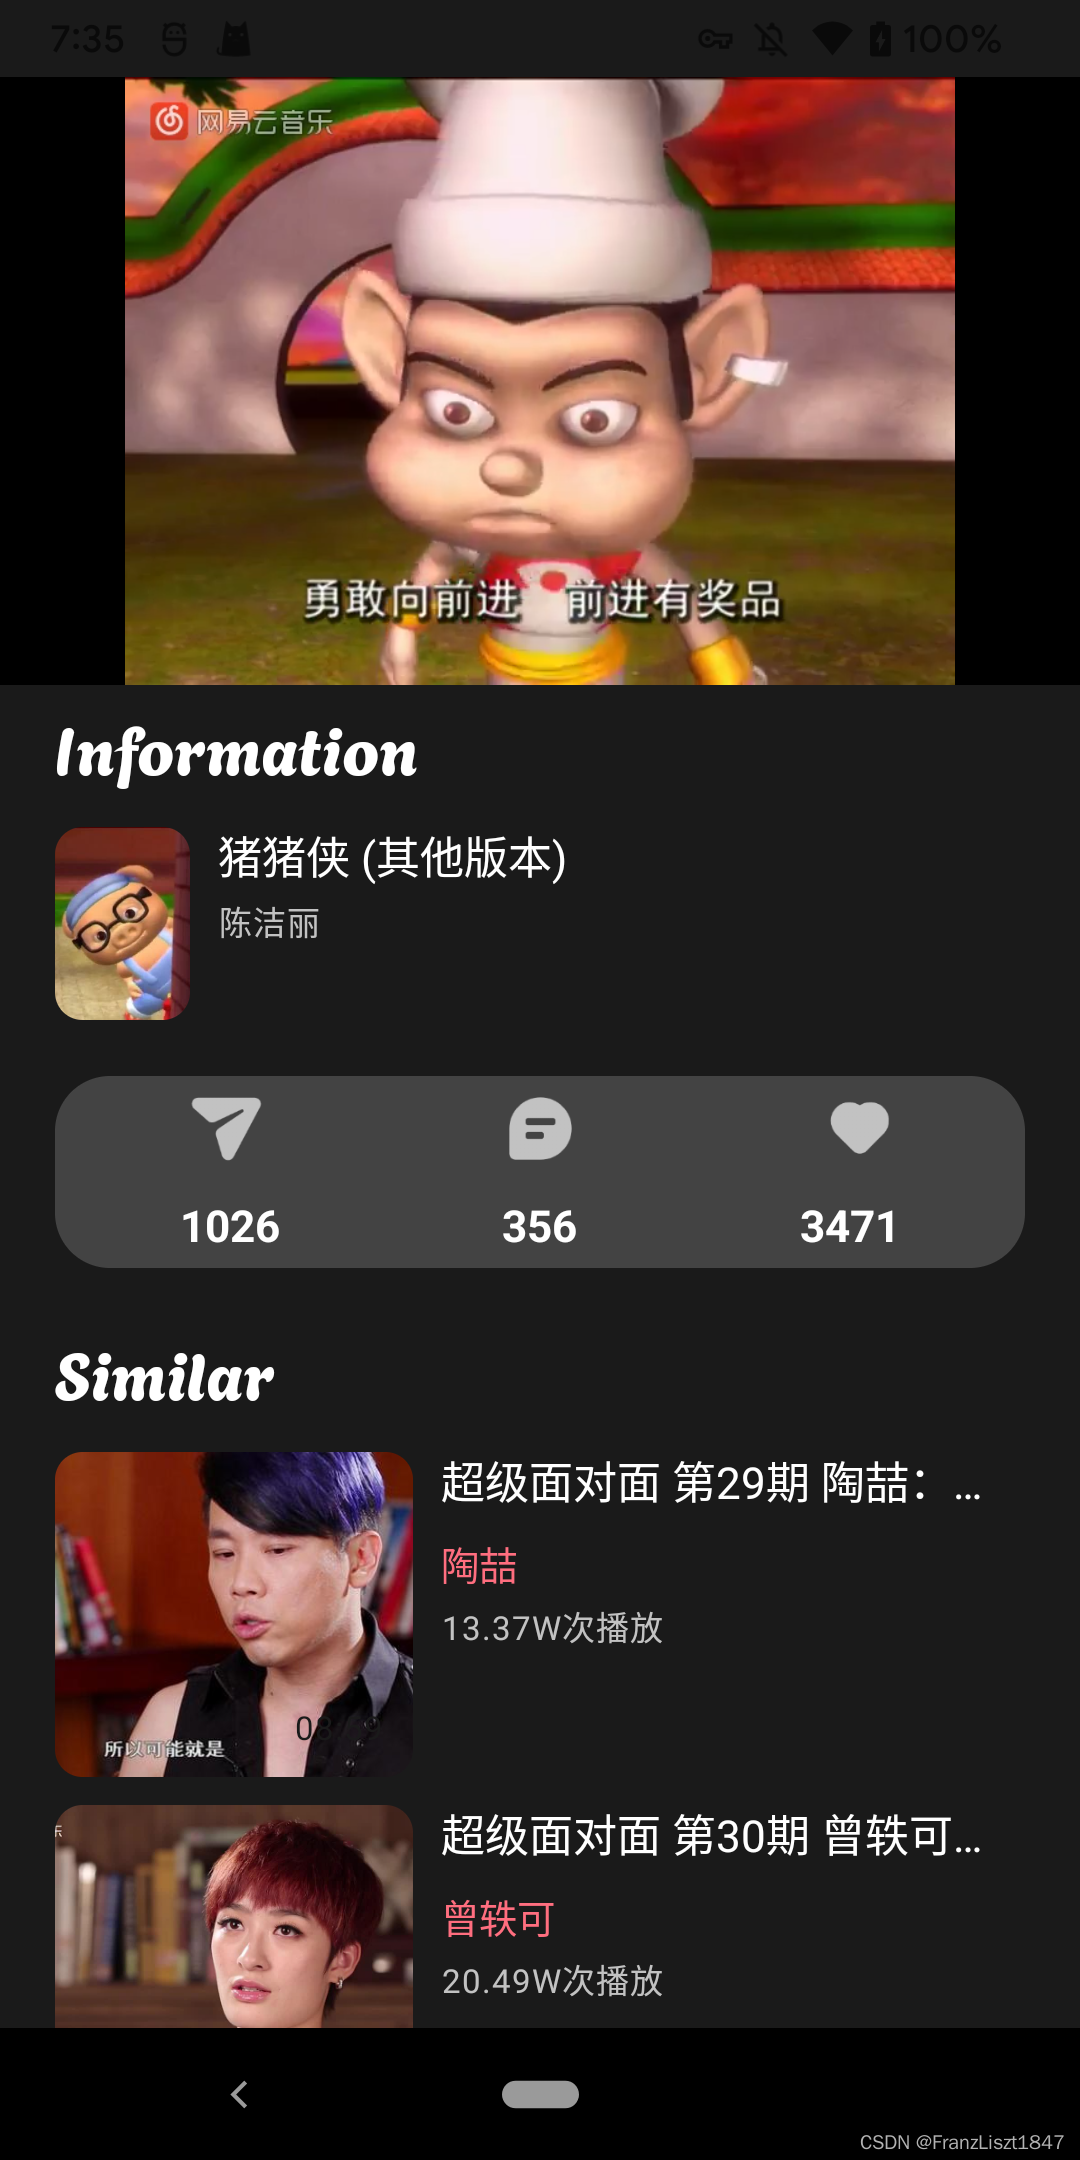
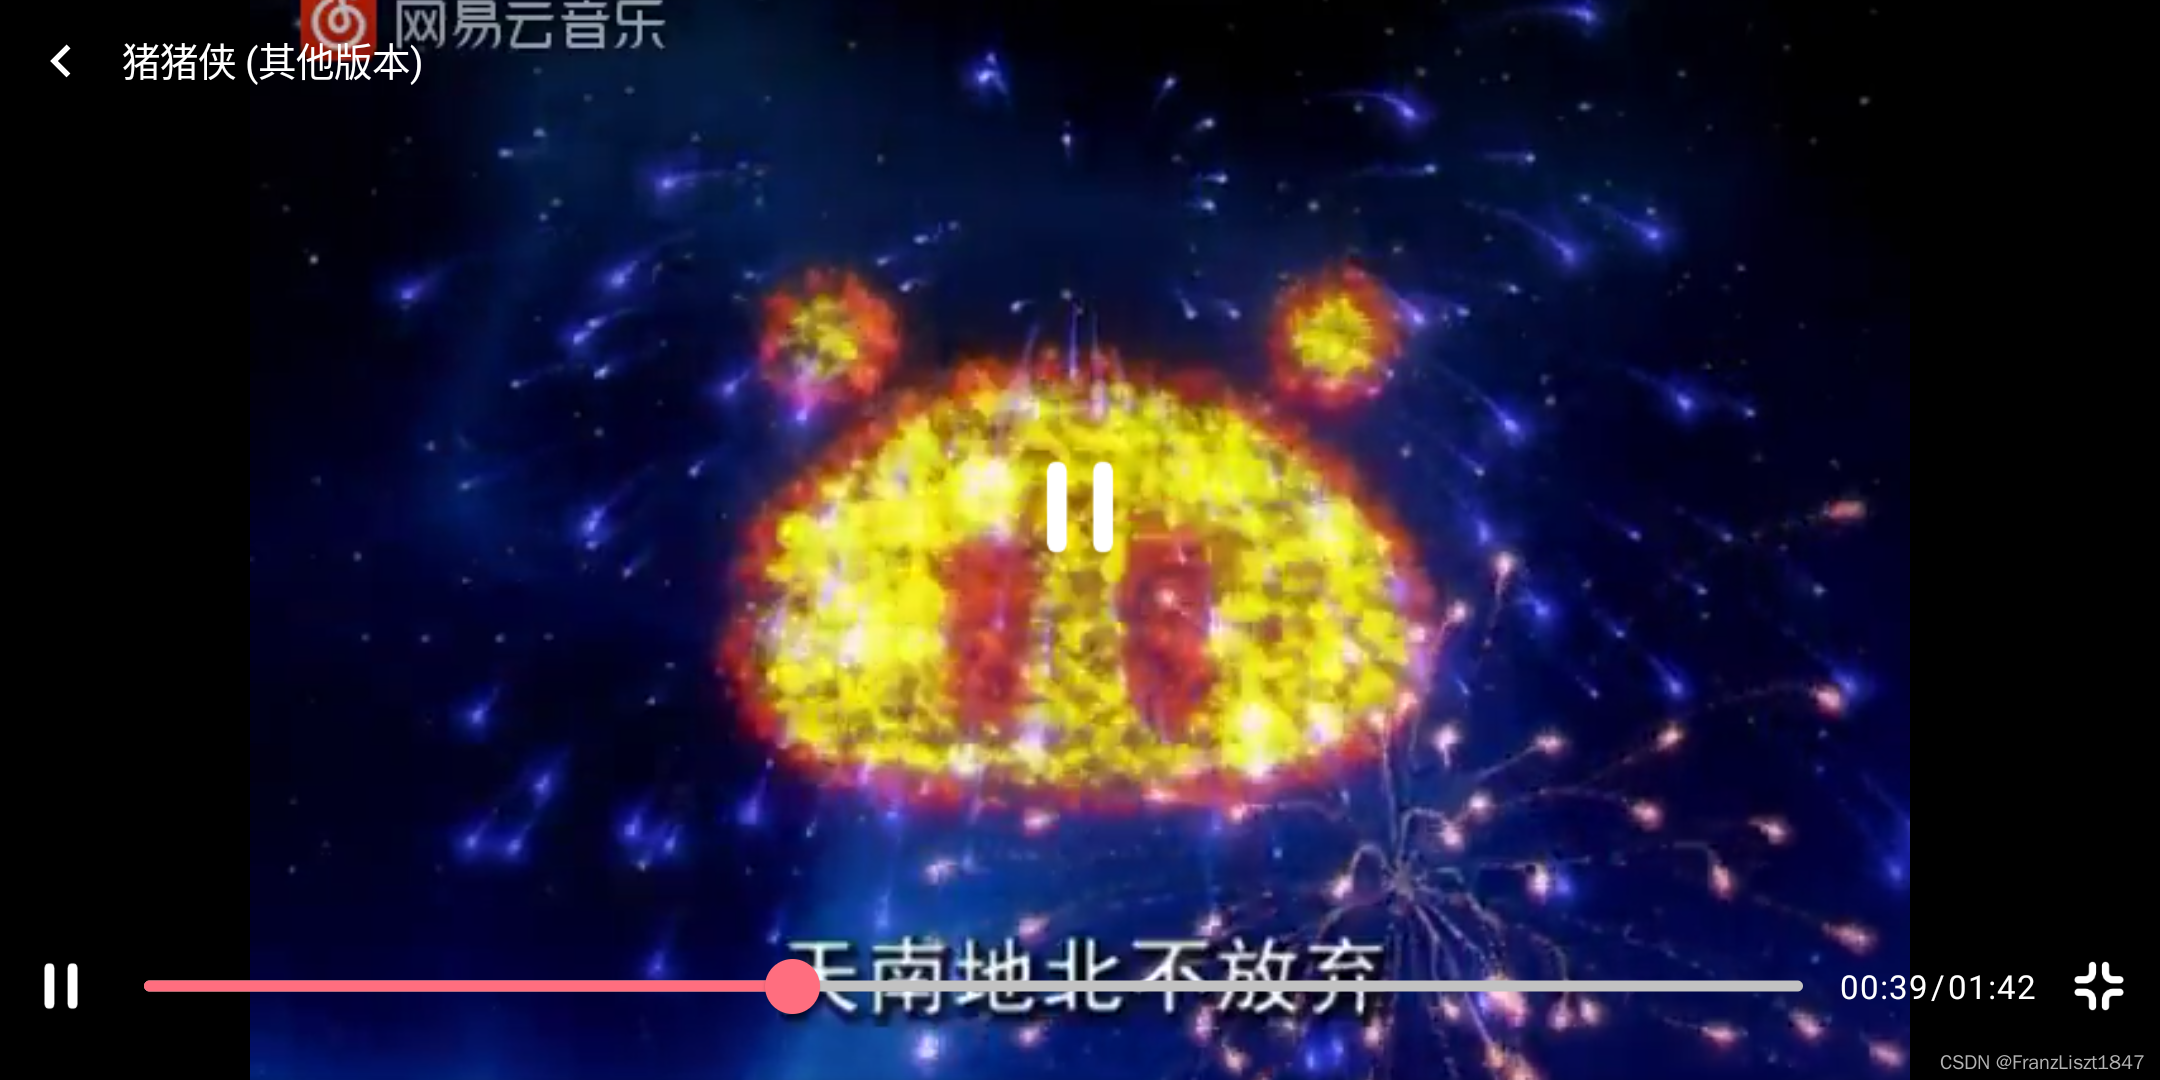
视频播放
视频播放依旧使用的是Media3-Exoplayer组件,相对于音频资源播放,需要稍加封装。此项目对Exoplayer进行了自定义样式处理、竖屏和横屏切换处理、通知栏媒体样式前台服务处理等。视频播放分为MV和MLOG两种类型,所衍生出两个不同UI的界面,其中播放逻辑基本一致,此处便以其中一处作为讲解示例


AndroidView引入Exoplayer
在Compose中还并未有PlayerView对应的组件,所有需要通过AndroidView进行引入,其中factory为初始化组件参数,update为当状态发生变化,导致发生重组时,更新相对应的数据。其中useController = false意味不使用其自带的控件,例如播放、暂停、进度条等
AndroidView(factory = { context->PlayerView(context).apply {viewModel.mediaController.valueuseController = falselayoutParams = FrameLayout.LayoutParams(ViewGroup.LayoutParams.MATCH_PARENT,ViewGroup.LayoutParams.MATCH_PARENT)}},update = {if (it.player == null)it.player = viewModel.mediaController.valuewhen(lifecycle.value){Lifecycle.Event.ON_STOP-> {it.onPause()it.player?.stop()}Lifecycle.Event.ON_PAUSE-> {it.onPause()it.player?.pause()}Lifecycle.Event.ON_RESUME-> it.onResume()else-> Unit}},modifier = Modifier.fillMaxWidth().aspectRatio(16 / 9f).clickable { viewModel.onPlayEvent(MvPlayerEvent.ShowControlPanel) }.background(MagicMusicTheme.colors.black).constrainAs(playerRes){start.linkTo(parent.start)end.linkTo(parent.end)top.linkTo(parent.top)})
自定义Exoplayer样式
通过useController = false不使用自带的控件后,将播放控件分为竖屏和横屏两种状态,并通过AnimatedVisibility进行显示与隐藏,具体的代码便不在贴出,可以点击文末项目链接进行浏览。总体思路便是不使用自带的控件,然后将自己需要的控件样式与AndroidView引入的Exoplayer进行组合
ConstraintLayout(modifier = Modifier.fillMaxSize().background(MagicMusicTheme.colors.background).statusBarsPadding().navigationBarsPadding()){val (playerRes,controlRes,similarRes) = createRefs()AndroidView(factory = { context->PlayerView(context).apply { //省略不必要代码... }},update = { //省略不必要代码... })//竖屏播放控件PlayerControls(isPlaying = value.isPlaying,isVisible = value.isVisibility && !value.isFullScreen,progress = value.progress,currentPosition = value.currentPosition,bean = value.mvInfo,onBack = onBack,onChangeProgress = { viewModel.onPlayEvent(MvPlayerEvent.ChangeProgress(it)) },onPlayOrPause = { viewModel.onPlayEvent(MvPlayerEvent.PlayOrPause) },onFullScreen = { viewModel.onPlayEvent(MvPlayerEvent.FullScreen) },modifier = Modifier.fillMaxWidth().constrainAs(controlRes){start.linkTo(parent.start)end.linkTo(parent.end)top.linkTo(playerRes.top)bottom.linkTo(playerRes.bottom)})AnimatedVisibility(visible = !value.isFullScreen,enter = EnterTransition.None,exit = ExitTransition.None,modifier = Modifier.constrainAs(similarRes){start.linkTo(parent.start)end.linkTo(parent.end)top.linkTo(playerRes.bottom)}){LazyColumn(verticalArrangement = Arrangement.spacedBy(10.dp),contentPadding = PaddingValues(start = 20.dp, end = 20.dp, bottom = 10.dp, top = 5.dp),modifier = Modifier.fillMaxWidth().background(MagicMusicTheme.colors.background)){//省略不必要代码...}}//全屏时的播放控件AnimatedVisibility(visible = value.isFullScreen && value.isVisibility,enter = EnterTransition.None,exit = ExitTransition.None,) {if (value.mvInfo != null){FullScreenControl(progress = value.progress,currentPosition = value.currentPosition,title = value.mvInfo.name,duration = value.mvInfo.duration.toLong(),isPlaying = value.isPlaying,onExitFullScreen = { viewModel.onPlayEvent(MvPlayerEvent.FullScreen) },onPlayOrPause = { viewModel.onPlayEvent(MvPlayerEvent.PlayOrPause) },onChangeProgress = { viewModel.onPlayEvent(MvPlayerEvent.ChangeProgress(it)) },onShowControl = { viewModel.onPlayEvent(MvPlayerEvent.ShowControlPanel) })}}}}
横竖屏切换
首先在manifest的Activity中添加如下属性,包括对键盘、屏幕方向、屏幕大小的一些配置
android:configChanges="keyboard|keyboardHidden|orientation|screenSize|screenLayout|smallestScreenSize|uiMode"
因为我使用的是单Activity模式,故我讲屏幕旋转逻辑放在MainActivity中,暴露外部一个方法进行调用即可。由于此方法需要一个Context上下参数,故设置了一个懒加载的MainActivity上下文,然后在onCreate中初始化parentThis = this。其中activity.requestedOrientation = orientation语句为完成屏幕旋转的关键,剩下的便是对系统状态栏和导航栏的隐藏和显示逻辑处理
companion object{lateinit var parentThis:MainActivityfun Context.setScreenOrientation(orientation: Int) {val activity = this.findActivity() ?: returnactivity.requestedOrientation = orientationif (orientation == ActivityInfo.SCREEN_ORIENTATION_LANDSCAPE) {hideSystemUi()} else {showSystemUi()}}private fun Context.hideSystemUi() {val activity = this.findActivity() ?: returnval window = activity.window ?: returnWindowCompat.setDecorFitsSystemWindows(window, false)WindowInsetsControllerCompat(window, window.decorView).let { controller ->controller.hide(WindowInsetsCompat.Type.systemBars())controller.systemBarsBehavior = WindowInsetsControllerCompat.BEHAVIOR_SHOW_TRANSIENT_BARS_BY_SWIPE}}private fun Context.showSystemUi() {val activity = this.findActivity() ?: returnval window = activity.window ?: returnWindowCompat.setDecorFitsSystemWindows(window, true)WindowInsetsControllerCompat(window,window.decorView).show(WindowInsetsCompat.Type.systemBars())}private fun Context.findActivity(): Activity? = when (this) {is Activity -> thisis ContextWrapper -> baseContext.findActivity()else -> null}}
在ViewModel中响应的横竖屏按钮切换事件处理,便可以直接引用上述暴露的方法,并在最后变更当前屏幕状态,让UI界面进行重组
with(MainActivity.parentThis){if (_uiState.value.isFullScreen){//纵向setScreenOrientation(orientation = ActivityInfo.SCREEN_ORIENTATION_PORTRAIT)}else{//横向setScreenOrientation(orientation = ActivityInfo.SCREEN_ORIENTATION_LANDSCAPE)}}_uiState.value = uiState.value.copy(isFullScreen = !_uiState.value.isFullScreen)
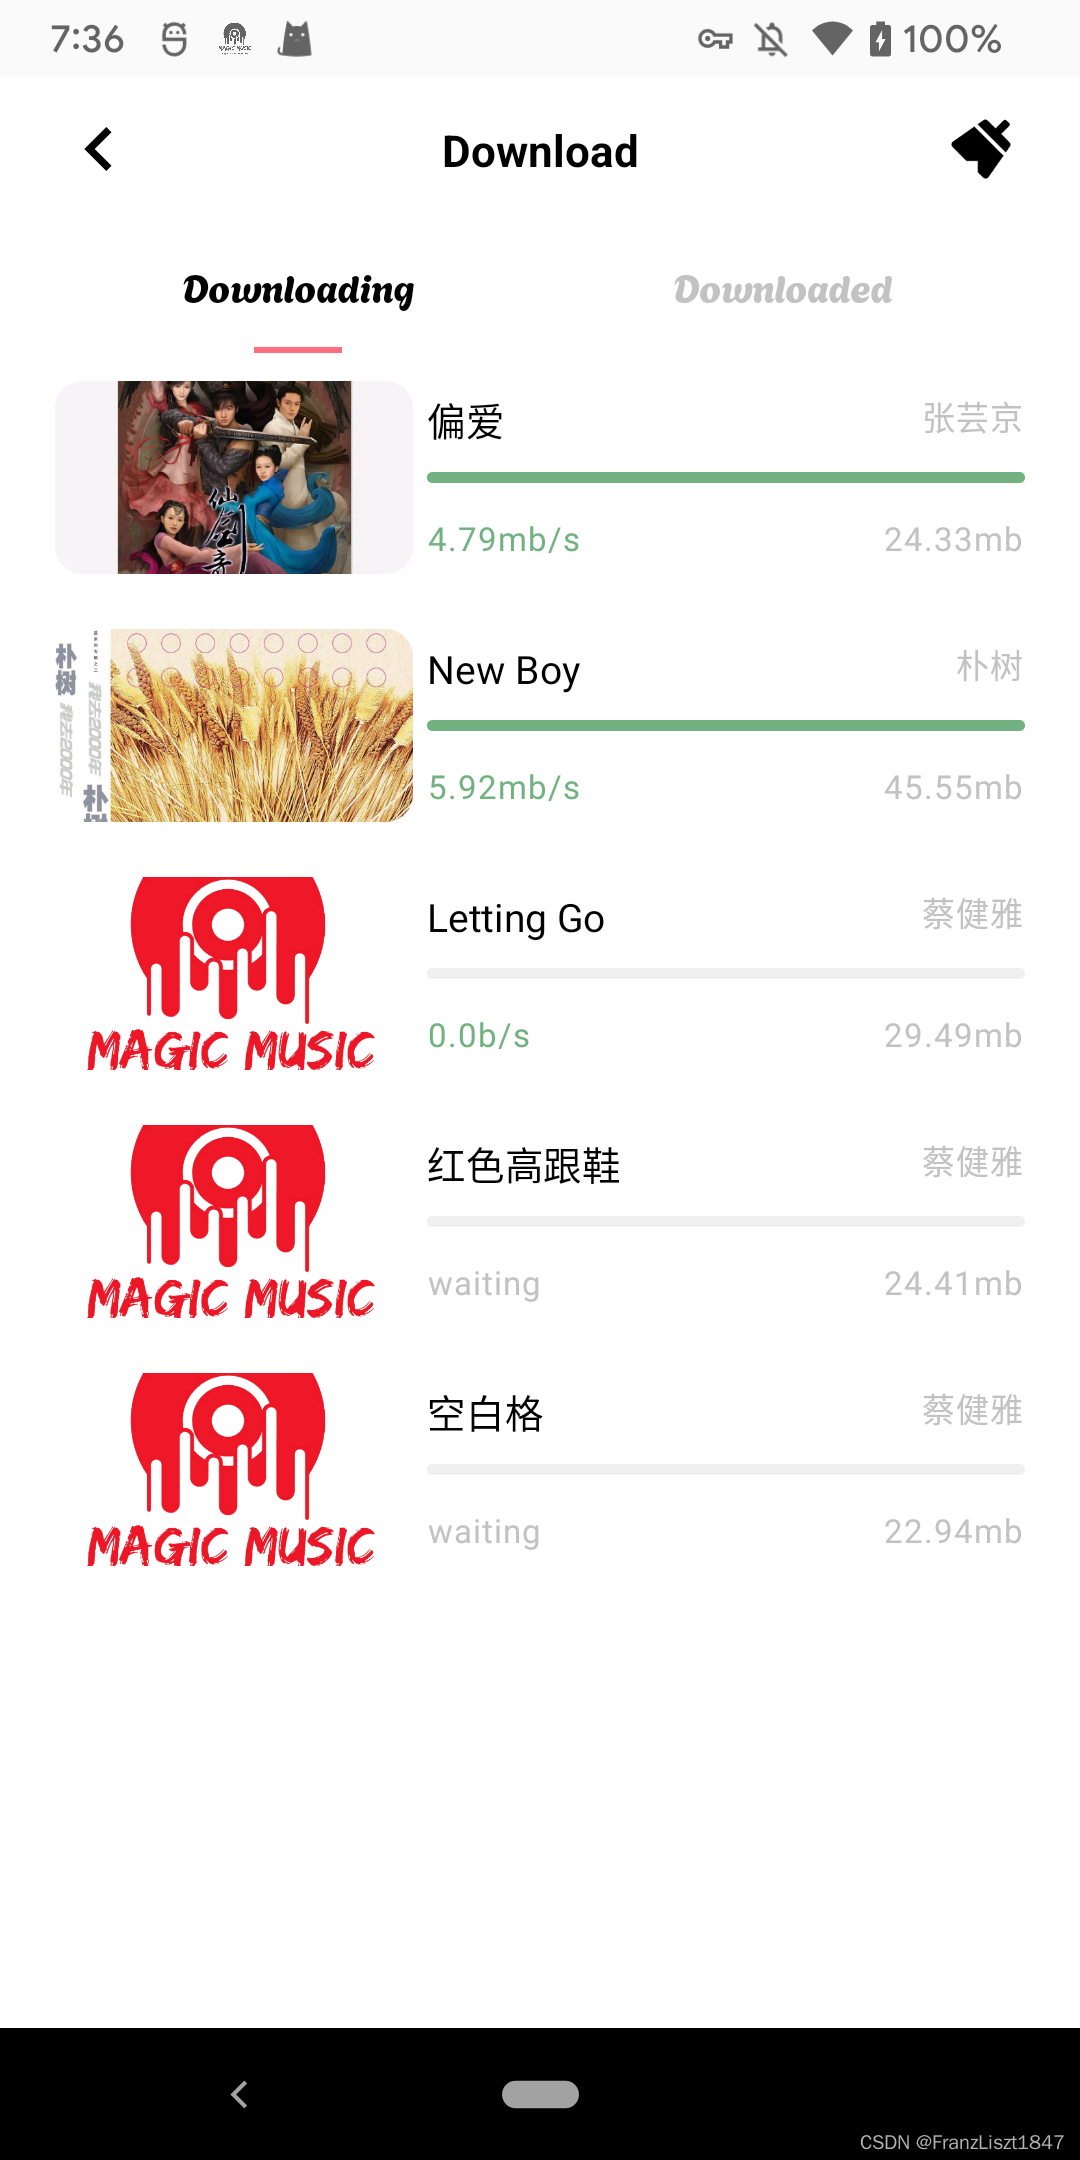
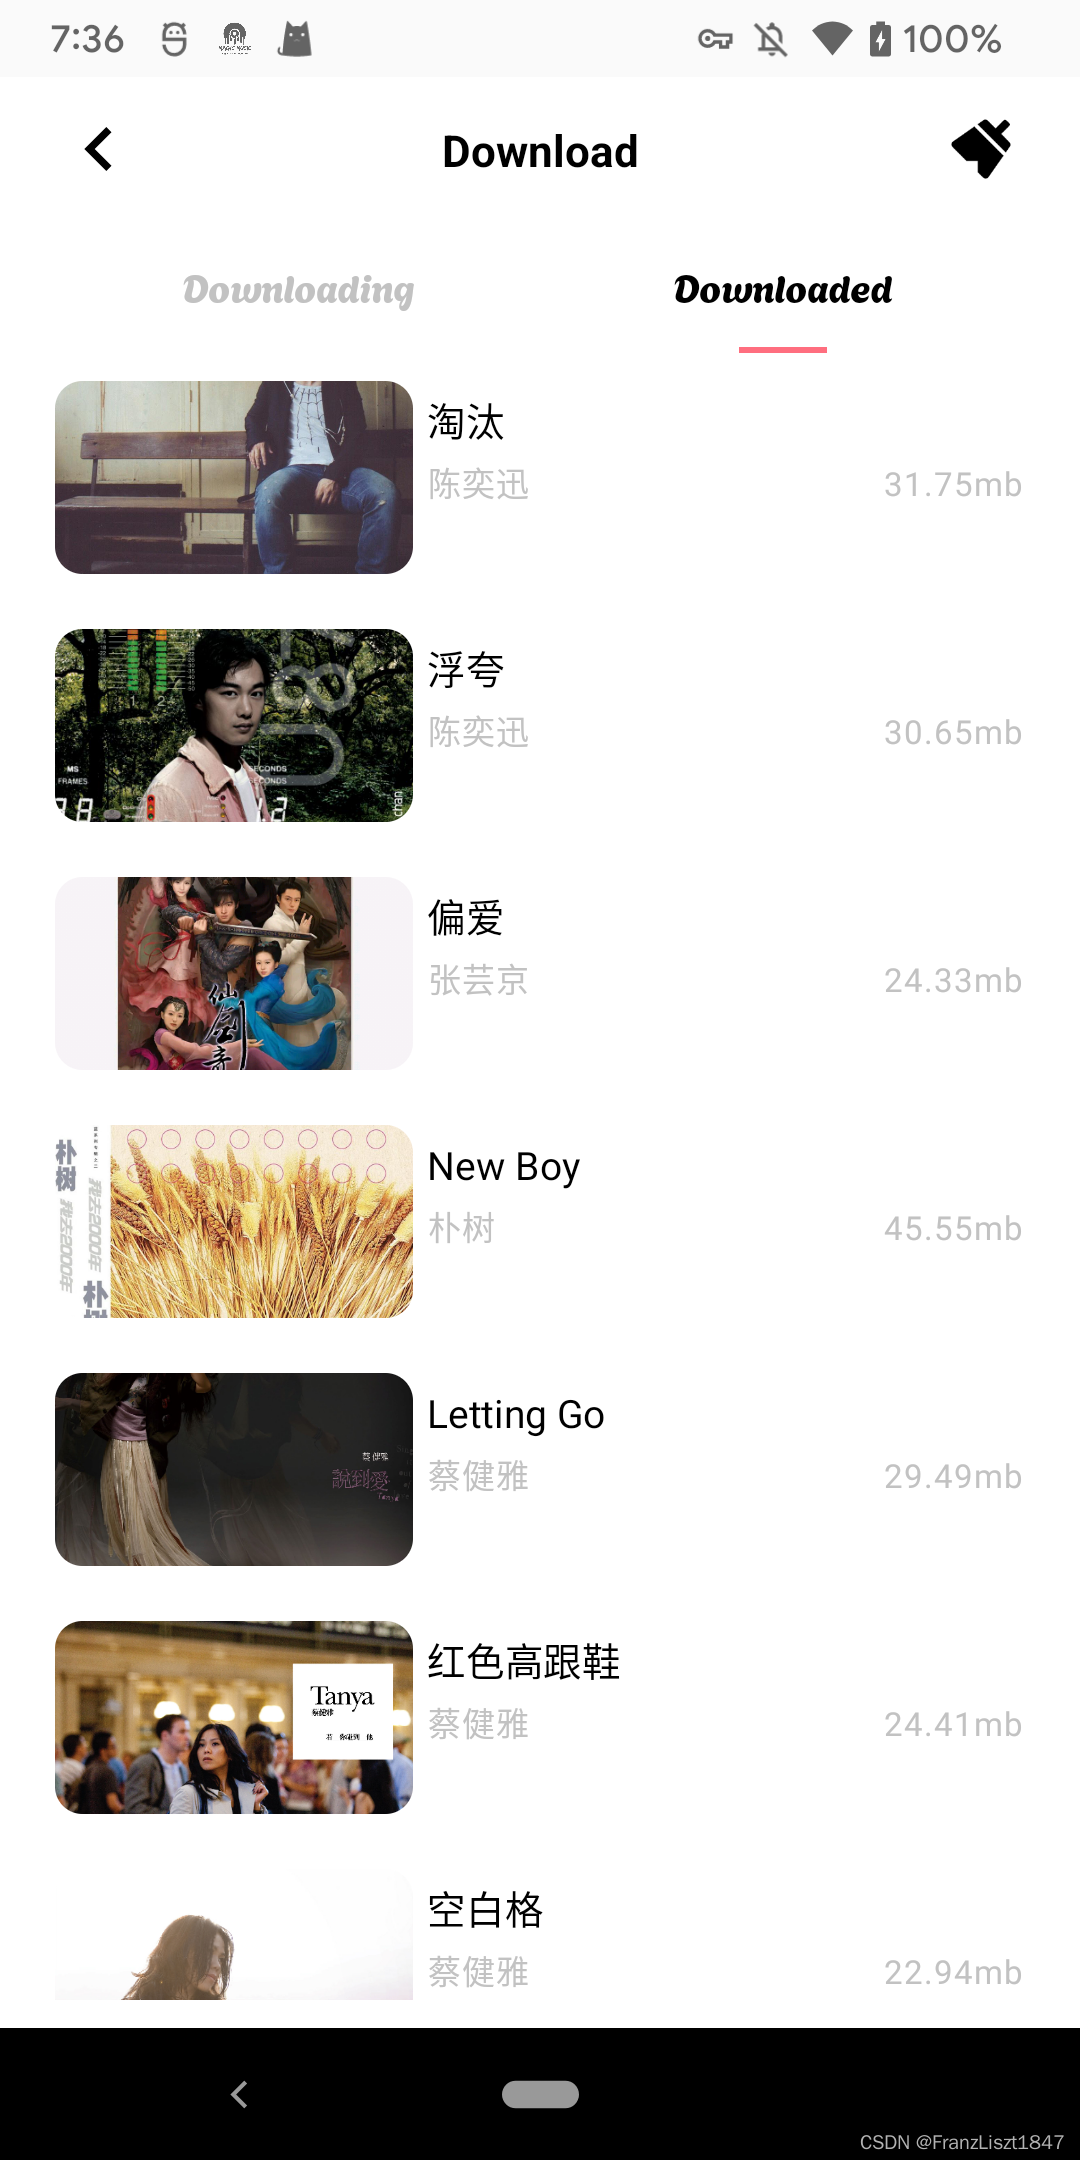
歌曲多任务下载
歌曲下载采用Aria Library实现多任务下载,并实现前台服务下载,在通知栏显示下载进度。在外部开启下载服务,通过startService方式启动,并通过将下载回调通过接口进行返回,然后在中间层DownloadHandler通过bindService绑定服务,并通过其中的binder获取当前service,然后实现接返回的接口,并通过ShareFlow传递至下游的ViewModel。
 ### Service 在`DownloadService`中完成Aria注册,初始化等配置,并实现`DownloadTaskListener`接口,继承其一系列方法,并注册接口回调,供中间层接收下载进度
fun setDownloadListener(listener: DownloadListener){this.listener = listener}private fun onDownloadListener(task: DownloadTask,msg:String){if (this::listener.isInitialized){listener.onDownloadState(task,msg)}}
下列为实现DownloadTaskListener的一系列接口,对不同的下载状态进行处理,然后将处理结果通过onDownloadListener进行回调至中间层
/*** 任务预加载*/override fun onPre(task: DownloadTask?) {if (task != null){onDownloadListener(task,"")}}/*** 任务预加载完成*/override fun onTaskPre(task: DownloadTask?) {if (task != null){onDownloadListener(task,"")}}/*** 等待中*/override fun onWait(task: DownloadTask?) {if (task != null){onDownloadListener(task,"")}}/*** 开始下载*/override fun onTaskStart(task:DownloadTask?){if (task != null){onDownloadListener(task,"")}}/*** 下载暂停*/override fun onTaskStop(task:DownloadTask?){if (task != null){onDownloadListener(task,"")}}/*** 下载恢复*/override fun onTaskResume(task:DownloadTask?){if (task != null){onDownloadListener(task,"")}}/*** 下载中*/@RequiresApi(Build.VERSION_CODES.O)override fun onTaskRunning(task:DownloadTask?){if (task != null){task.convertFileSizeval progress = (task.currentProgress * 100 / task.fileSize).toInt()notification.setProgress(progress)onDownloadListener(task,"")}}/*** 任务不支持断点*/override fun onNoSupportBreakPoint(task: DownloadTask?) {if (task != null){onDownloadListener(task,"")}}/*** 下载完成*/override fun onTaskComplete(task:DownloadTask?){if (task != null){val completeList = Aria.download(this).allCompleteTaskval unCompleteList = Aria.download(this).allNotCompleteTaskif (completeList != null && unCompleteList != null && completeList.isNotEmpty() && unCompleteList.isEmpty()){if (Build.VERSION.SDK_INT >= Build.VERSION_CODES.O){stopForeground(Service.STOP_FOREGROUND_DETACH)isForegroundSuc = false}//下载任务全部完成,结束servicestopSelf()}onDownloadListener(task,"")}}/*** 下载失败*/override fun onTaskFail(task: DownloadTask?, e: Exception?){if (task != null){onDownloadListener(task,e?.message.toString())}}/*** 取消下载*/override fun onTaskCancel(task:DownloadTask?){if (task != null){onDownloadListener(task,"")}}
下载处理
在中间层DownloadHandler需要创建下载文件夹,对需求下载的内容进行查重,判断其是否已经被下载,如若已经下载,便不在重复下载、下载状态处理、以及读写权限处理等。下列是对Service中的接口进行监听,并通过将监听的数据处理后,通过ShareFlow分发至下游
@OptIn(DelicateCoroutinesApi::class)private fun downloadListener(downloadService: DownloadService) {downloadService.setDownloadListener(object : DownloadListener {override fun onDownloadState(task: DownloadTask,msg:String) {val index = searchIndex(task.key)if (index == -1) returnGlobalScope.launch(Dispatchers.Main) {when (task.state) {IEntity.STATE_PRE -> {downloadList[index].taskID = task.entity.iddownloadUseCase.updateTaskID(musicID = downloadList[index].musicID,taskID = task.entity.id)_eventFlow.emit(DownloadStateFlow.Prepare(task,index))}IEntity.STATE_WAIT -> {_eventFlow.emit(DownloadStateFlow.Prepare(task,index))}IEntity.STATE_RUNNING -> {_eventFlow.emit(DownloadStateFlow.Running(task,index))}IEntity.STATE_STOP -> {_eventFlow.emit(DownloadStateFlow.Stop(task,index))}IEntity.STATE_CANCEL -> {downloadList.removeAt(index)_eventFlow.emit(DownloadStateFlow.Cancel(task,index))}IEntity.STATE_COMPLETE -> {downloadList[index].download = truedownloadUseCase.updateDownloadState(musicID = downloadList[index].musicID,download = true)Aria.download(this).load(task.entity.id).removeRecord()_eventFlow.emit(DownloadStateFlow.Complete(task,index))}IEntity.STATE_FAIL -> {_eventFlow.emit(DownloadStateFlow.Fail(task,index,msg))}}}}})}
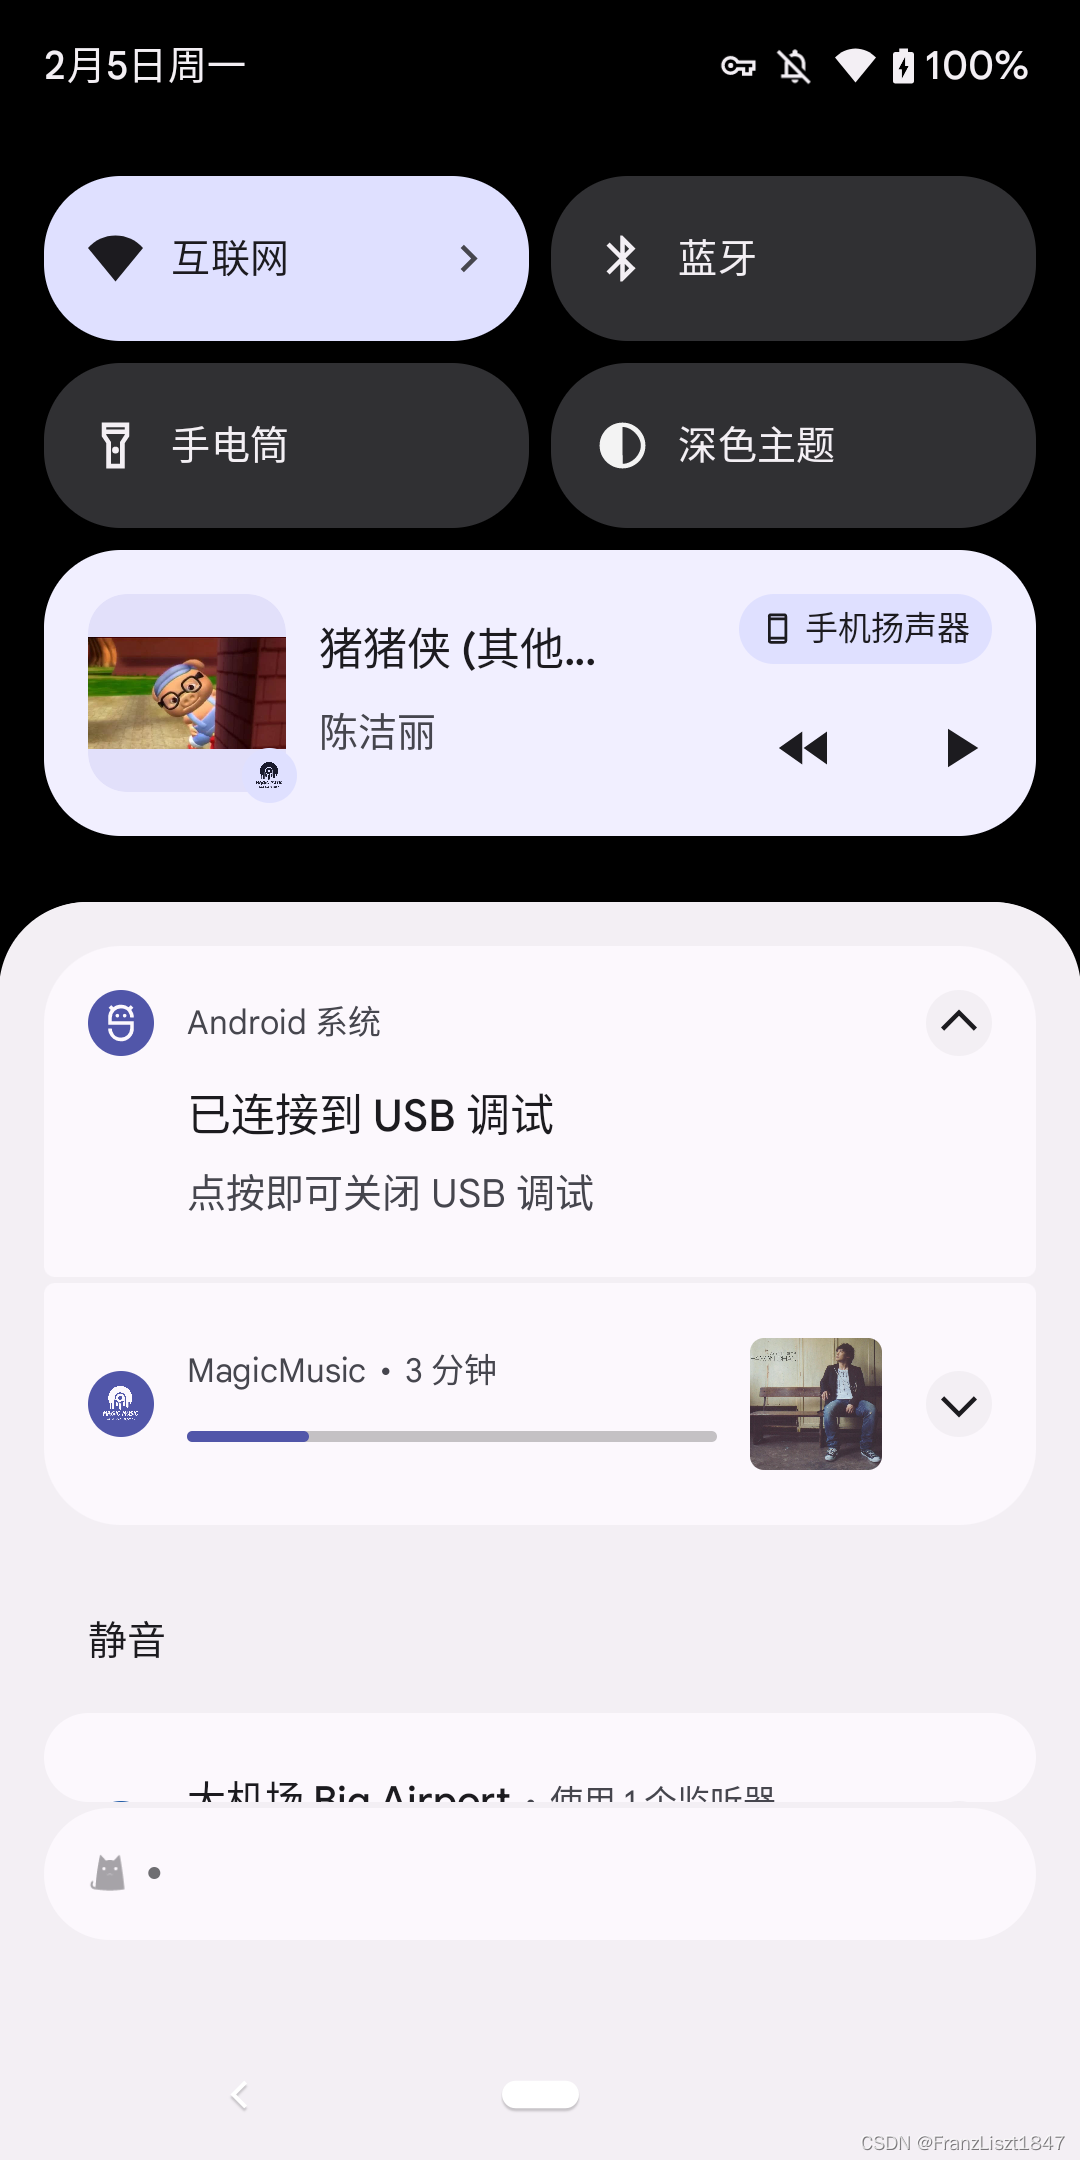
通知栏前台服务
在此项目中前台服务通知栏分为媒体资源和下载两种样式,其中媒体资源的音频和视频服务启动方式不一样,音频采用startService启动,视频则采用MediaControl,其内部自带服务启动,只需对其进行相对应初始化即可;下载则是采用startService和bindService混合启动模式,即两种都使用
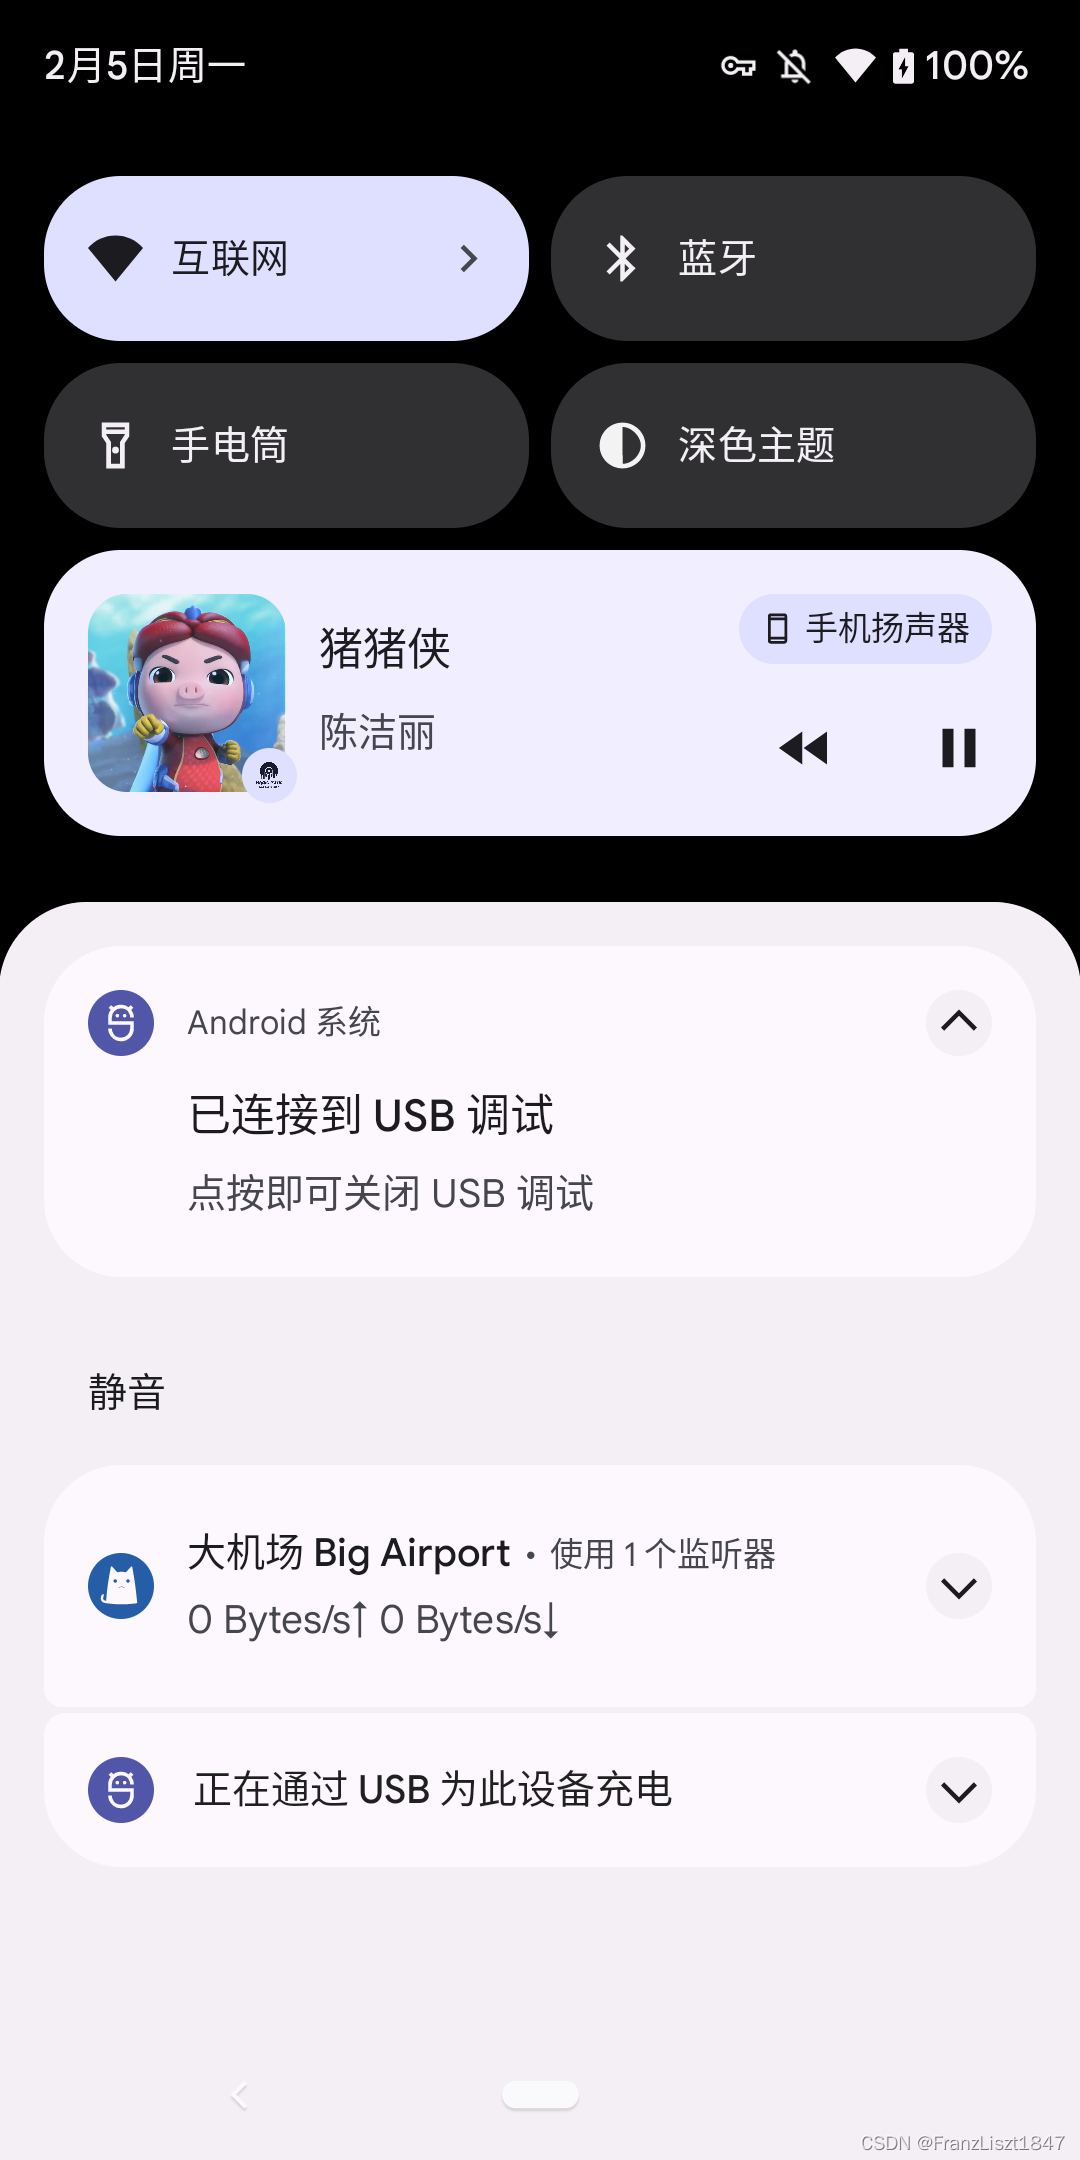
媒体服务
由于音频服务和视频服务都继承MediaSessionService,不同之处在于启动方式和依赖注入,故此处以音频服务为例。
文章顶部已经介绍了hilt依赖注入,此处便不在重复,直接通过@Inject注入所需依赖,然后外部通过startService启动服务后,在onStartCommand中构建通知栏
@AndroidEntryPoint
class MusicService:MediaSessionService() {@Injectlateinit var mediaSession: MediaSession@Injectlateinit var notificationManager: MusicNotificationManageroverride fun onStartCommand(intent: Intent?, flags: Int, startId: Int): Int {if (Build.VERSION.SDK_INT >= Build.VERSION_CODES.O) {notificationManager.startNotificationService(mediaSession = mediaSession,mediaSessionService = this)}return super.onStartCommand(intent, flags, startId)}override fun onGetSession(controllerInfo: MediaSession.ControllerInfo): MediaSession = mediaSessionoverride fun onDestroy() {super.onDestroy()mediaSession.apply {release()if (player.playbackState != Player.STATE_IDLE) {player.seekTo(0)player.playWhenReady = falseplayer.stop()}}}
}
在Android 8.0之后开启的通知栏需要建立Channel,其中setMediaDescriptionAdapter为设置通知栏显示的相关信息,此部分来源于当前播放项,也就是文章之前提过的MediaItem中获取
class MusicNotificationManager @Inject constructor(@ApplicationContext private val context: Context,private val exoPlayer: ExoPlayer
) {private val NOTIFICATION_ID = 1private val NOTIFICATION_CHANNEL_NAME = "Music Notification channel"private val NOTIFICATION_CHANNEL_ID = "Music Notification channel id"private var  notificationManager = NotificationManagerCompat.from(context)init {if (Build.VERSION.SDK_INT >= Build.VERSION_CODES.O) {createNotificationChannel()}}@RequiresApi(Build.VERSION_CODES.O)fun startNotificationService(mediaSessionService: MediaSessionService,mediaSession: MediaSession,){buildNotification(mediaSession)startForegroundNotificationService(mediaSessionService)}@RequiresApi(Build.VERSION_CODES.O)private fun startForegroundNotificationService(mediaSessionService: MediaSessionService){val notification = Notification.Builder(context, NOTIFICATION_CHANNEL_ID).setCategory(Notification.CATEGORY_SERVICE).build()mediaSessionService.startForeground(NOTIFICATION_ID, notification)}@OptIn(UnstableApi::class)private fun buildNotification(mediaSession: MediaSession){PlayerNotificationManager.Builder(context,NOTIFICATION_ID,NOTIFICATION_CHANNEL_ID).setMediaDescriptionAdapter(MusicNotificationAdapter(context = context,pendingIntent = mediaSession.sessionActivity)).setSmallIconResourceId(R.drawable.magicmusic_logo) //通知栏的小图标.build().apply {setMediaSessionToken(mediaSession.sessionCompatToken)setUseFastForwardActionInCompactView(true)setUseRewindActionInCompactView(true)setUseNextActionInCompactView(true)setPriority(NotificationCompat.PRIORITY_DEFAULT)setPlayer(exoPlayer)}}@RequiresApi(Build.VERSION_CODES.O)private fun createNotificationChannel(){val channel = NotificationChannel(NOTIFICATION_CHANNEL_ID,NOTIFICATION_CHANNEL_NAME,NotificationManager.IMPORTANCE_DEFAULT,)notificationManager.createNotificationChannel(channel)}
}
由于音乐cover为URL,需要在通知栏显示,需要将其转化为bitmap,下列getBitmap方法启动一个协程并使用coil将url转为bitmap并通过函数返回,然后在getCurrentLargeIcon方法中设置bitmap即可,其他的title、subTitle等信息便可以直接设置
@UnstableApi
class MusicNotificationAdapter(private val context: Context,private val pendingIntent: PendingIntent?,
):PlayerNotificationManager.MediaDescriptionAdapter {/*** 通知栏中歌曲的封面、名称、作者等信息*/override fun getCurrentContentTitle(player: Player): CharSequence {return player.mediaMetadata.title ?: "Unknown"}override fun createCurrentContentIntent(player: Player): PendingIntent? = pendingIntentoverride fun getCurrentContentText(player: Player): CharSequence {return player.mediaMetadata.subtitle ?: "Unknown"}override fun getCurrentLargeIcon(player: Player,callback: PlayerNotificationManager.BitmapCallback): Bitmap? {getBitmap(url = player.mediaMetadata.artworkUri, //此字段内容为约定而使onSuccess = {callback.onBitmap(it)},onError = {})return null}@OptIn(DelicateCoroutinesApi::class)private fun getBitmap(url:Uri?,onSuccess:(Bitmap)->Unit,onError:(String)->Unit){var bitmap:Bitmap? = nullval scope = GlobalScope.launch(Dispatchers.Main){val request = ImageRequest.Builder(context = context).data(url).allowHardware(false).build()val result = context.imageLoader.execute(request)if (result is SuccessResult){bitmap =  (result.drawable as BitmapDrawable).bitmap}else{cancel("Error Request")}}scope.invokeOnCompletion {bitmap?.let { bitmap->onSuccess(bitmap)}?:it?.let {onError(it.message.toString())}?: onError("Unknown Exception")}}
}
还需在manifest中声明此服务
<serviceandroid:name=".route.musicplayer.service.MusicService"android:exported="true"android:foregroundServiceType="mediaPlayback"><intent-filter><action android:name="androidx.media3.session.MediaSessionService" /></intent-filter></service>
下载服务
开启下载是通过startService方式启动,其中通过Binder返回当前Service对象,开启下载服务后,在onStartCommand中解析下载信息,然后开启前台服务。值得注意的是,如果明确服务为前台服务,在 Android 8.0 以后可以通过调用 startForegroundService启动前台服务,
它和 startService 的区别在于是它包含一个隐含承诺,即必须在服务启动后尽快调用 startForeground,否则 5s 后服务将停止,且会触发 ANR。所有下来对启动服务进行了处理,让后台计时4.5S,若4.5S之后仍未启动服务,则手动关闭服务,防止发生异常
class DownloadService:Service(),DownloadTaskListener {private lateinit var notification:DownloadNotificationprivate var isForegroundSuc = falseprivate var timerFlag = falseprivate val FOREGROUND_NOTIFY_ID = 1private lateinit var listener:DownloadListenerprivate var notificationID = 100private var map:Map<String,Int> = emptyMap()override fun onBind(p0: Intent?): IBinder = DownloadBinder()inner class DownloadBinder:Binder(){val service:DownloadServiceget() = this@DownloadService}override fun onCreate() {super.onCreate()initAria()initNotification()}@RequiresApi(Build.VERSION_CODES.O)override fun onStartCommand(intent: Intent?, flags: Int, startId: Int): Int {if (intent != null){val url = intent.getStringExtra(Constants.DownloadURL) ?: ""val path = intent.getStringExtra(Constants.DownloadPath) ?: ""val cover = intent.getStringExtra(Constants.DownloadCover) ?: ""val name = intent.getStringExtra(Constants.DownloadName) ?: "Unknown"val taskID = Aria.download(this).load(url).setFilePath(path).create()if (taskID > 0L){notificationID++map += url to notificationIDstartForeground(name,cover)}/*** 如果明确服务一定是前台服务,在 Android 8.0 以后可以调用 startForegroundService,* 它和 startService 的区别是它隐含了一个承诺,必须在服务中尽快调用 startForeground,否则 5s 后服务将停止,且会触发 ANR。*/if (!timerFlag){timerFlag = trueobject :CountDownTimer(4500L,4500L){override fun onTick(p0: Long) {}override fun onFinish() {if (!isForegroundSuc){/*** 如果4.5s后没有执行相关操作,则停止服务*/stopForeground(STOP_FOREGROUND_DETACH)stopSelf()}}}.start()}}return super.onStartCommand(intent, flags, startId)}@RequiresApi(Build.VERSION_CODES.O)private fun startForeground(name: String, cover: String) {if (!isForegroundSuc) {getBitmap(url = cover,onSuccess = {startForeground(FOREGROUND_NOTIFY_ID, notification.createNotification(notificationID,name,it))isForegroundSuc = true},onError = {val bitmap = BitmapFactory.decodeResource(APP.context.resources, R.drawable.magicmusic_logo)startForeground(FOREGROUND_NOTIFY_ID, notification.createNotification(notificationID,name,bitmap))isForegroundSuc = true})}}@kotlin.OptIn(DelicateCoroutinesApi::class)private fun getBitmap(url: String?,onSuccess:(Bitmap)->Unit,onError:(String)->Unit){var bitmap: Bitmap? = nullval scope = GlobalScope.launch(Dispatchers.Main){val request = ImageRequest.Builder(context = APP.context).data(url).allowHardware(false).build()val result = APP.context.imageLoader.execute(request)if (result is SuccessResult){bitmap =  (result.drawable as BitmapDrawable).bitmap}else{cancel("Error Request")}}scope.invokeOnCompletion {bitmap?.let { bitmap->onSuccess(bitmap)}?:it?.let {onError(it.message.toString())}?: onError("Unknown Exception")}}private fun initAria(){Aria.download(this).register()Aria.get(this).downloadConfig.setMaxTaskNum(3).setUseBlock(true).setConvertSpeed(true).setUpdateInterval(3000L)}private fun initNotification(){if (Build.VERSION.SDK_INT >= Build.VERSION_CODES.O){notification = DownloadNotification(APP.context)}}override fun onDestroy() {super.onDestroy()Aria.download(this).unRegister()isForegroundSuc = falsetimerFlag = falsestopForeground(STOP_FOREGROUND_DETACH)stopSelf()}//省略...
}
在通知栏处,在创建通知栏时,只需设置.setProgress(maxProgress,0,false)即可出现进度条,然后只需暴露创建通知和刷新下载进度Progress两个方法即可,在服务中通过计算当前下载进度然后调用DownloadNotification的setProgress,便可完成通知栏下载进度动态显示
@RequiresApi(Build.VERSION_CODES.O)
class DownloadNotification(private val context:Context
) {private val NOTIFICATION_CHANNEL_NAME = "Download Notification channel"private val NOTIFICATION_CHANNEL_ID = "Download Notification channel id"private lateinit var notificationBuilder:NotificationCompat.Builderprivate lateinit var notificationManager: NotificationManagerCompatprivate val maxProgress = 100fun createNotification(id:Int,name: String,bitmap: Bitmap):Notification?{if (context != null && Build.VERSION.SDK_INT >= Build.VERSION_CODES.O){notificationManager = NotificationManagerCompat.from(context)notificationBuilder = NotificationCompat.Builder(context,NOTIFICATION_CHANNEL_ID.plus(id))createNotificationChannel(id)return startNotification(id,name, bitmap)}return null}@OptIn(UnstableApi::class)private fun startNotification(id: Int,name: String,bitmap: Bitmap):Notification?{notificationBuilder.setPriority(NotificationCompat.PRIORITY_DEFAULT).setSmallIcon(R.drawable.magicmusic_logo).setAutoCancel(false).setProgress(maxProgress,0,false).setContentText(name).setLargeIcon(bitmap)if (ActivityCompat.checkSelfPermission(context, Manifest.permission.POST_NOTIFICATIONS) != PackageManager.PERMISSION_GRANTED) {return null}notificationManager.notify(id,notificationBuilder.build())return notificationBuilder.build()}fun setProgress(id:Int,progress:Int){if (this::notificationBuilder.isInitialized){if (progress in 0 until maxProgress){notificationBuilder.setContentText("${progress}% downloaded")notificationBuilder.setProgress(maxProgress,progress,false)}else if (progress == maxProgress){notificationBuilder.setContentText("downloaded successful!")notificationBuilder.setAutoCancel(true)}else{notificationBuilder.setContentText("downloaded failed!")}if (ActivityCompat.checkSelfPermission(context, Manifest.permission.POST_NOTIFICATIONS) != PackageManager.PERMISSION_GRANTED) {return}notificationManager.notify(id,notificationBuilder.build())}}@RequiresApi(Build.VERSION_CODES.O)private fun createNotificationChannel(id:Int){val channel = NotificationChannel(NOTIFICATION_CHANNEL_ID.plus(id),NOTIFICATION_CHANNEL_NAME.plus(id),NotificationManager.IMPORTANCE_DEFAULT,)notificationManager.createNotificationChannel(channel)}
}
Other
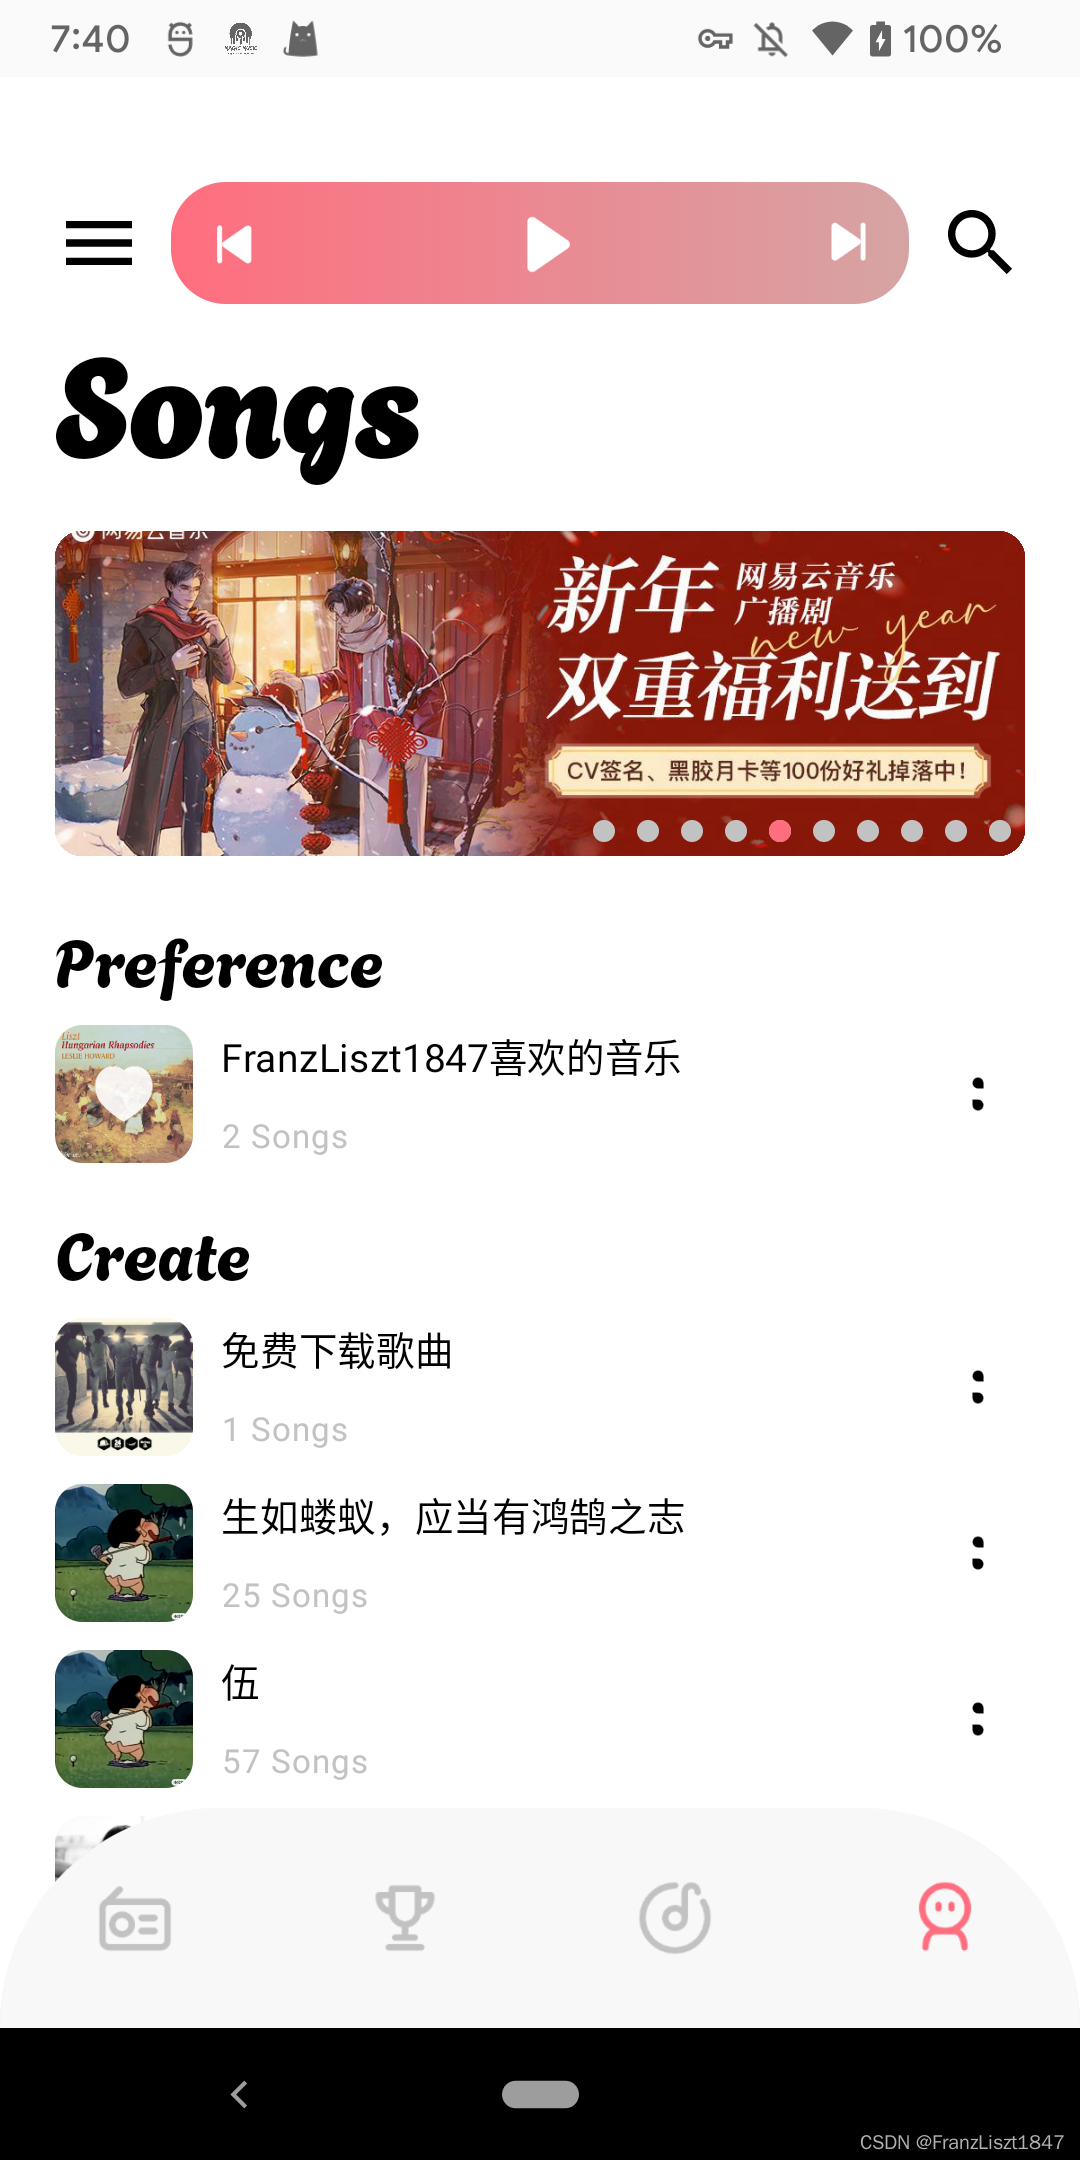
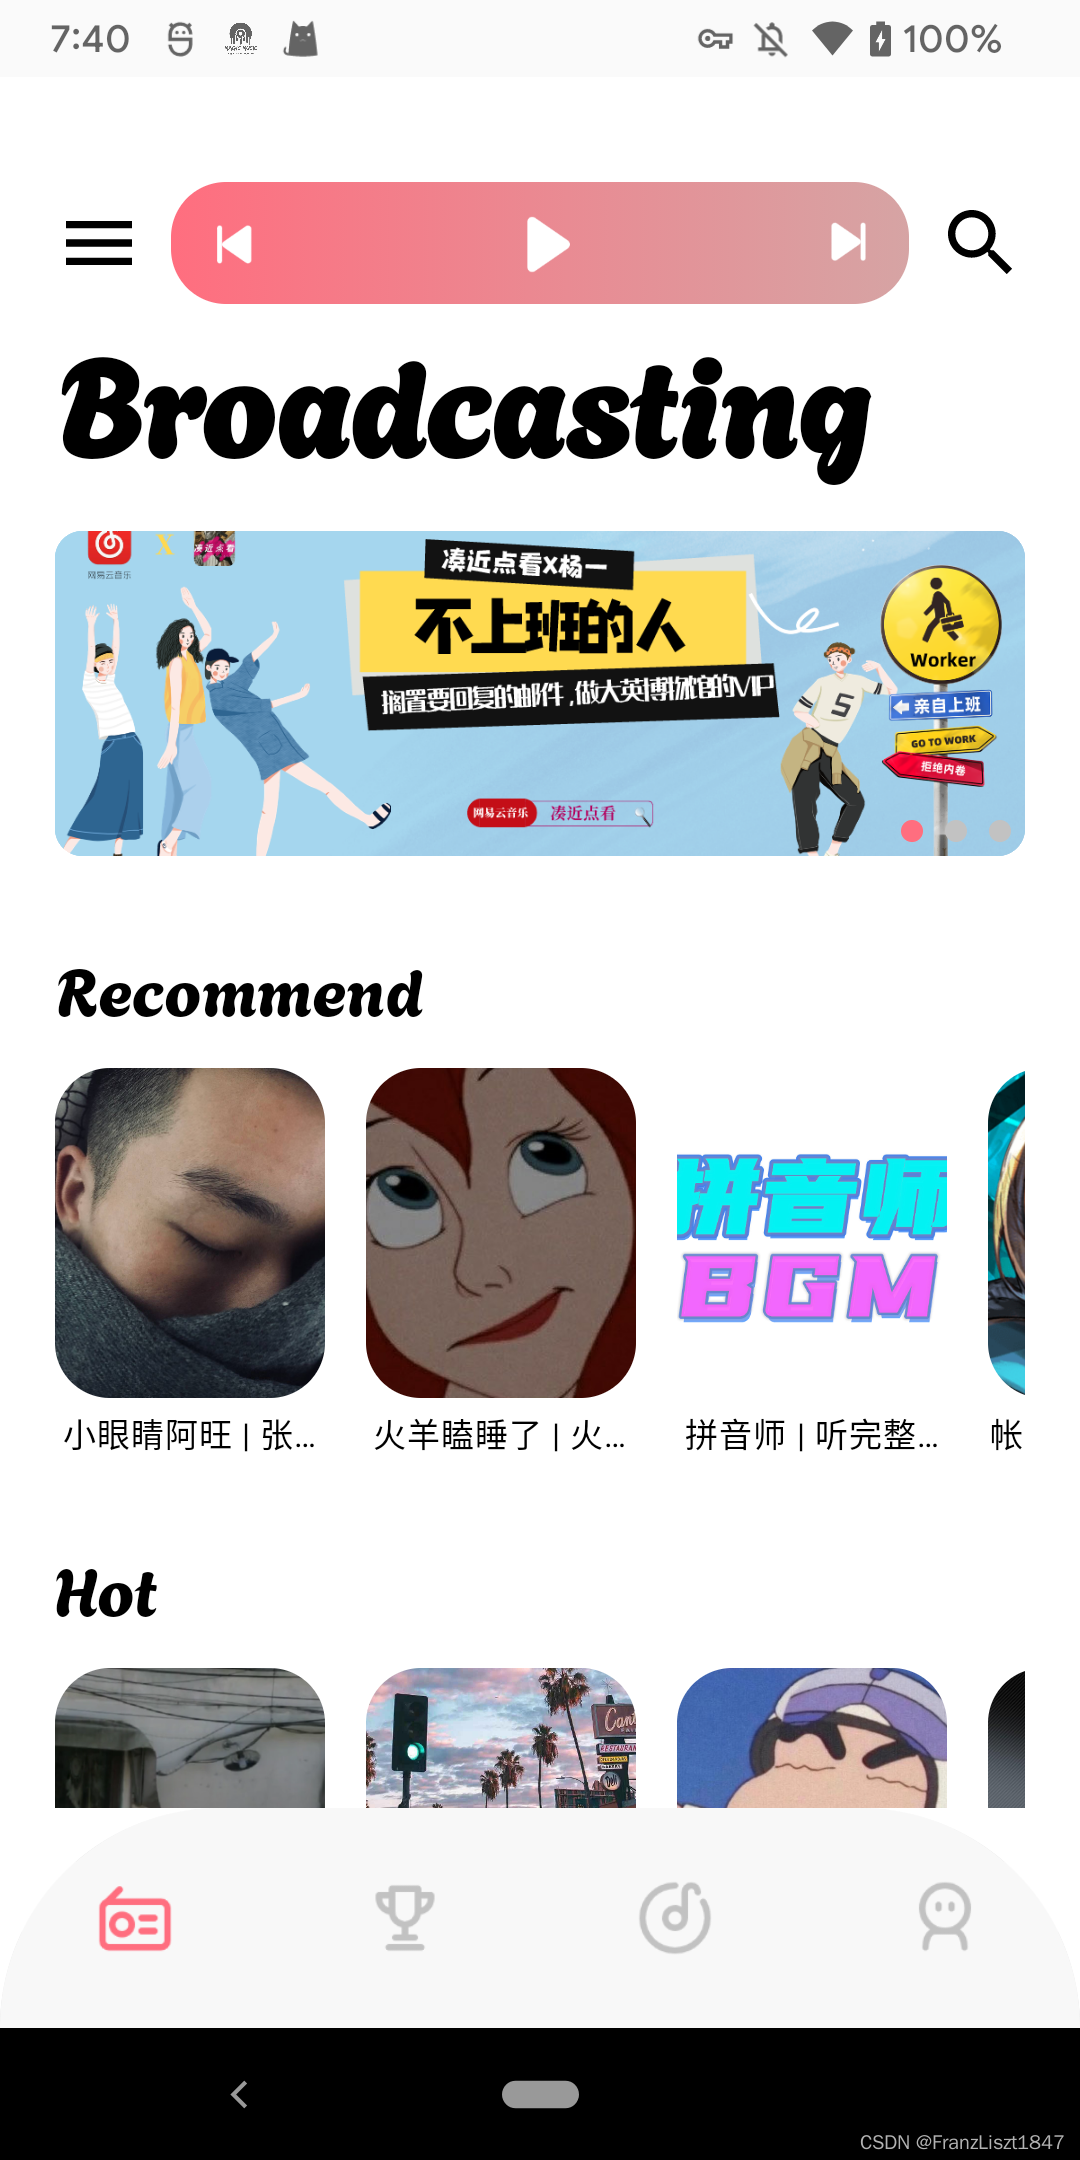
每一个页面都适配了亮色主题和深色主题,由于篇幅有限,还有些许页面没有做过多解释,下载只对部分功能效果图进行贴出
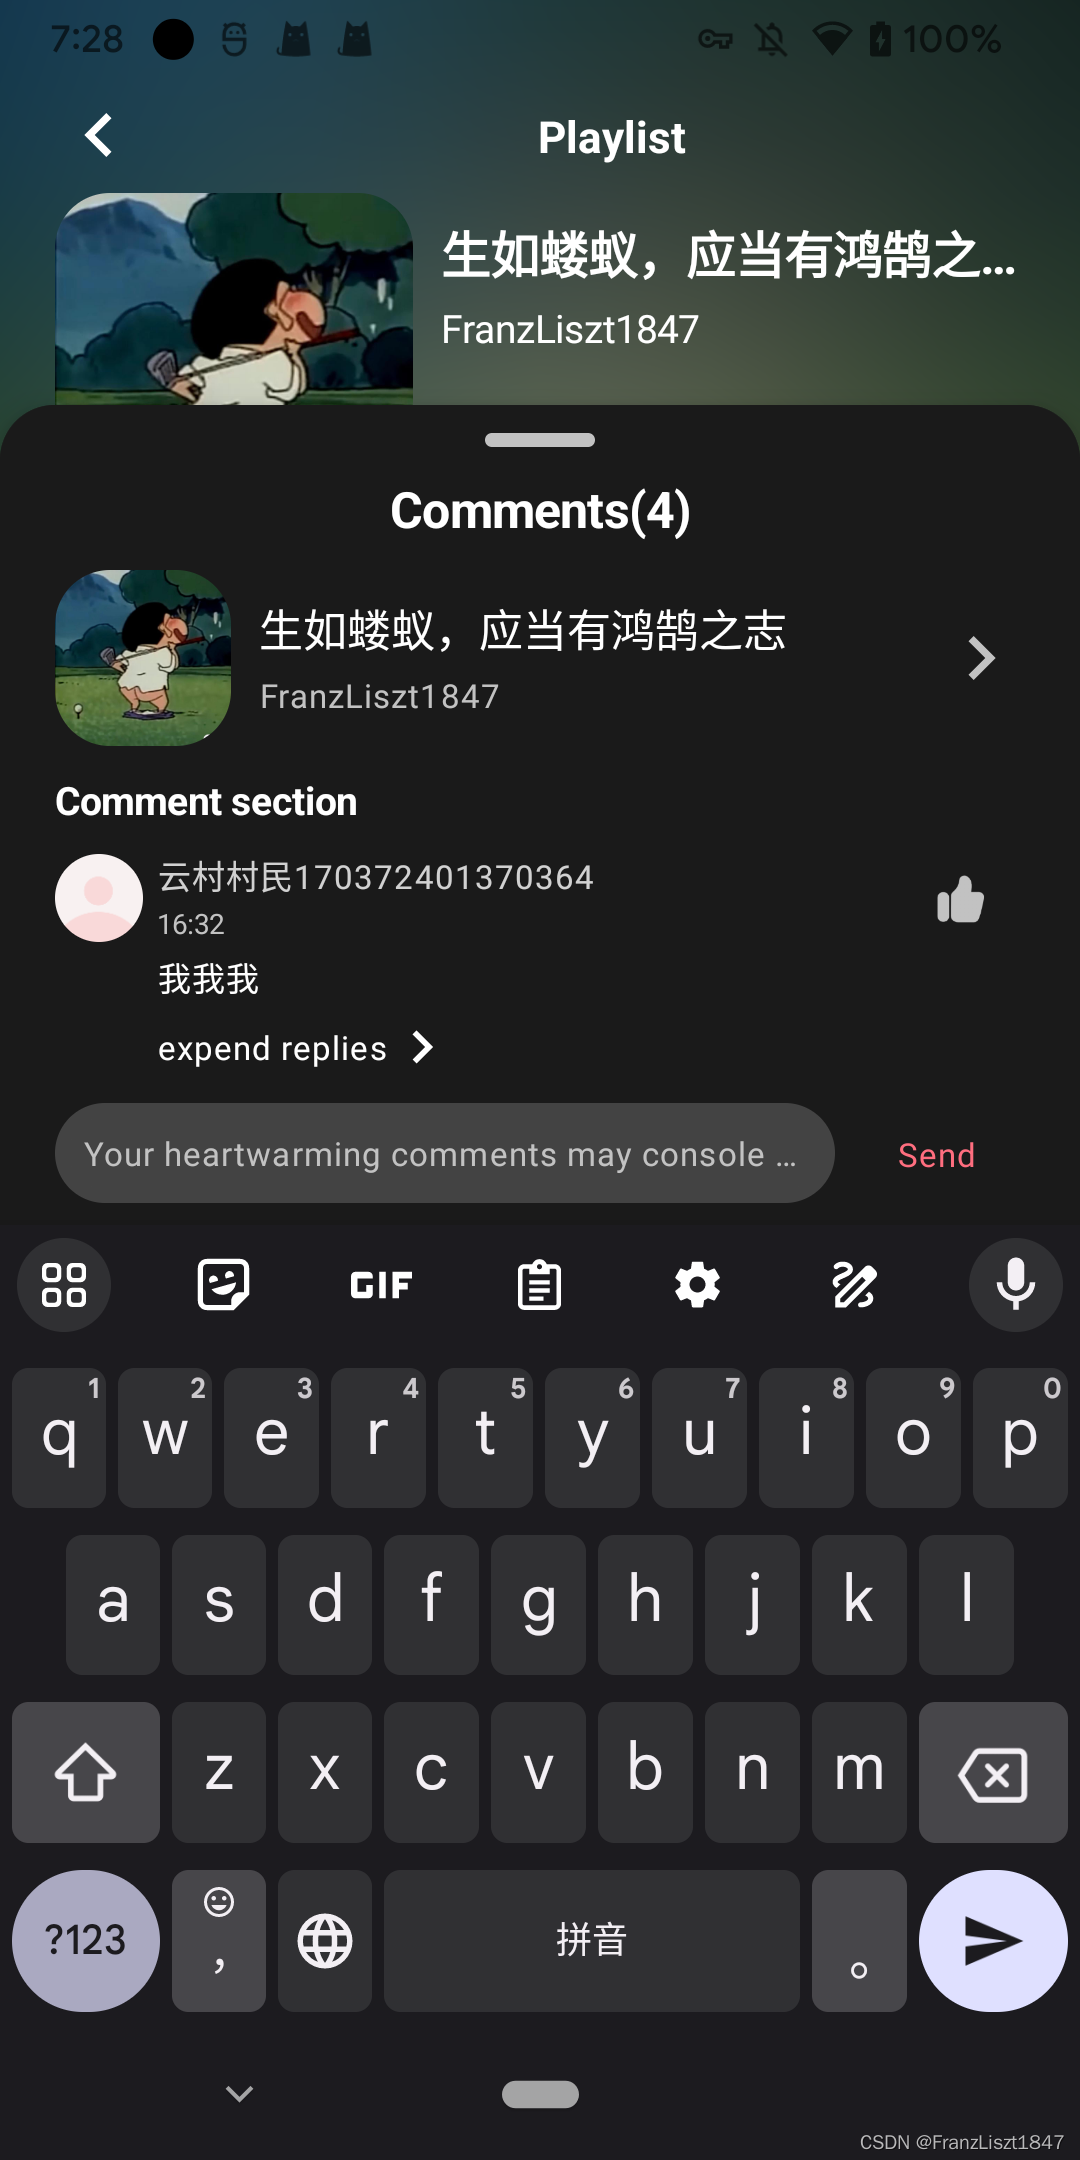
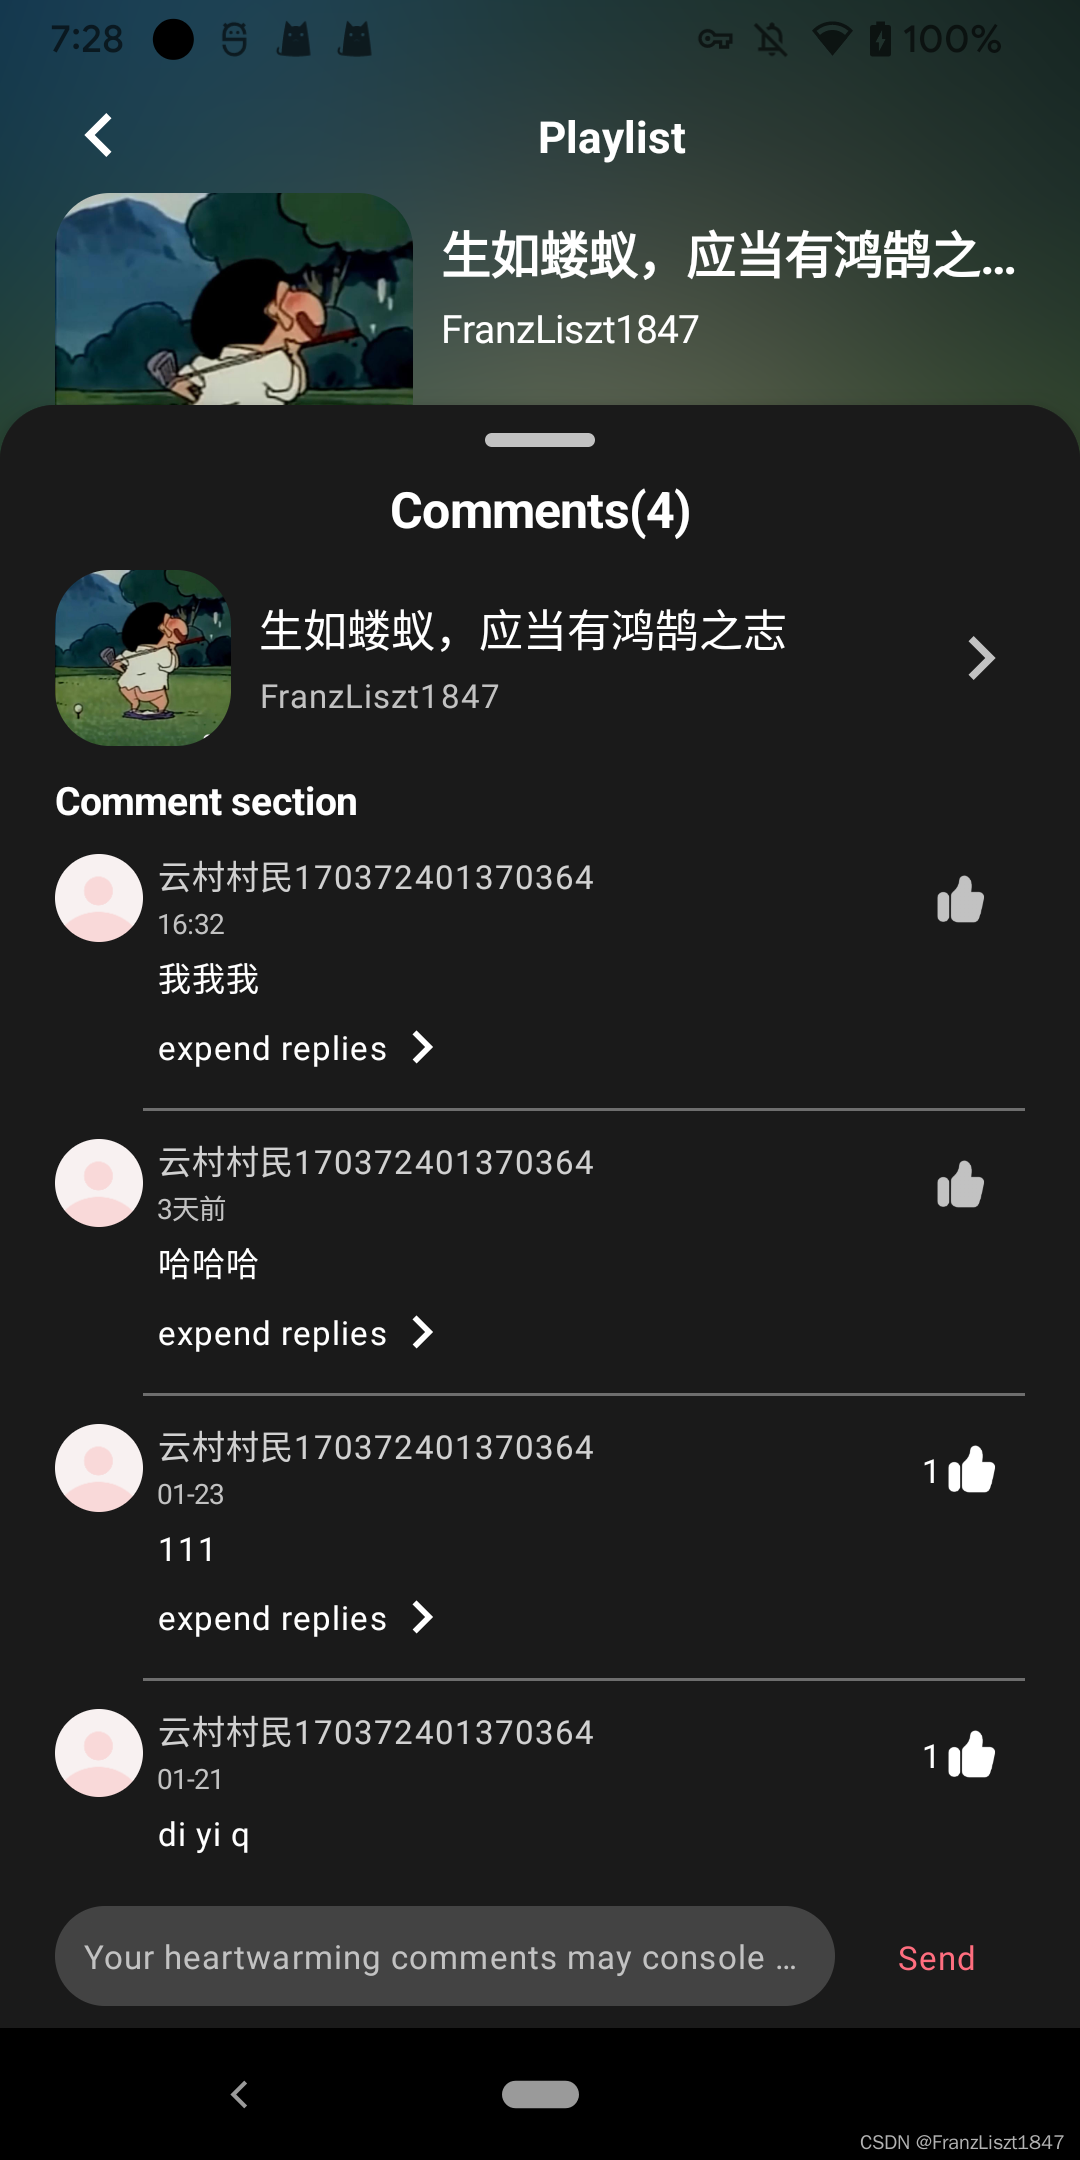
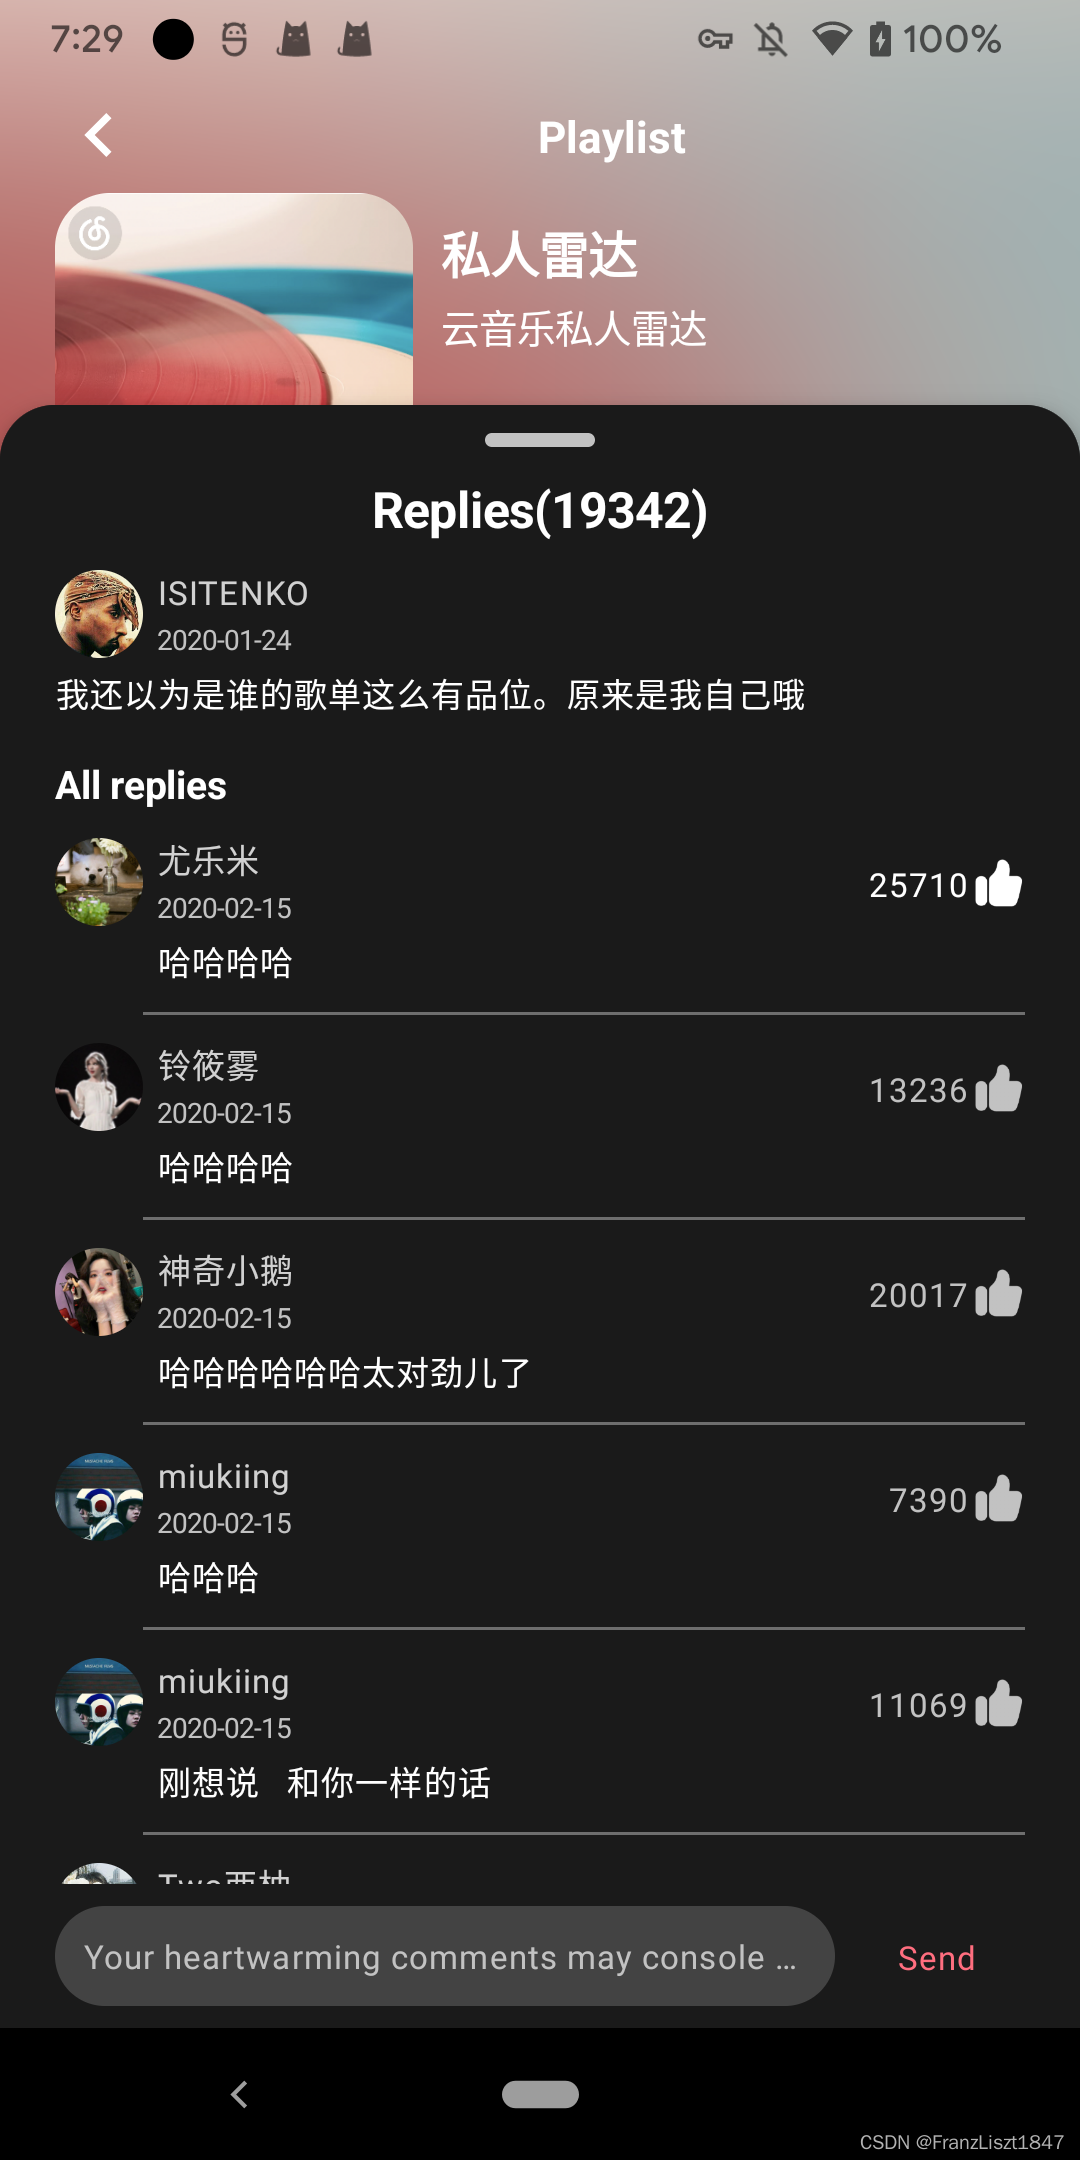
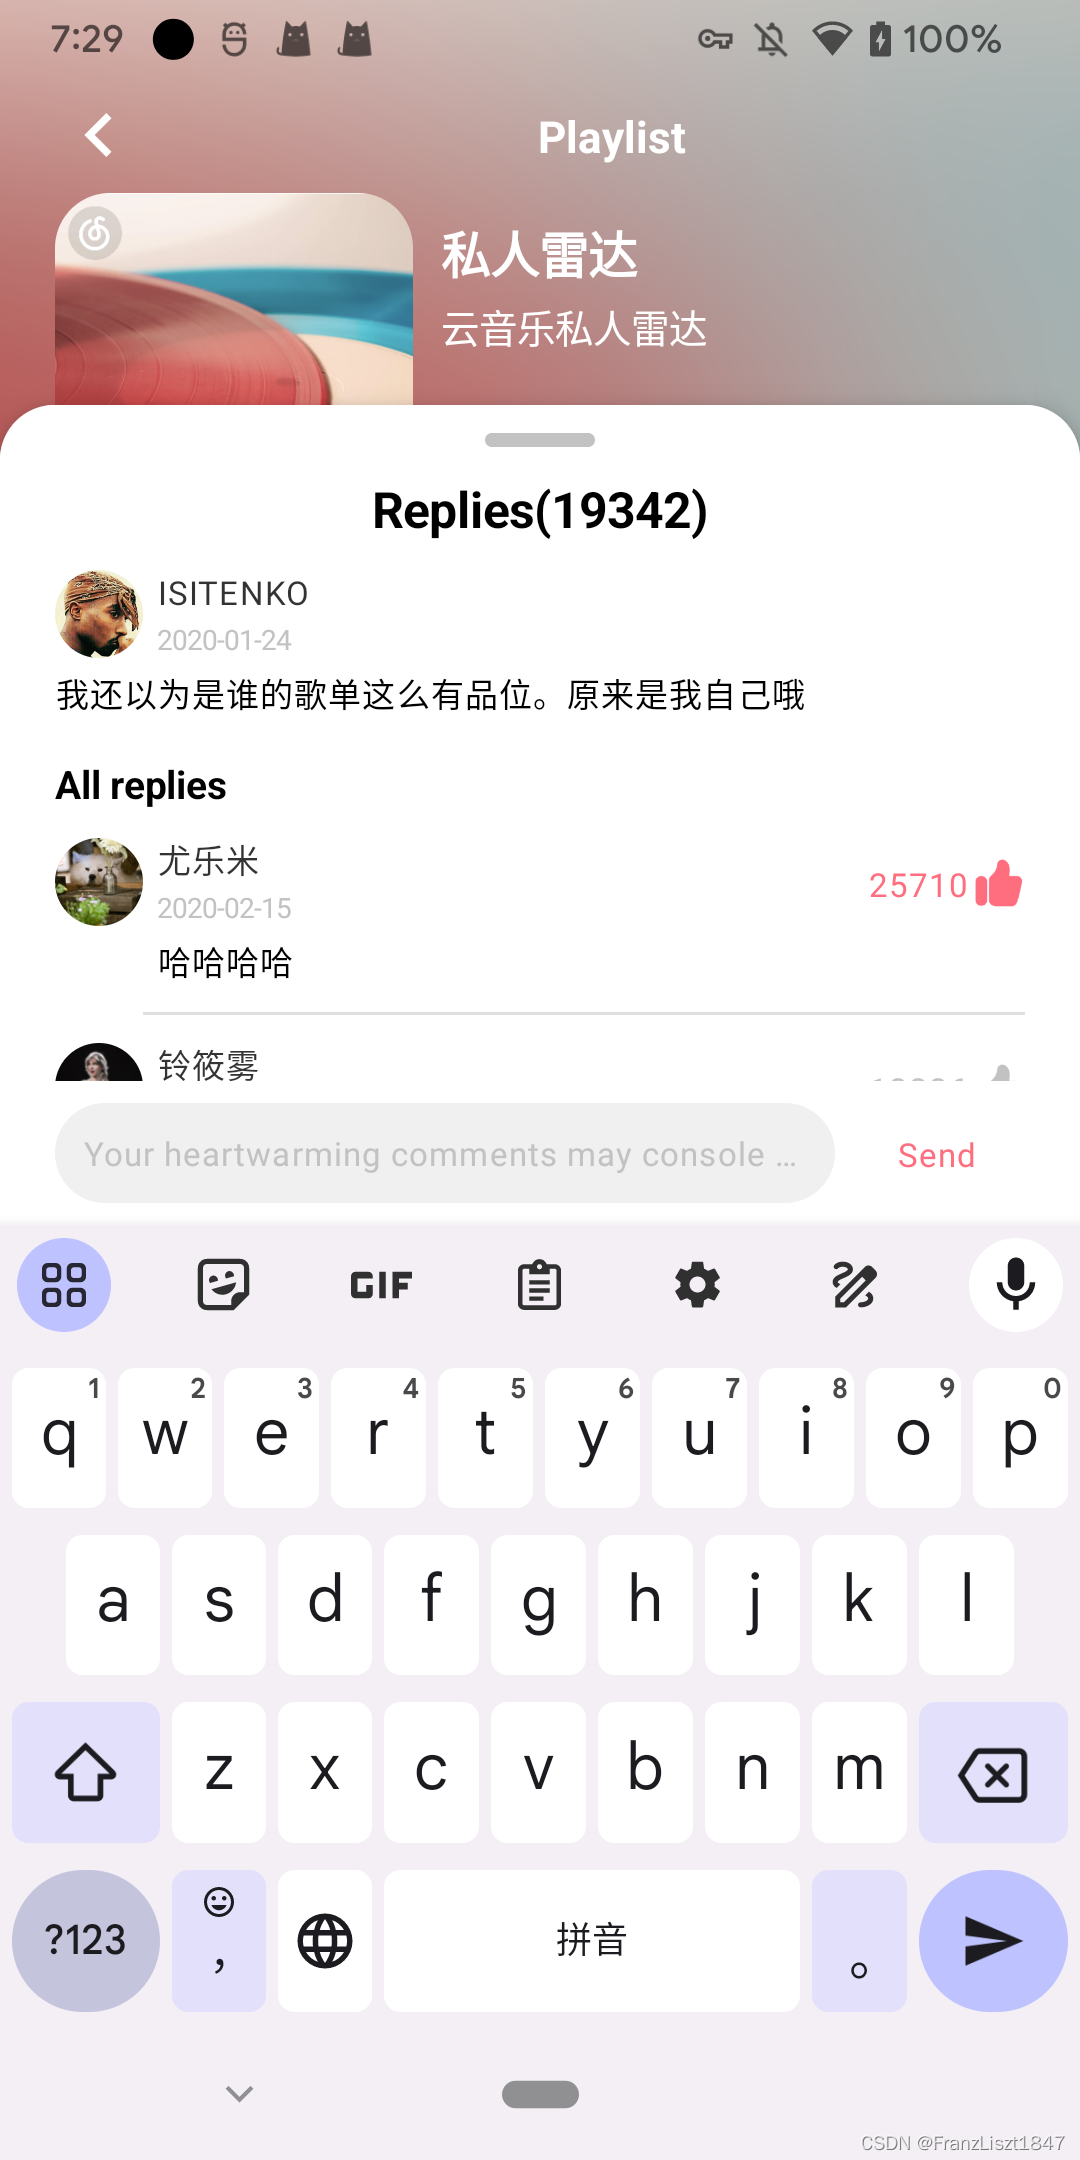
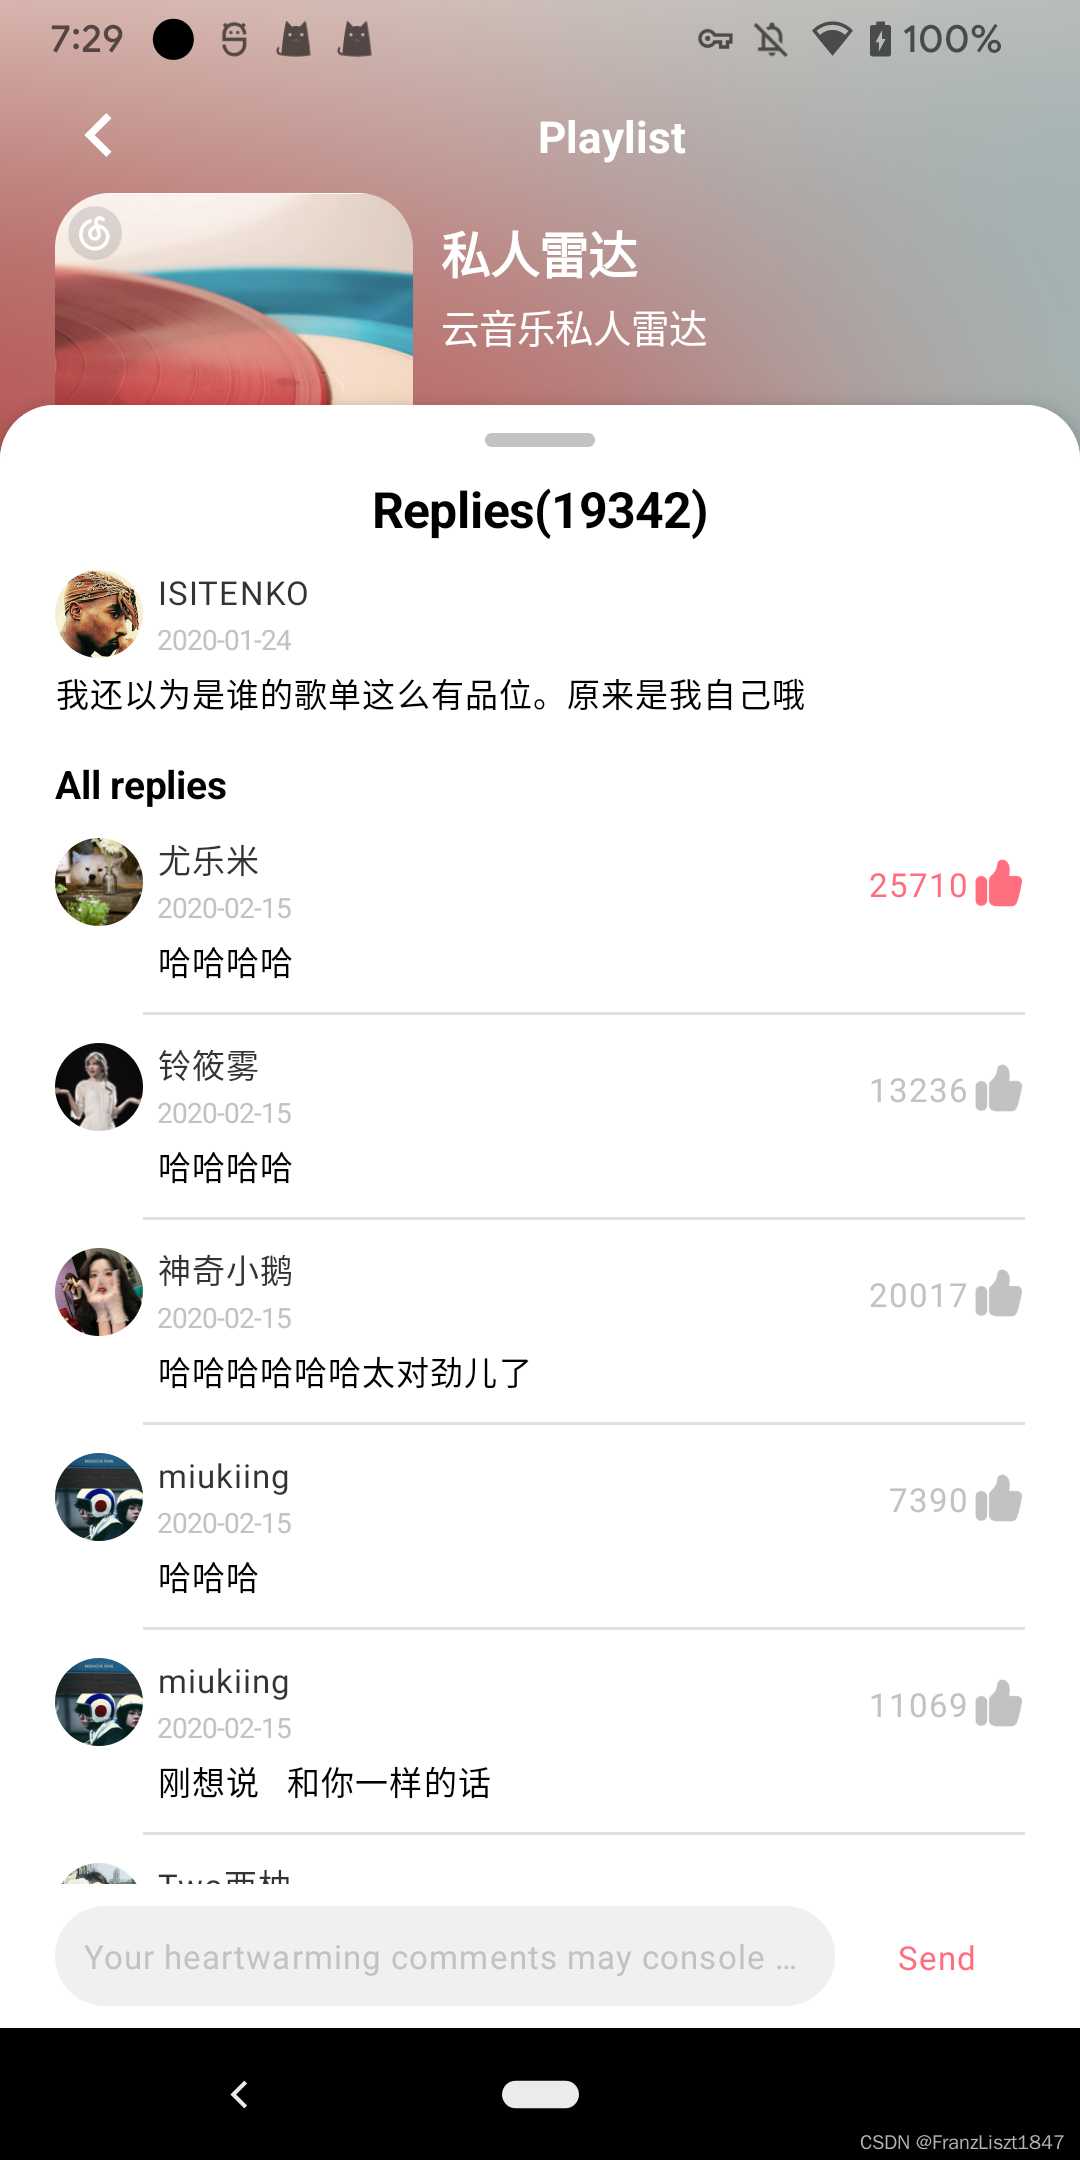
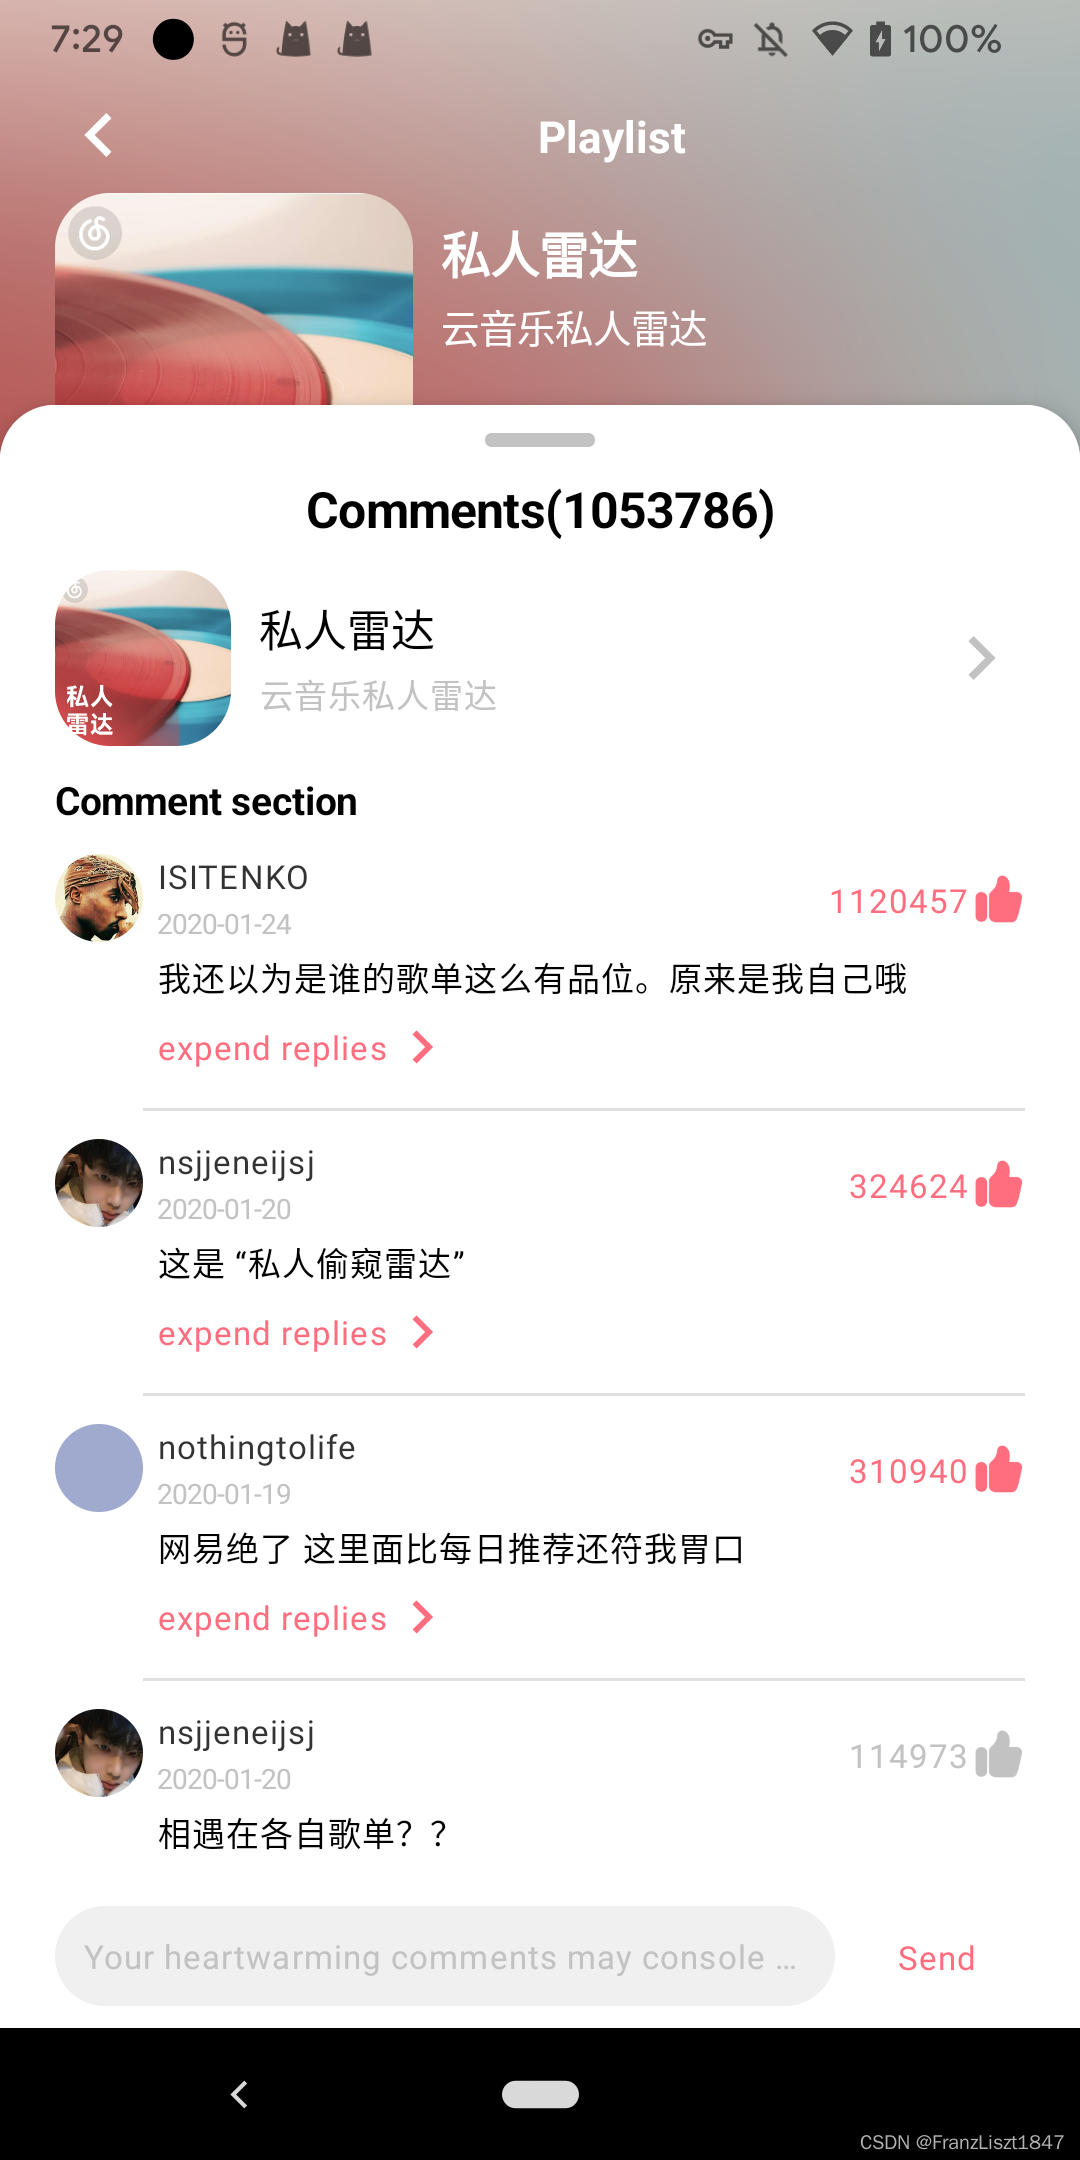
评论
评论分为歌单评论、专辑评论、歌曲评论、MV评论、MLOG评论等,而每一个功能的评论又分为:资源评论、楼层评论(回复他人的评论)、发送评论、点赞评论几部分
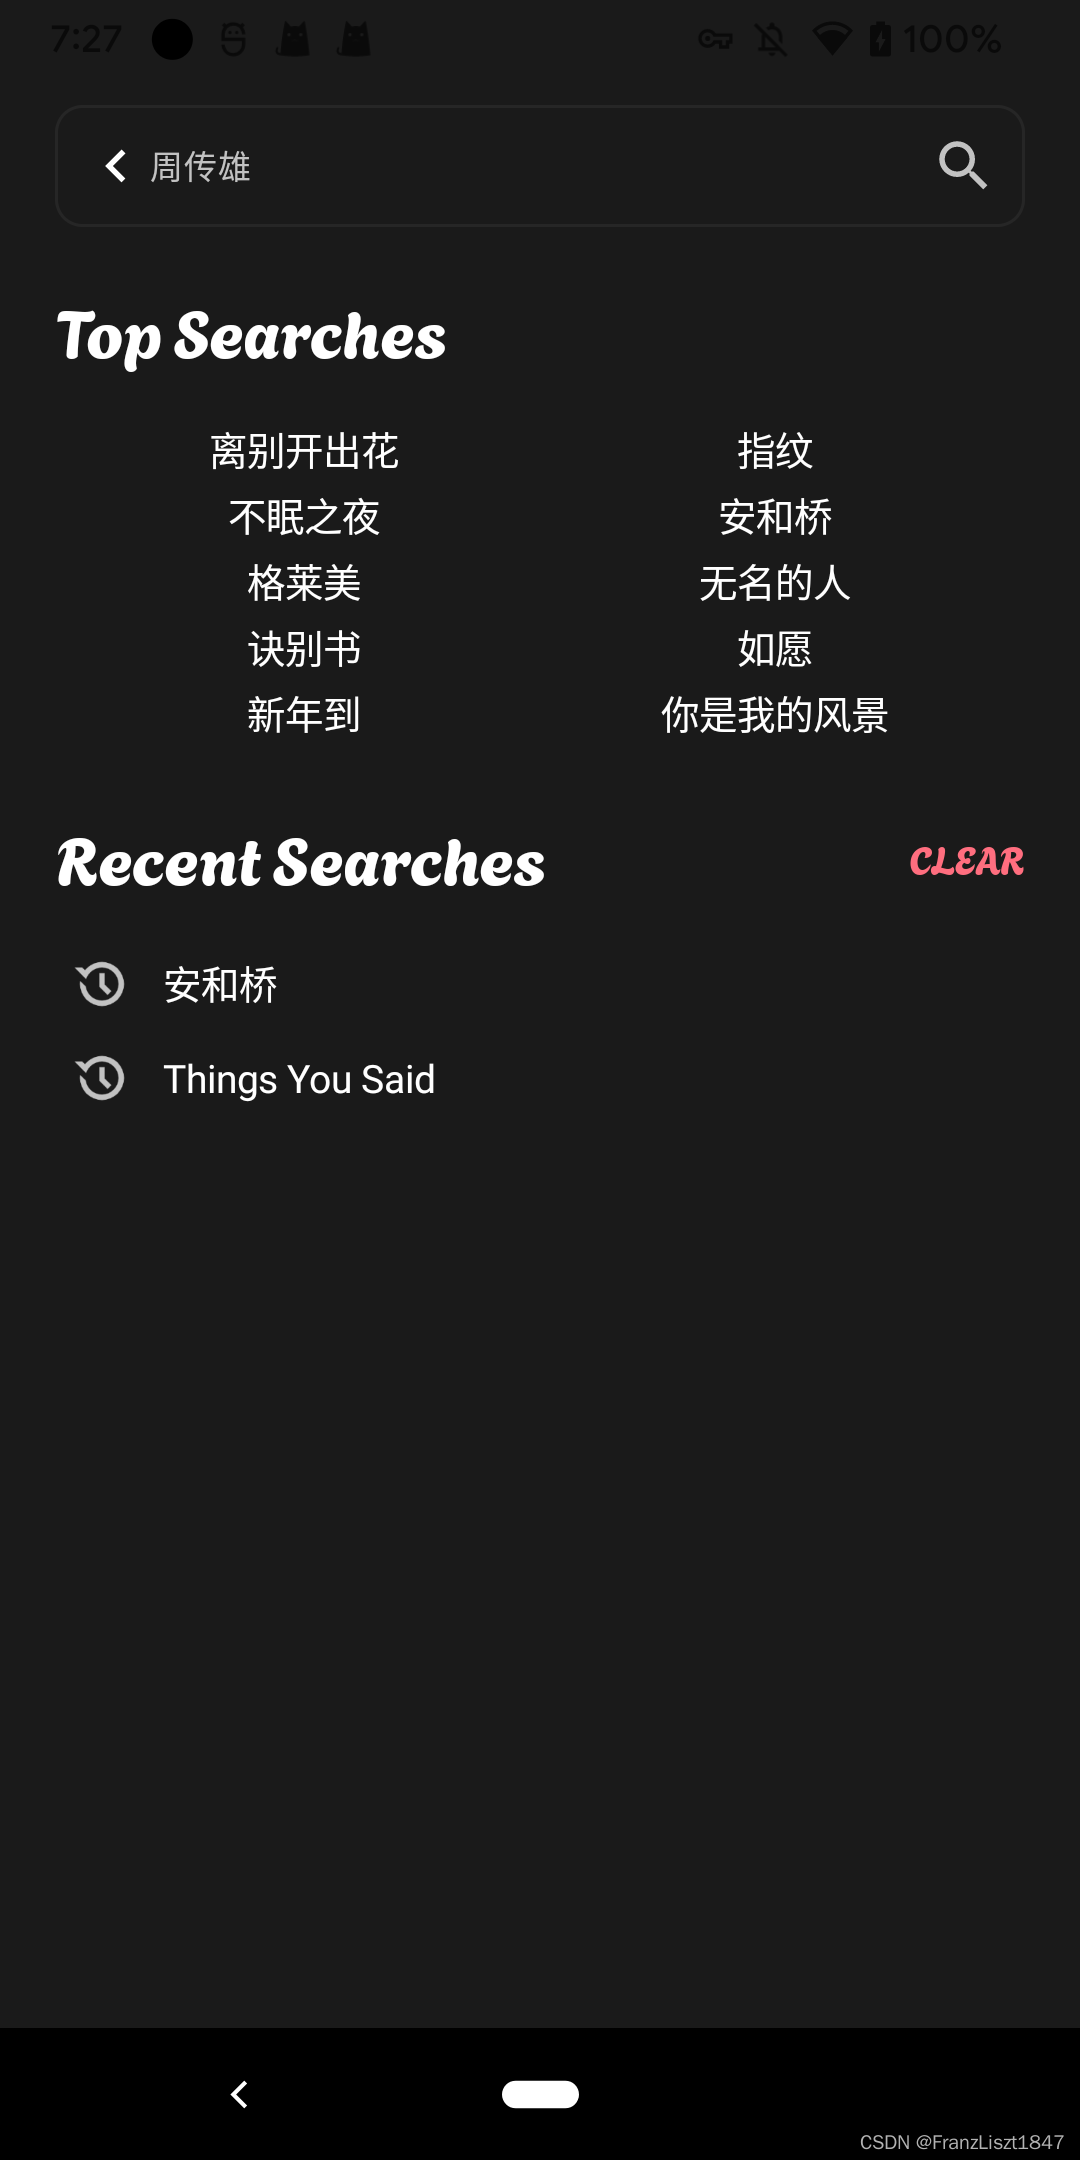
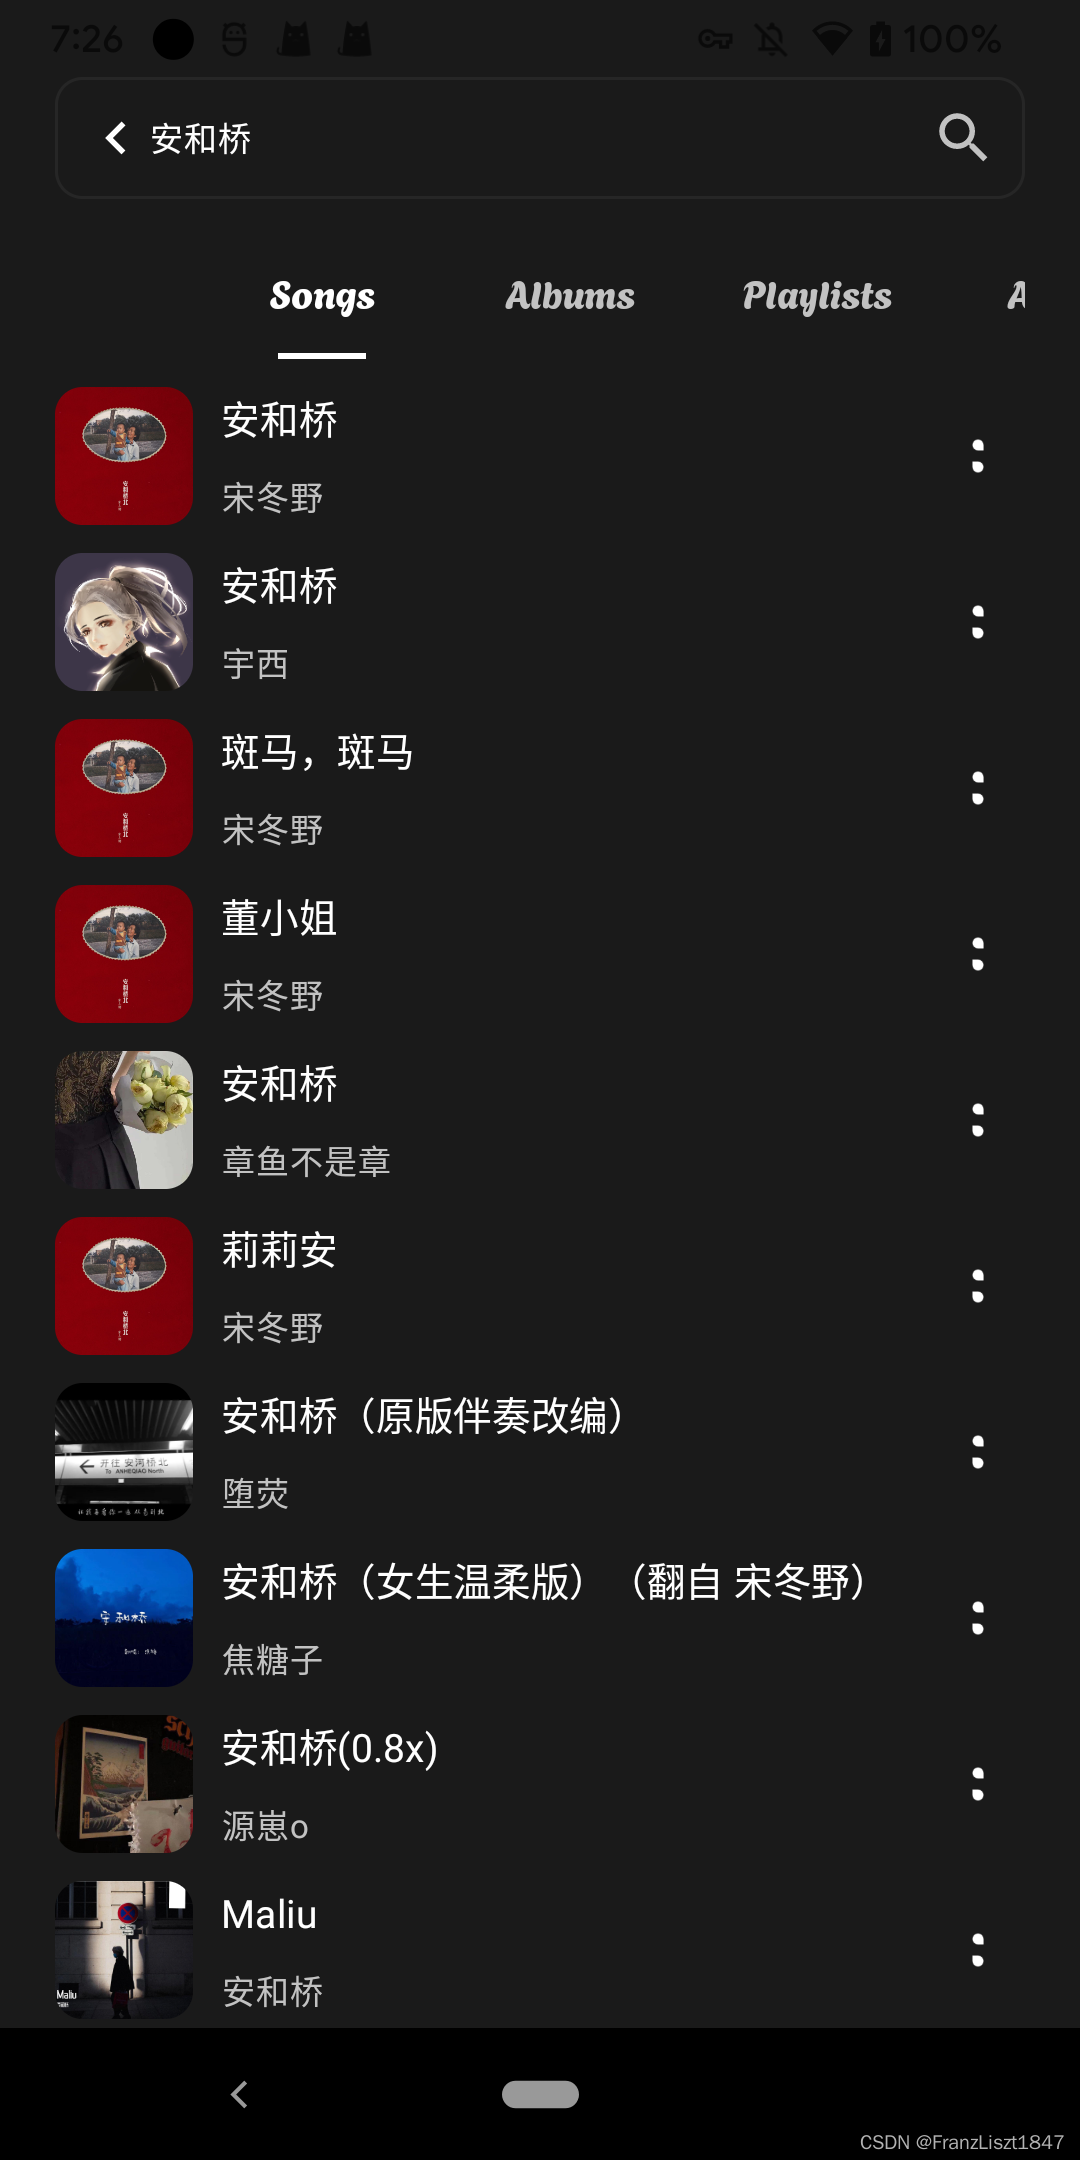
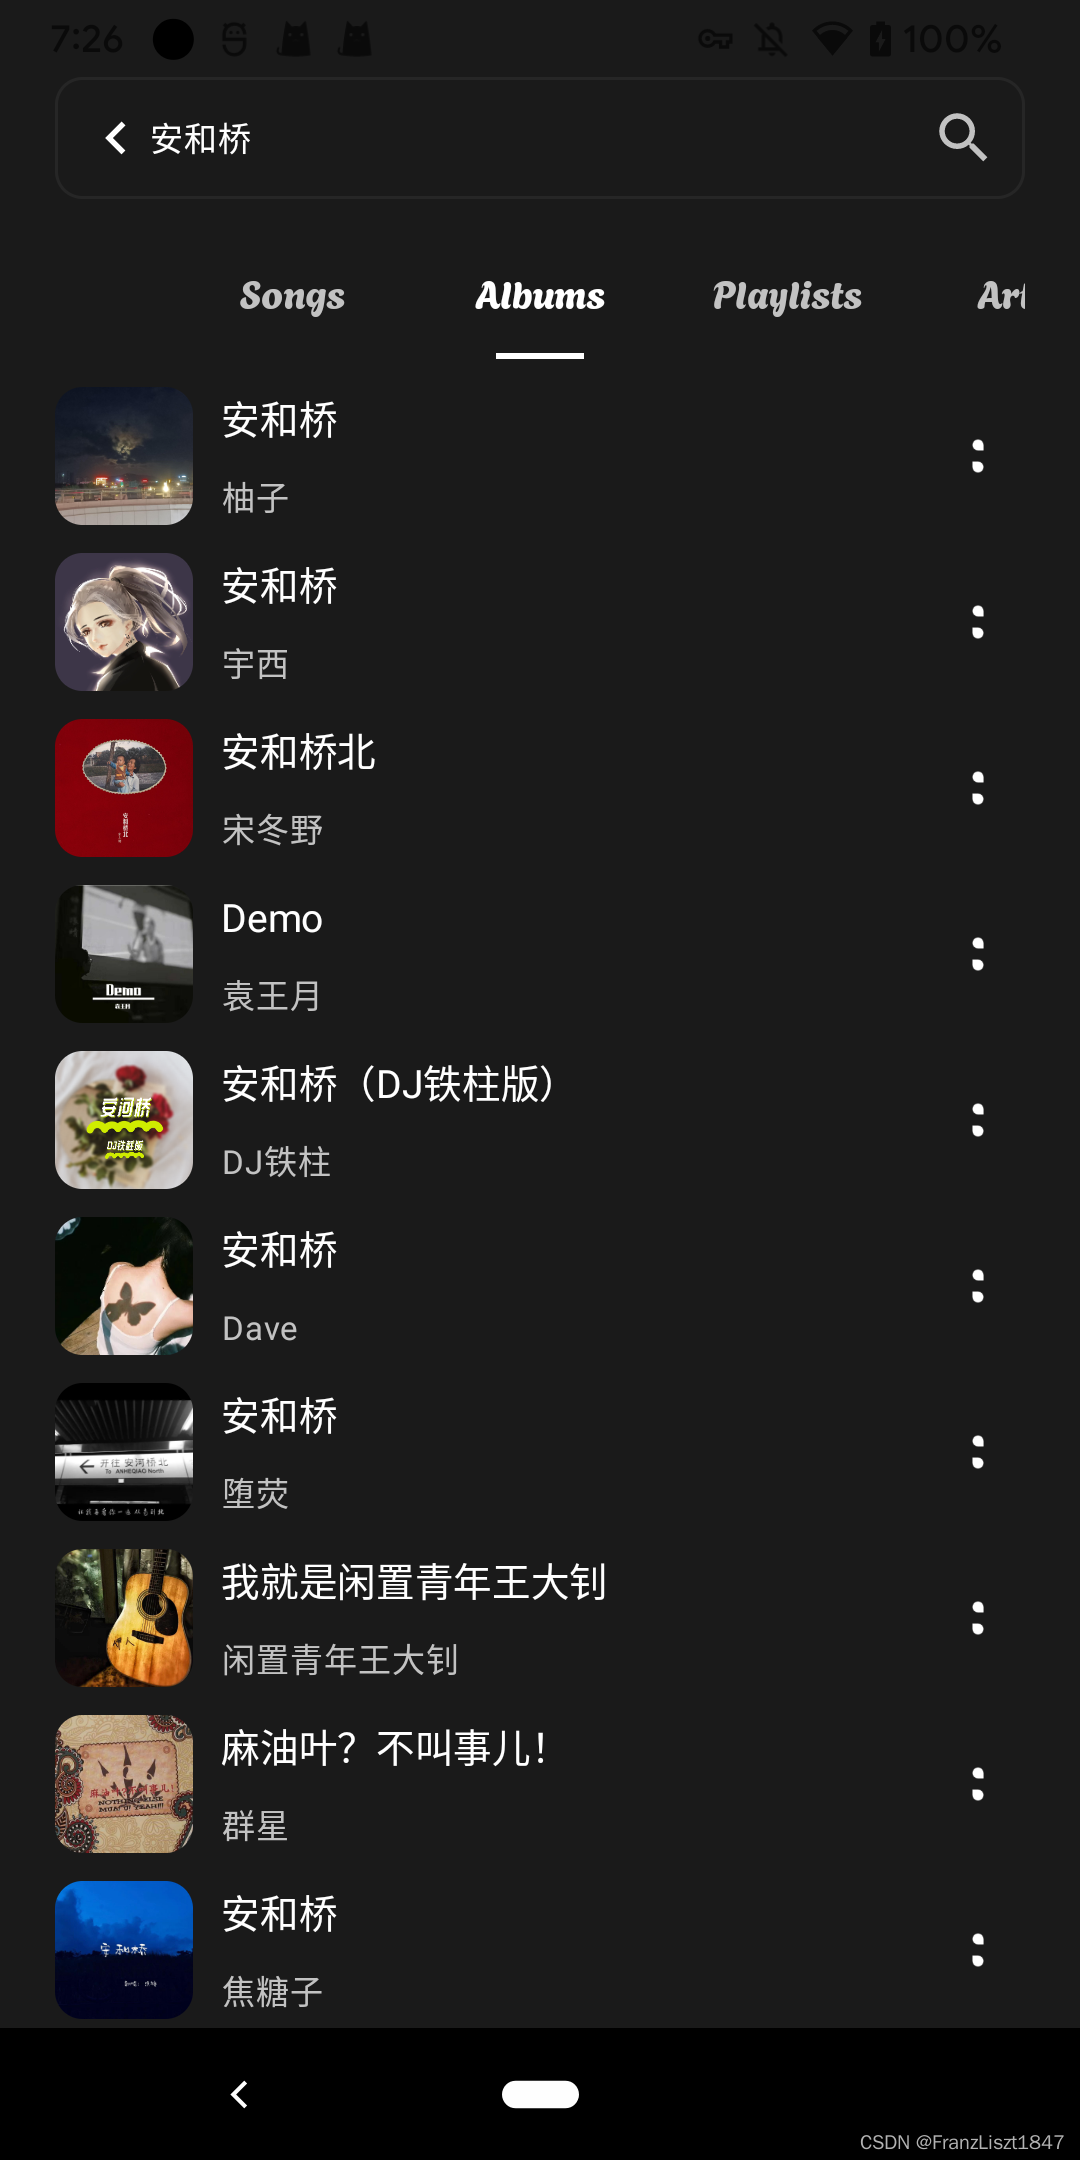
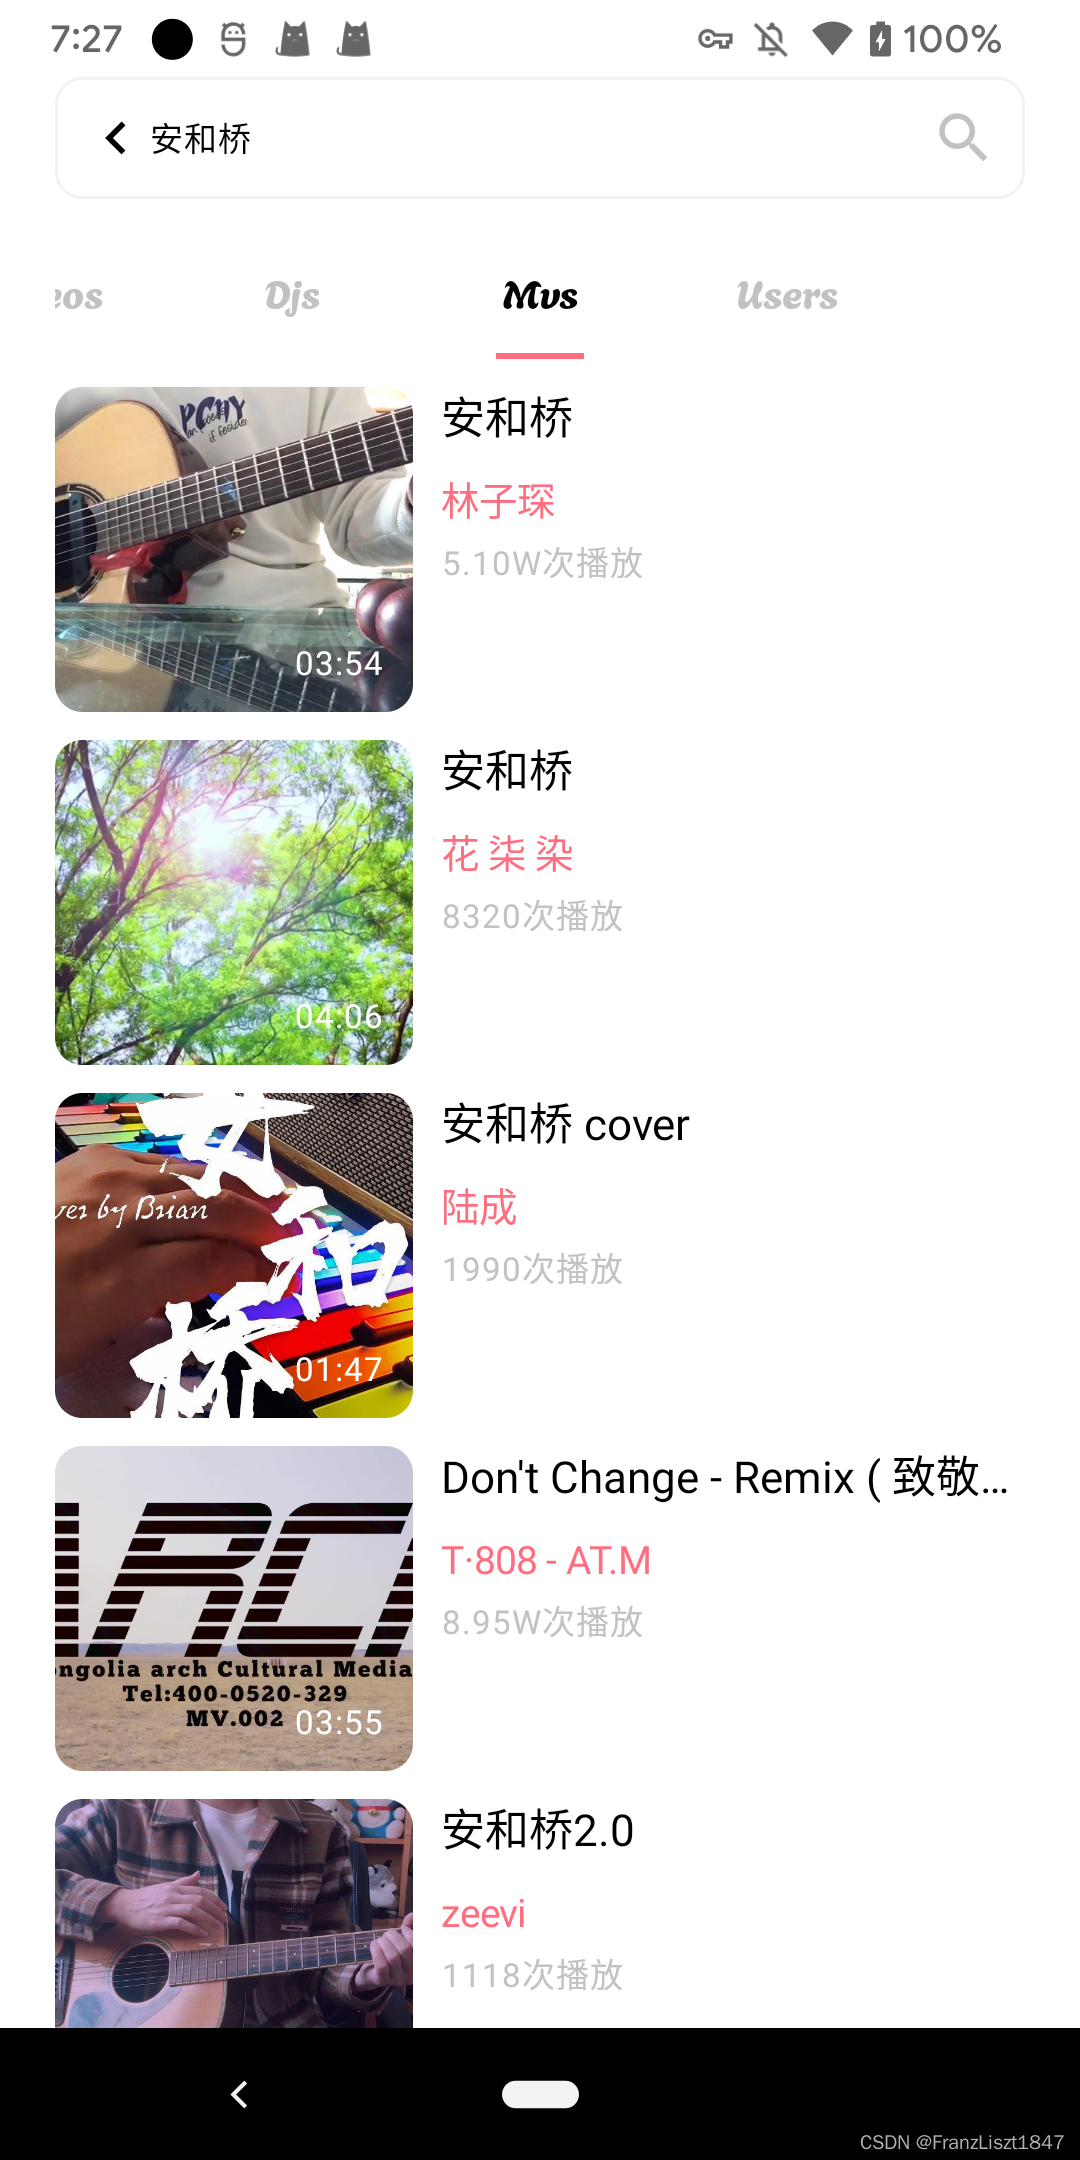
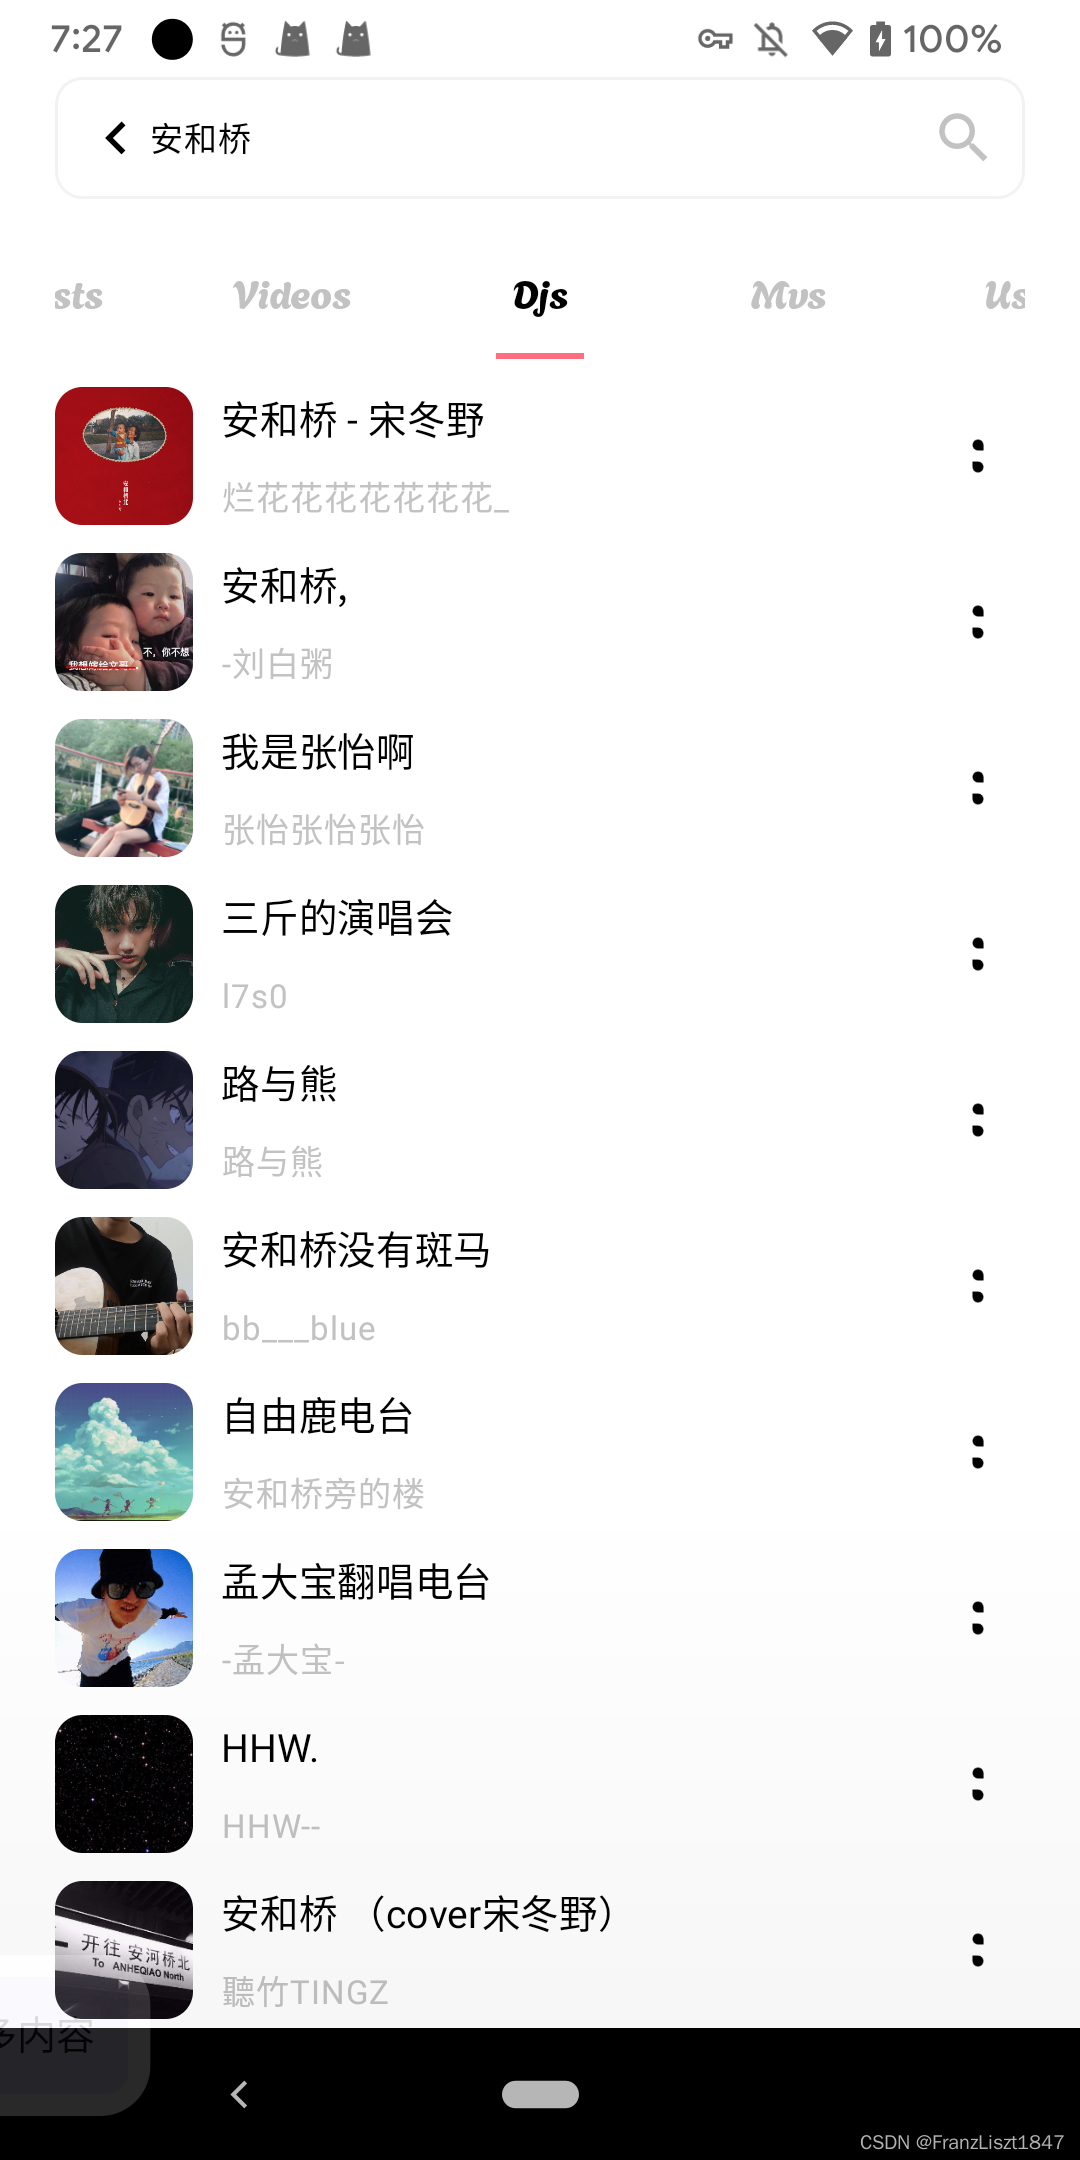
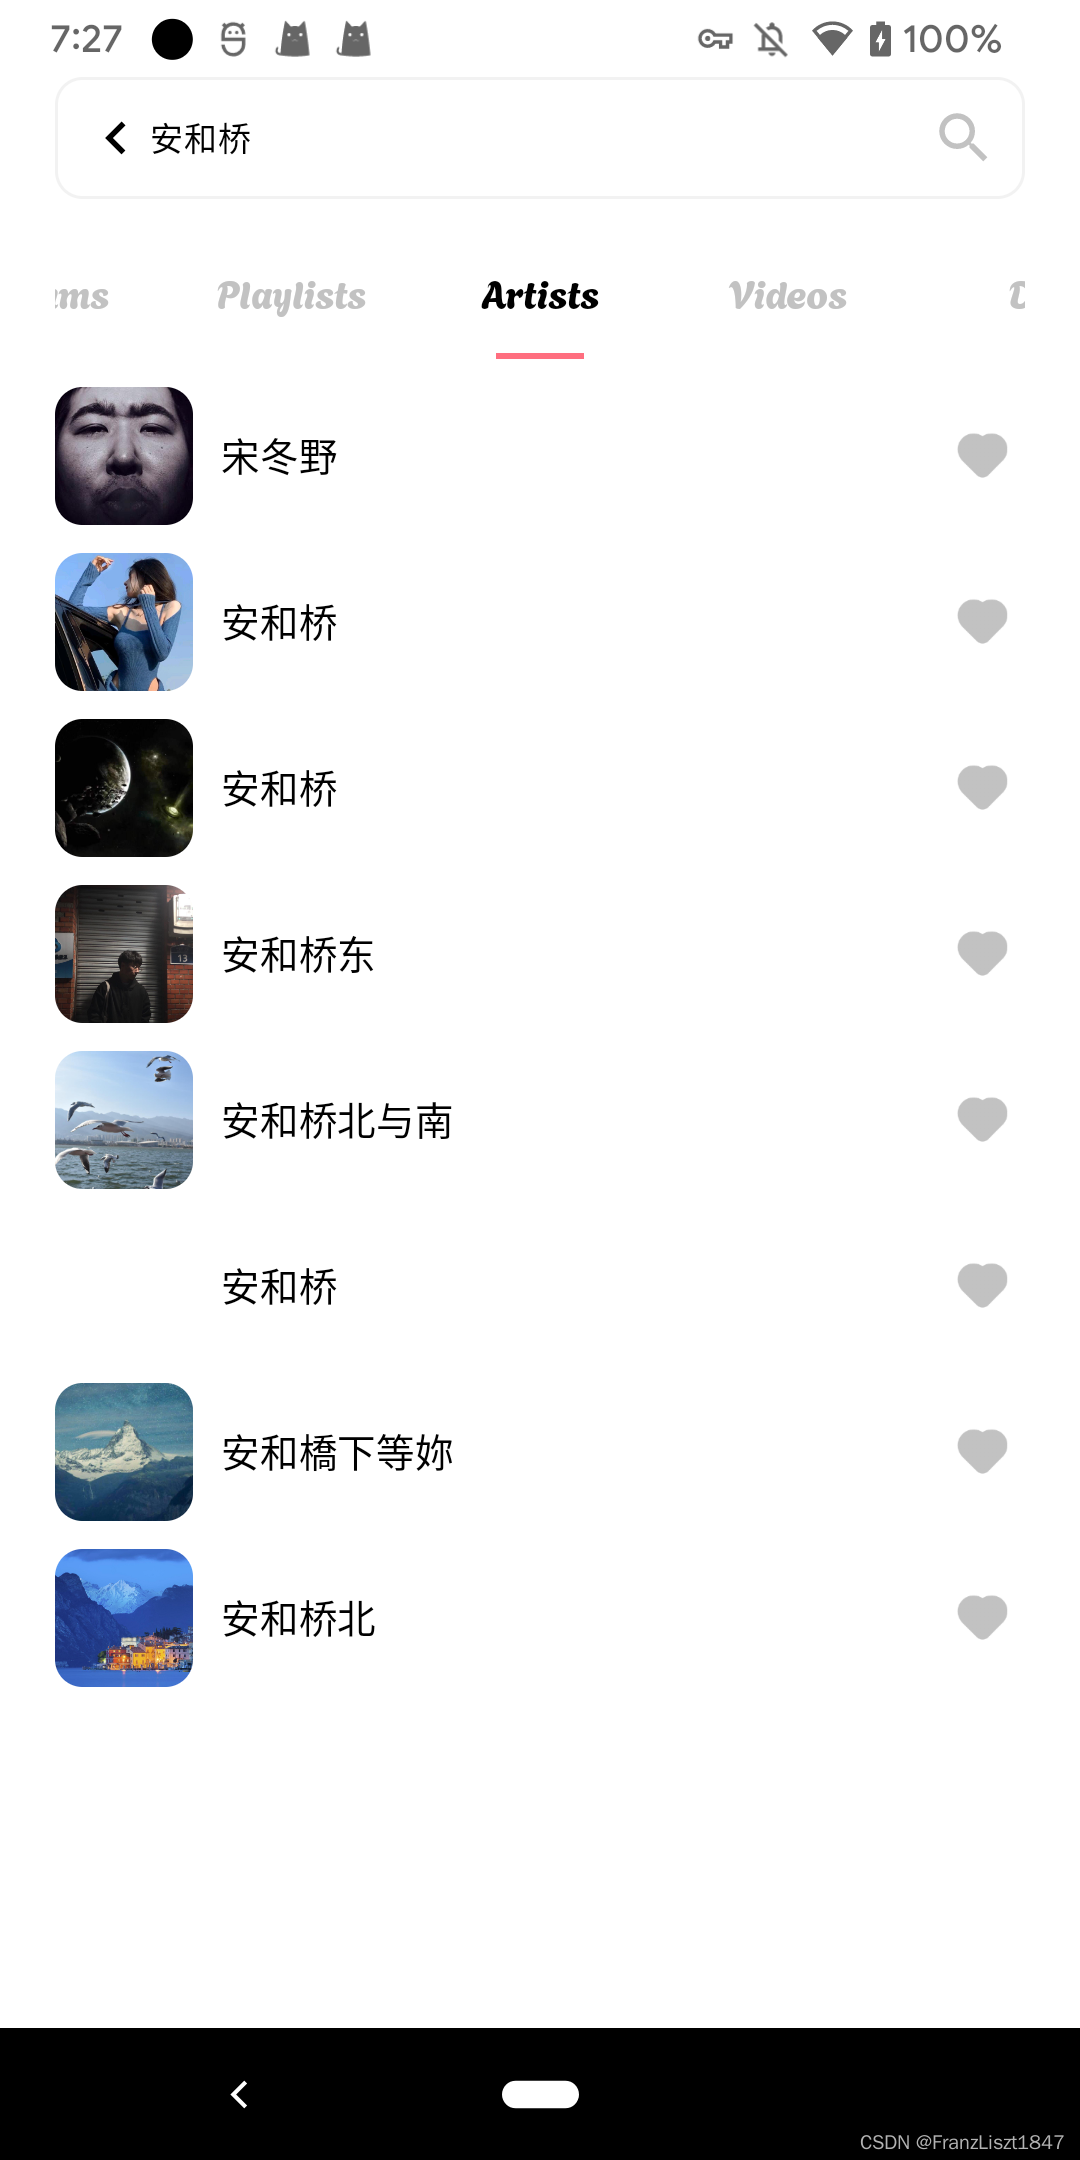
搜索
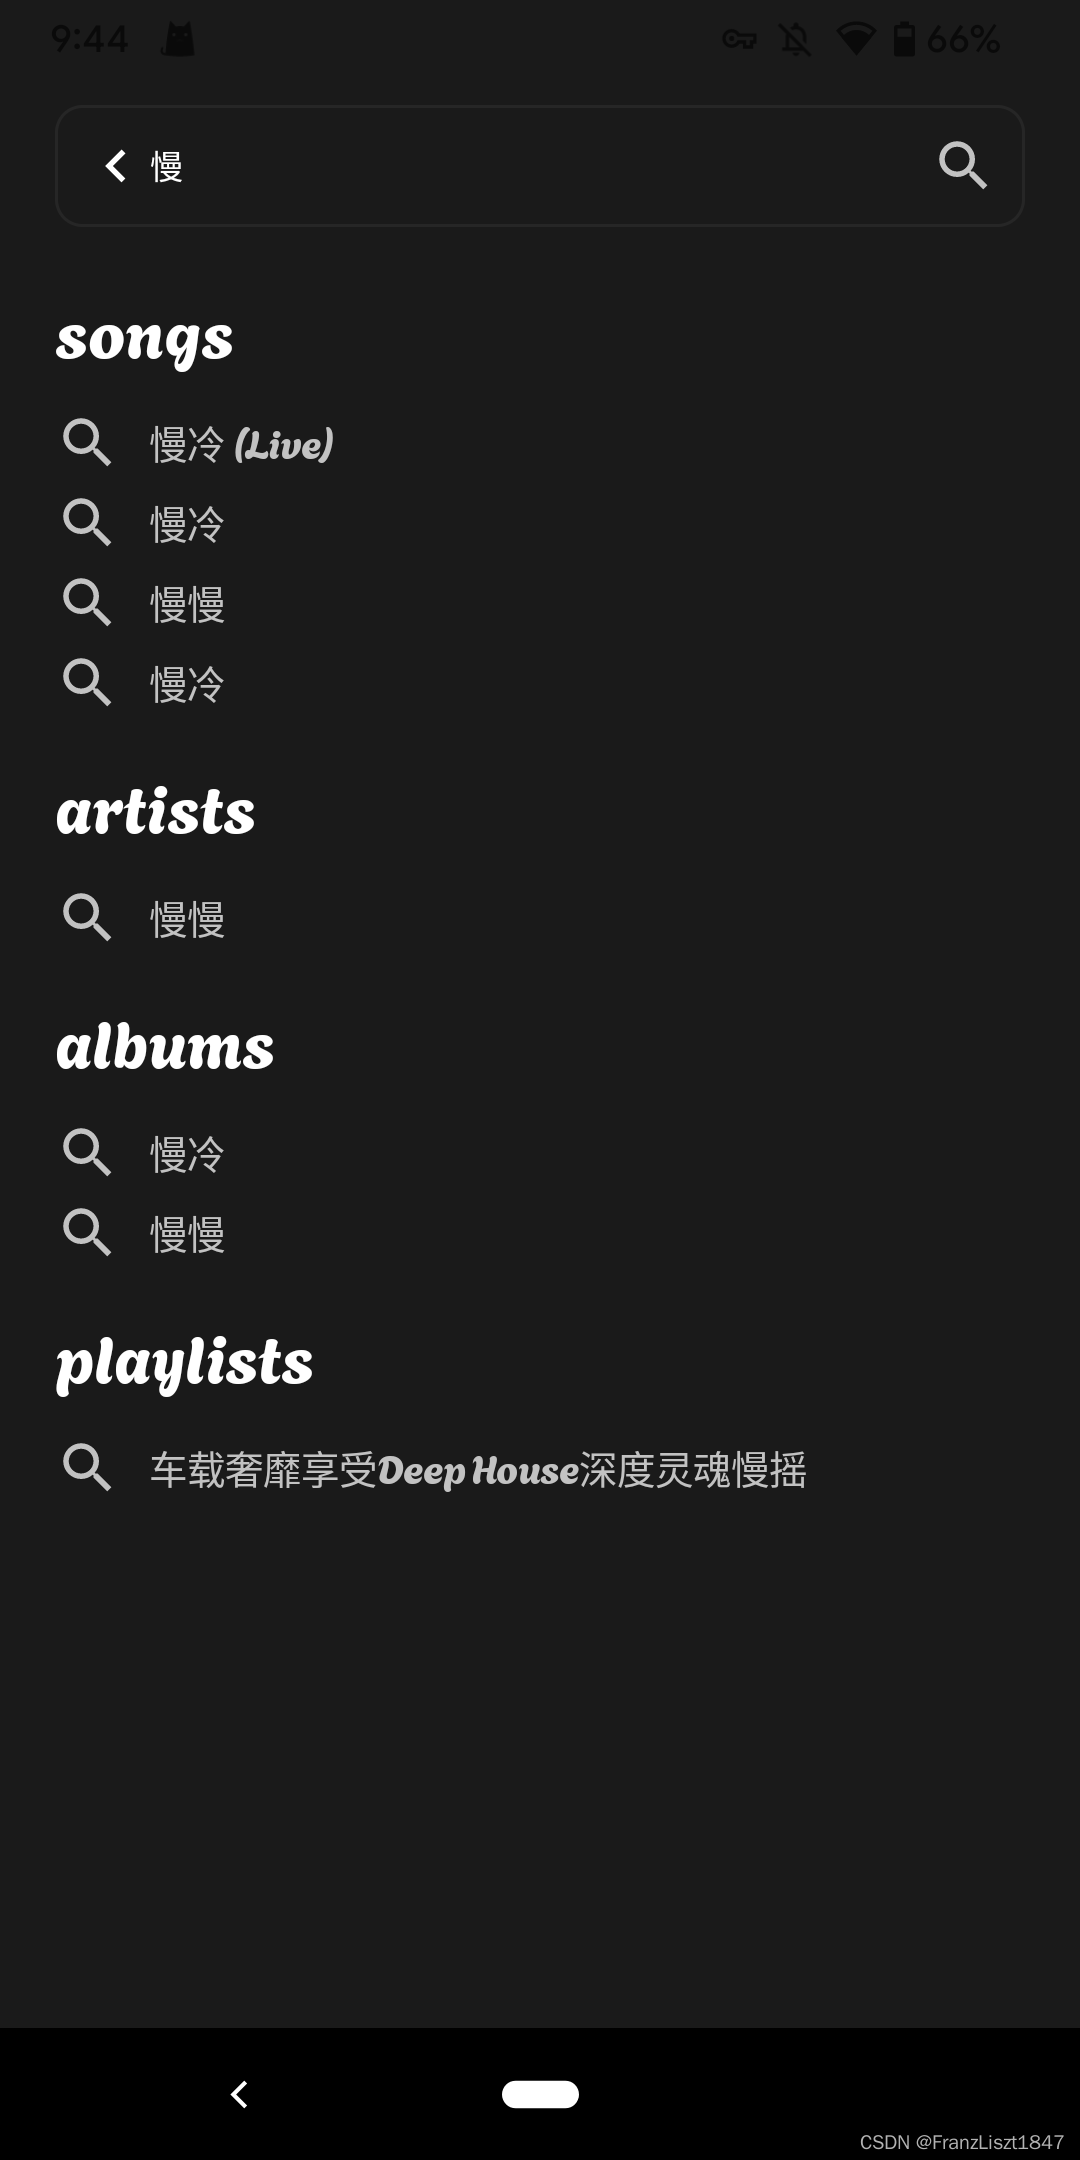
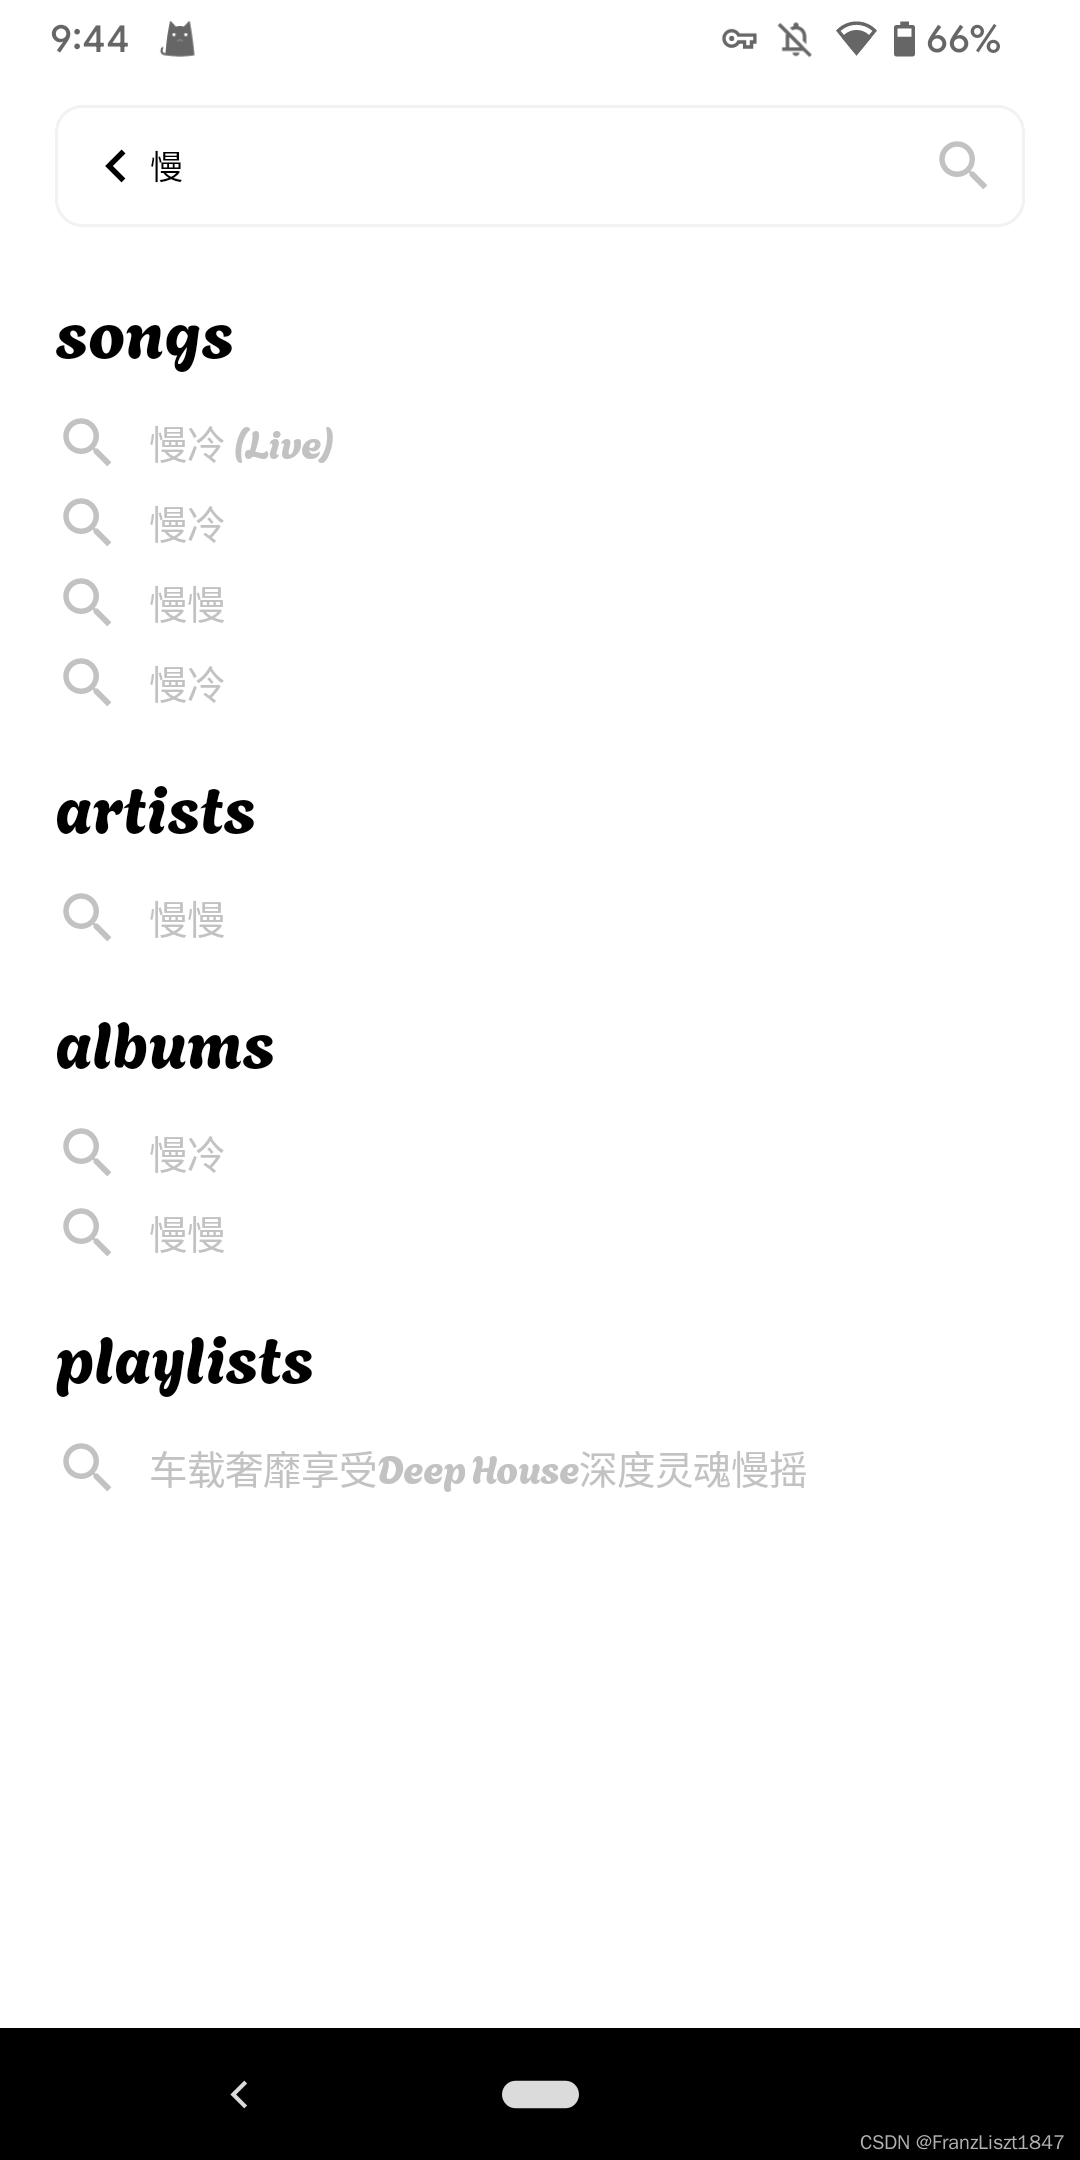
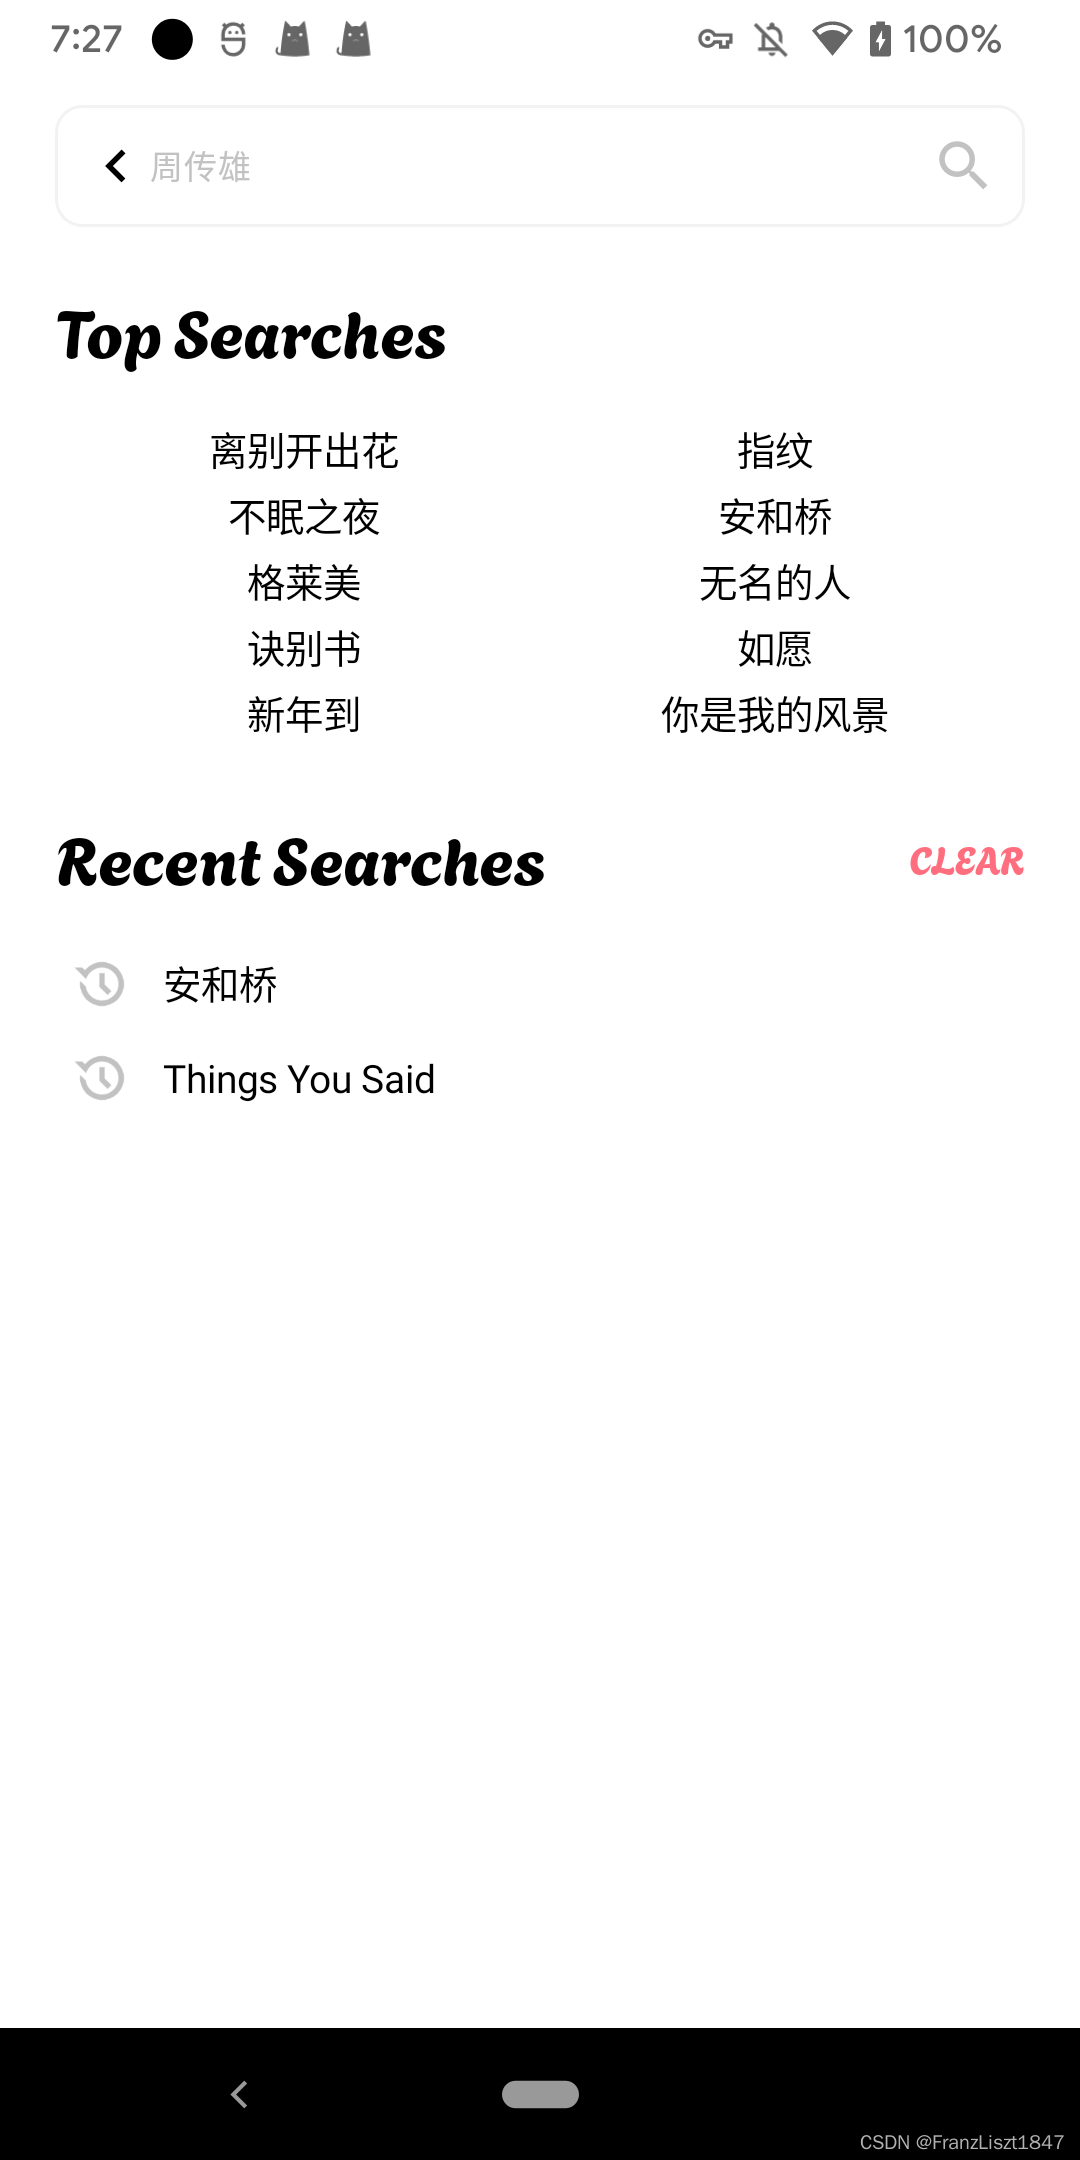
搜索结果

登录


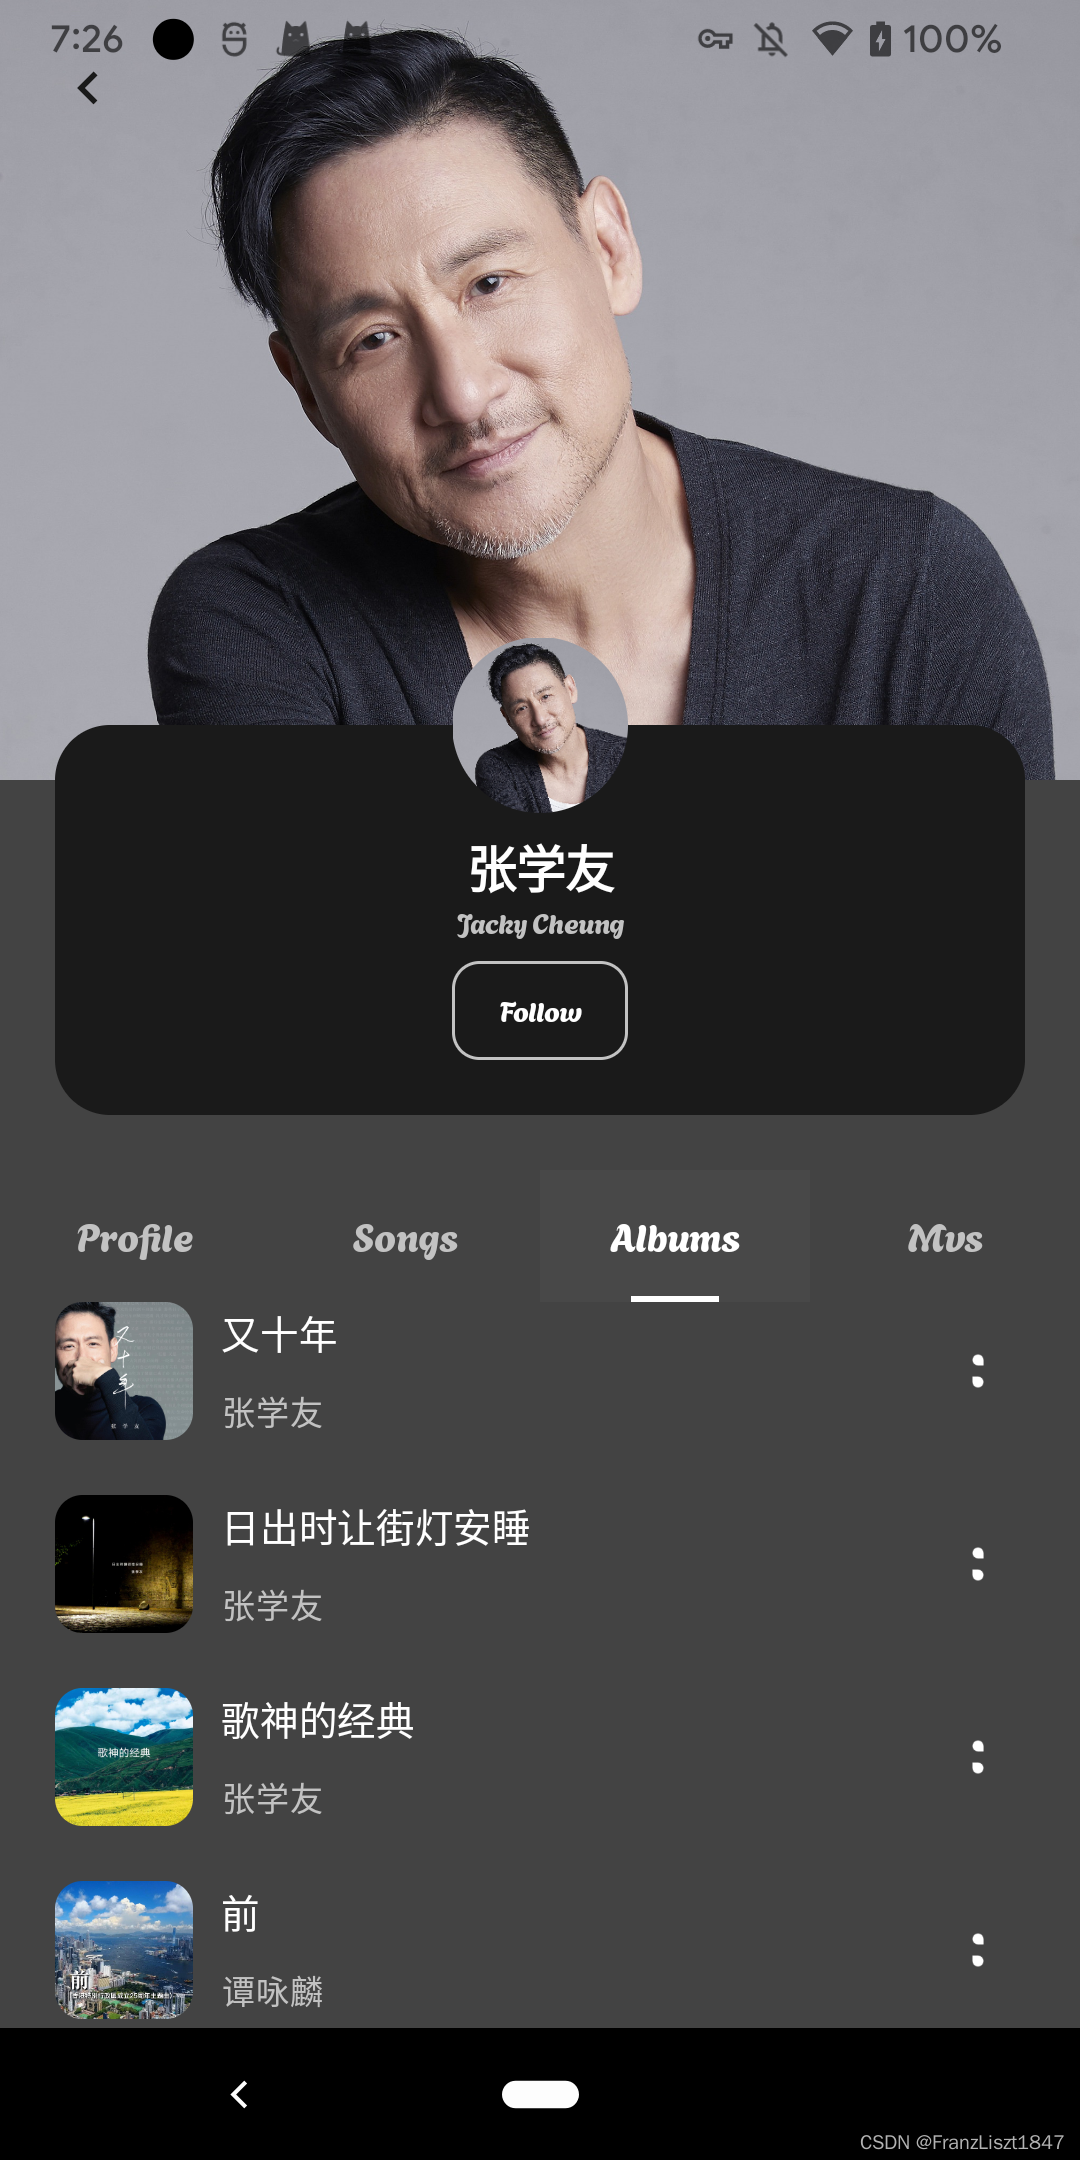
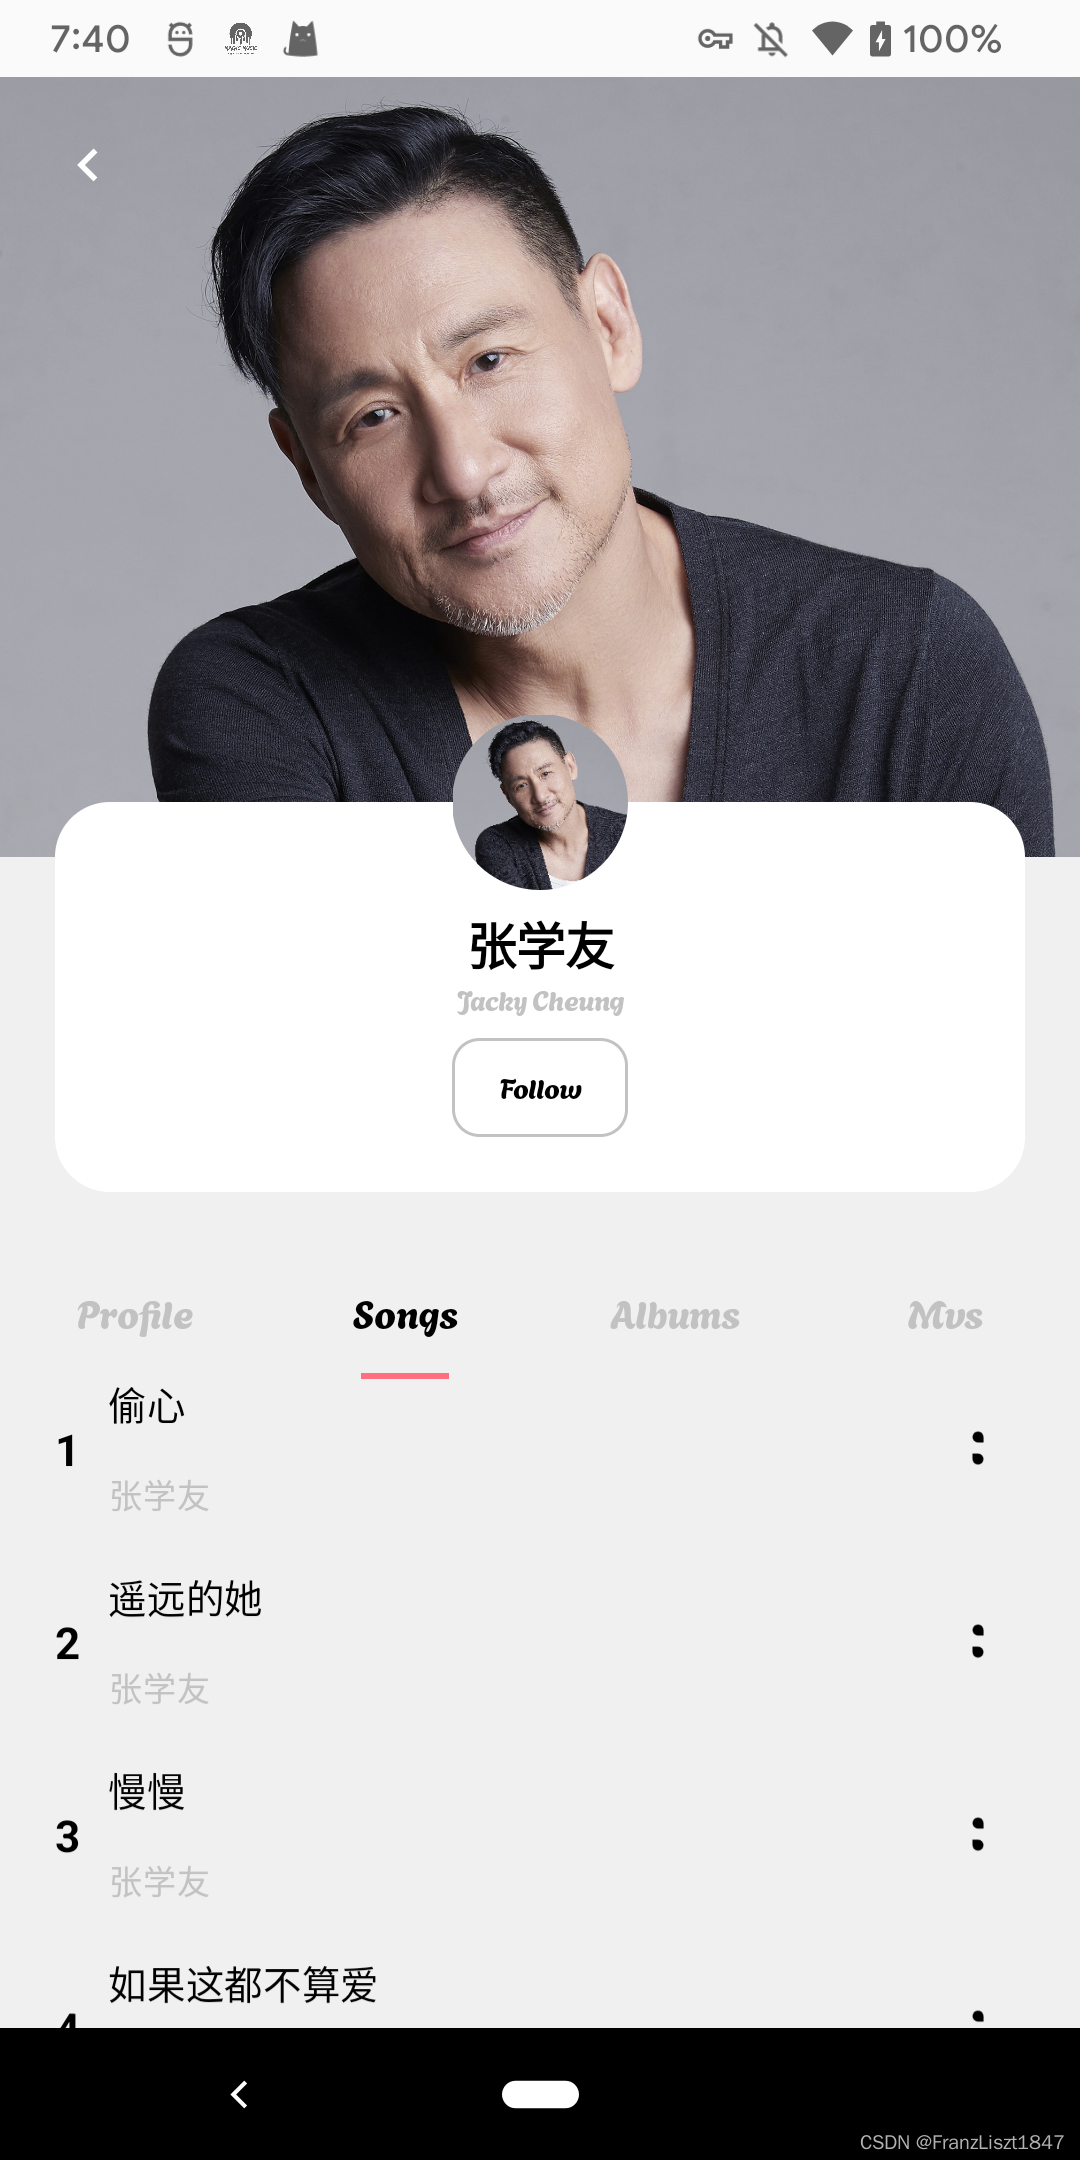
歌手详情


navigation

End
由于篇幅有限,便只贴示部分图片,如若有意,可以点击下方项目链接进行浏览
Link
Github
https://github.com/FranzLiszt-1847/MagicPlayer
Gitee
https://gitee.com/FranzLiszt1847/MagicPlayer