有道云docx转换markdown,导入hugo发布到github page,多平台发布适配
版权归作者所有,如有转发,请注明文章出处:https://cyrus-studio.github.io/blog/
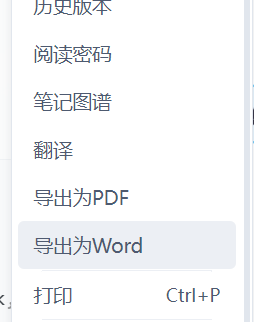
有道云导出docx
有道云笔记右上角更多按钮选择【导出为Word】,可以导出docx文档
docx转换markdown
尝试了几个docx转markdown的python库后,最终选择了python-mammoth,轻量,效率高,可自定义转换满足特定需求。
python-mammoth
python-mammoth 是一个用于将 Microsoft Word (DOCX) 文档转换为 HTML 或 Markdown 的 Python 库。
github地址:https://github.com/mwilliamson/python-mammoth
安装 python-mammoth
pip install mammoth
自定义代码块样式
通过自定义 transform 来实现自定义的代码块样式来支持有道云docx的代码块
def ynote_docx_markdown_transform(document):...passresult = convert_to_markdown(docx_file, transform_document=ynote_docx_markdown_transform)
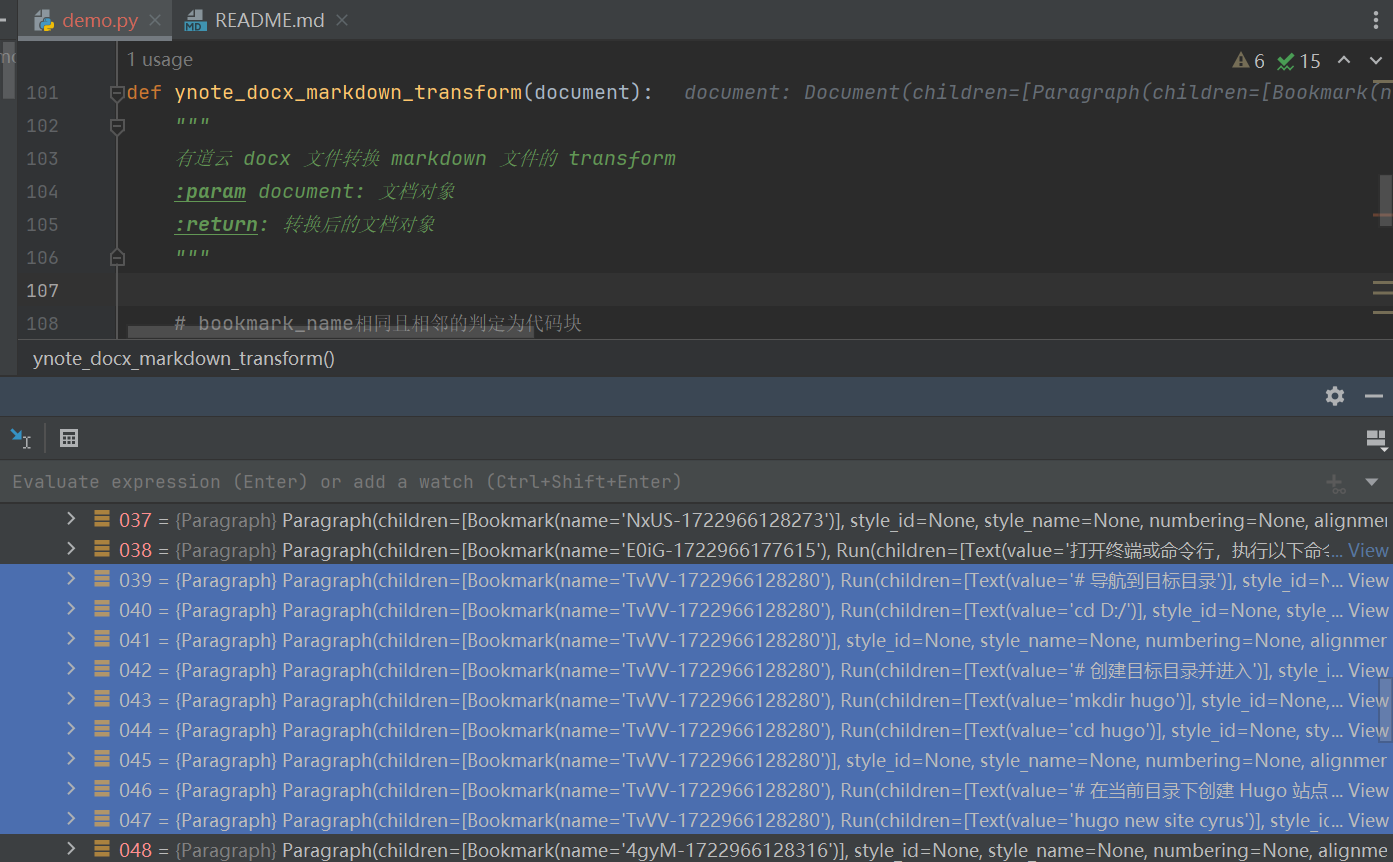
通过在自定义 transform 断点调试可以看到 document 都是由一个一个 Paragraph 组成的,代码块的 Bookmark 的 name 都是相同的,由此代码块其中一个特征就是相同且相邻的 Bookmark name。
但是有的代码块只是单独的一段
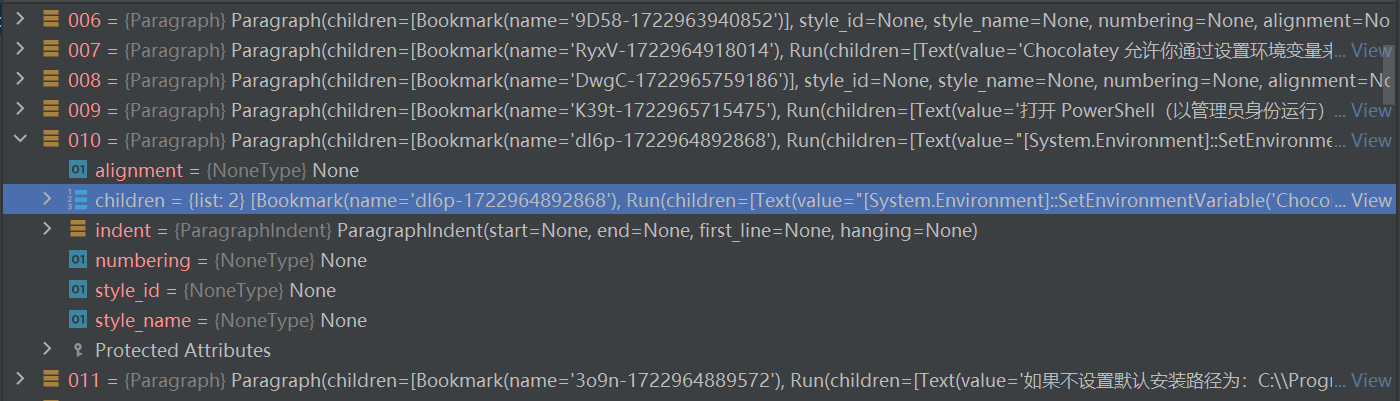
这时可以通过自定义 代码/bash 特征判断该 Paragraph 中的 Text 是不是一段 代码/bash。
def is_possible_code_or_bash(text):# 常见的代码关键字code_keywords = [r'\bif\b', r'\bfor\b', r'\bwhile\b', r'\bdef\b', r'\bclass\b', r'\breturn\b', r'\bimport\b',r'\bint\b', r'\bfloat\b', r'\bmain\b', r'\binclude\b', r'#include', r'\becho\b', r'\bcd\b',r'\bgrep\b', r'\bexit\b', r'\belse\b', r'\belif\b', r'#!/bin/bash', r'&&', r'\|\|', r'\$', r'\>',r'\<']# 常见的 Bash 命令bash_keywords = [r'::', r'Get-Item ']# 以这些符号开头的都当 bash 处理start_keywords = [r'# ', r'git ', r'choco ', r'hugo', r'cd ', r'pip ', r'pip3 ', r'conda ', r'sudo ']# 检查是否包含代码关键字for keyword in code_keywords:if re.search(keyword, text):return keyword# 检查是否包含 Bash 命令for keyword in bash_keywords:if re.search(keyword, text):return keyword# 检查是否包含代码符号for keyword in start_keywords:if text.startswith(keyword):return keywordreturn None
实现步骤:
- bookmark_name相同且相邻的判定为代码块
- 其它不相邻的数据通过特征值判断是否可能是代码
- 在代码块前后加上代码块符号
def ynote_docx_markdown_transform(document):"""有道云 docx 文件转换 markdown 文件的 transform:param document: 文档对象:return: 转换后的文档对象"""# bookmark_name相同且相邻的判定为代码块bookmark_name_list = []for index, element in enumerate(document.children):if isinstance(element, Paragraph) and element.children:bookmark = element.children[0]if isinstance(element.children[0], Bookmark):bookmark_name_list.append(bookmark.name)indices = find_adjacent_duplicates_indices(bookmark_name_list)# 过滤出非相邻的数据filtered_indices = filter_out_indices(document.children, indices)# 其它不相邻的数据通过特征值判断是否可能是代码for index in filtered_indices:element = document.children[index]if len(element.children) >= 2:run = element.children[1]if isinstance(run, Run):text = run.children[0]if isinstance(text, Text):feature = is_possible_code_or_bash(text.value)if feature:print('=====================================找到代码块==================================================================')print(run.children[0].value)print(f'特征:{feature}')print('===============================================================================================================')indices.append((index, index))# 根据开始索引重新排序indices.sort(key=lambda x: x[0])# 在代码块前后加上代码块符号offset = 0for item in indices:value_before = Paragraph(children=[Text('```')],style_id='code',style_name='Code',numbering=None,alignment=None,indent=None)value_after = Paragraph(children=[Text('```')],style_id='code',style_name='Code',numbering=None,alignment=None,indent=None)insert_before_and_after(document.children, item[0] + offset, item[1] + offset, value_before, value_after)offset += 2return document
自定义MarkdownWriter
创建一个 CustomMarkdownWriter 继承 MarkdownWriter 并重写对应的方法,实现如下需求:
- 去掉锚点标签(默认会生成锚点标签 ,通常用于生成跳转链接的目标位置)
- 去掉转义处理(默认会对特殊字符进行转义处理,这里为了保持与文档一致,不需要转义)
- 修改 Paragraph 输出时结尾默认两个换行改为一个换行(默认两个换行让文档看起来很松散)
class CustomMarkdownWriter(MarkdownWriter):"""自定义的 MarkdownWriter"""def __init__(self):super().__init__()self.custom_markdown_writers()@staticmethoddef custom_markdown_writers():"""修改 Paragraph 输出时结尾默认两个换行改为一个换行"""from mammoth.writers.markdown import _writers, _Wrapped_writers['p'] = _Wrapped("", "\n")@staticmethoddef register_writer():"""注册自定义的 CustomMarkdownWriter"""from mammoth.writers import _writers_writers['markdown'] = CustomMarkdownWriterdef text(self, text):"""去掉转义处理"""self._fragments.append(text)def _write_anchor(self, attributes):"""去掉描点"""pass
完整代码
# 将有道云导出的 docx 转换为 markdown
from mammoth import convert_to_markdown
from mammoth.documents import Paragraph, Text, Bookmark, Run
import re
from mammoth.writers.markdown import MarkdownWriterdef find_adjacent_duplicates_indices(string_list):"""查找字符串列表中值相同且相邻的部分:param string_list: 字符串列表:return: 目标的开始索引和结束索引列表"""if not string_list:return []result = []start = 0for i in range(1, len(string_list)):if string_list[i] != string_list[start]:if i - 1 > start:result.append((start, i - 1))start = i# 处理列表的最后一组相同相邻项if len(string_list) - 1 > start:result.append((start, len(string_list) - 1))return resultdef insert_before_and_after(lst, start_index, end_index, value_before, value_after):"""在列表中指定开始和结束位置前后插入值:param lst: 列表:param start_index: 开始索引:param end_index: 结束索引:param value_before: 前插值:param value_after: 后插值"""# 在指定索引前插入值lst.insert(start_index, value_before)# 因为插入了一个元素,索引位置向后移动1位,而且插入在end_index后面,所以在 index + 2 处插入值if end_index + 2 < len(lst):lst.insert(end_index + 2, value_after)else:lst.append(value_after)def filter_out_indices(data_list, index_ranges):"""过滤掉在指定索引范围内的索引:param data_list: 数据列表:param index_ranges: 执行的索引范围列表:return: 返回过滤后的索引列表"""result = []for i in range(len(data_list)):# 检查当前索引是否在任何一个给定的范围内in_range = any(start <= i <= end for start, end in index_ranges)if not in_range:result.append(i)return resultdef is_possible_code_or_bash(text):# 常见的代码关键字code_keywords = [r'\bif\b', r'\bfor\b', r'\bwhile\b', r'\bdef\b', r'\bclass\b', r'\breturn\b', r'\bimport\b',r'\bint\b', r'\bfloat\b', r'\bmain\b', r'\binclude\b', r'#include', r'\becho\b', r'\bcd\b',r'\bgrep\b', r'\bexit\b', r'\belse\b', r'\belif\b', r'#!/bin/bash', r'&&', r'\|\|', r'\$', r'\>',r'\<']# 常见的 Bash 命令bash_keywords = [r'::', r'Get-Item ']# 以这些符号开头的都当 bash 处理start_keywords = [r'# ', r'git ', r'choco ', r'hugo', r'cd ', r'pip ', r'pip3 ', r'conda ', r'sudo ']# 检查是否包含代码关键字for keyword in code_keywords:if re.search(keyword, text):return keyword# 检查是否包含 Bash 命令for keyword in bash_keywords:if re.search(keyword, text):return keyword# 检查是否包含代码符号for keyword in start_keywords:if text.startswith(keyword):return keywordreturn Nonedef ynote_docx_markdown_transform(document):"""有道云 docx 文件转换 markdown 文件的 transform:param document: 文档对象:return: 转换后的文档对象"""# bookmark_name相同且相邻的判定为代码块bookmark_name_list = []for index, element in enumerate(document.children):if isinstance(element, Paragraph) and element.children:bookmark = element.children[0]if isinstance(element.children[0], Bookmark):bookmark_name_list.append(bookmark.name)indices = find_adjacent_duplicates_indices(bookmark_name_list)# 过滤出非相邻的数据filtered_indices = filter_out_indices(document.children, indices)# 其它不相邻的数据通过特征值判断是否可能是代码for index in filtered_indices:element = document.children[index]if len(element.children) >= 2:run = element.children[1]if isinstance(run, Run):text = run.children[0]if isinstance(text, Text):feature = is_possible_code_or_bash(text.value)if feature:print('=====================================找到代码块==================================================================')print(run.children[0].value)print(f'特征:{feature}')print('===============================================================================================================')indices.append((index, index))# 根据开始索引重新排序indices.sort(key=lambda x: x[0])# 在代码块前后加上代码块符号offset = 0for item in indices:value_before = Paragraph(children=[Text('```')],style_id='code',style_name='Code',numbering=None,alignment=None,indent=None)value_after = Paragraph(children=[Text('```')],style_id='code',style_name='Code',numbering=None,alignment=None,indent=None)insert_before_and_after(document.children, item[0] + offset, item[1] + offset, value_before, value_after)offset += 2return documentclass CustomMarkdownWriter(MarkdownWriter):"""自定义的 MarkdownWriter"""def __init__(self):super().__init__()self.custom_markdown_writers()@staticmethoddef custom_markdown_writers():"""修改 Paragraph 输出时结尾默认两个换行改为一个换行"""from mammoth.writers.markdown import _writers, _Wrapped_writers['p'] = _Wrapped("", "\n")@staticmethoddef register_writer():"""注册自定义的 CustomMarkdownWriter"""from mammoth.writers import _writers_writers['markdown'] = CustomMarkdownWriterdef text(self, text):"""去掉转义处理"""self._fragments.append(text)def _write_anchor(self, attributes):"""去掉描点"""passdef convert_docx_to_markdown(docx_path, output_path):with open(docx_path, "rb") as docx_file:# 使用自定义的 MarkdownWriter 进行转换CustomMarkdownWriter.register_writer()result = convert_to_markdown(docx_file, transform_document=ynote_docx_markdown_transform)markdown = result.valuewith open(output_path, "w", encoding="utf-8") as md_file:md_file.write(markdown)# 路径设置
docx_path = r"D:\hugo\0成本通过Hugo和GitHub Pages搭建博客.docx"
output_path = "output.md"# 转换 DOCX 为 Markdown
convert_docx_to_markdown(docx_path, output_path)
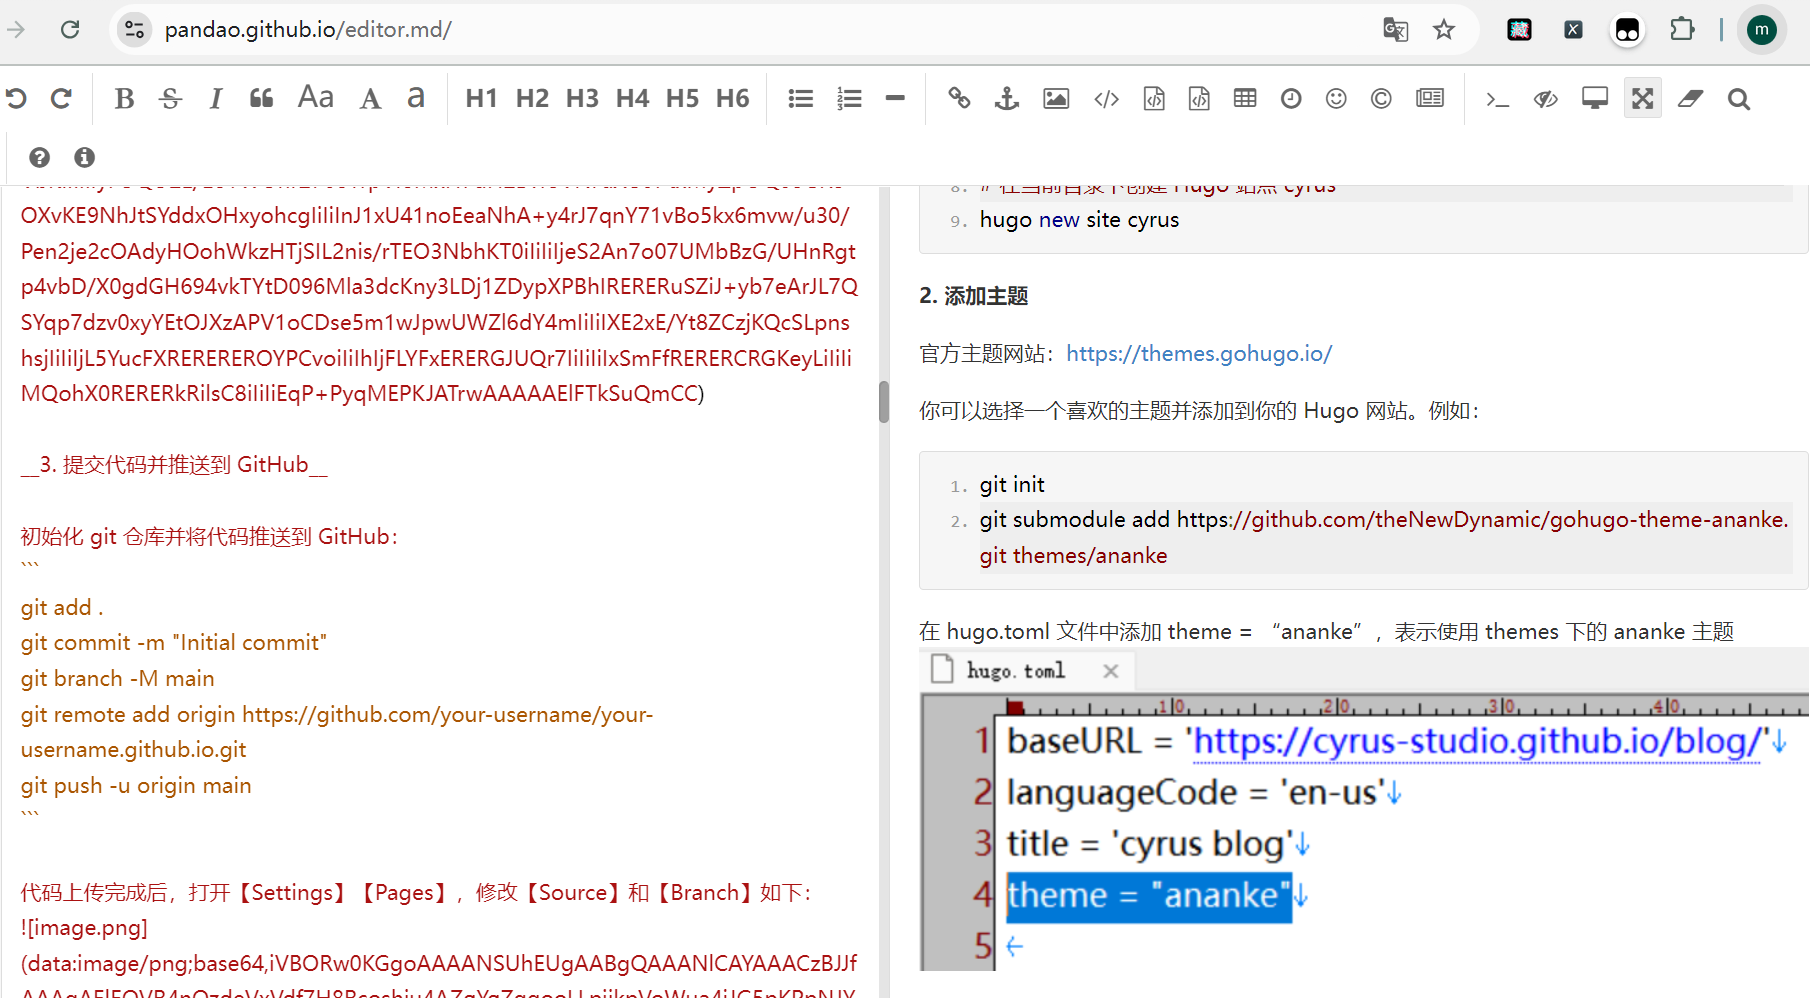
查看效果
在线markdown编辑器:https://pandao.github.io/editor.md/
导入hugo发布到github page
把转换后的 markdown 添加到 hugo 并部署到 github page
添加 hugo header
在转换后的 markdown 头部添加一下 hugo header 信息,并把 markdown 输出到 hugo 的 content/posts 目录下
from datetime import datetime, timezone, timedeltadef add_hugo_header(markdown, title):date = datetime.now(timezone(timedelta(hours=8))).isoformat()return f"+++\ntitle = '{title}'\ndate = {date}\ndraft = false\n+++\n{markdown}"def convert_docx_to_markdown(docx_path, output_dir):with open(docx_path, "rb") as docx_file:title = os.path.basename(docx_path).split('.')[0]output_path = os.path.join(output_dir, f'{title}.md')# 使用自定义的 MarkdownWriter 进行转换CustomMarkdownWriter.register_writer()result = convert_to_markdown(docx_file, transform_document=ynote_docx_markdown_transform)markdown = result.value# 添加 hugo headermarkdown = add_hugo_header(markdown, title)with open(output_path, "w", encoding="utf-8") as md_file:md_file.write(markdown)# 路径设置
docx_path = r"D:\hugo\0成本通过Hugo和GitHub Pages搭建博客.docx"
output_dir = r"D:\hugo\cyrus\content\posts"# 转换 DOCX 为 Markdown
convert_docx_to_markdown(docx_path, output_dir)
发布到github page
# 重新生成页面
hugo# 提交代码到github
git add .
git commit -m "0成本通过Hugo和GitHub Pages搭建博客"
git push
最终效果:

实现markdown多平台发布
由于图片是内嵌的base64格式的,不是所有平台的markdown编辑器都支持。
简书、稀土掘金、知乎都不支持。CSDN需要做如下修改才能正常显示图片:
1. 需要将图片从
2. 转换为:![image][tmp][tmp]:data:image/png;base64,...在csdn编辑器上才能正常显示
所以,为了能兼容各平台的 markdown 编辑器,解决方案如下:
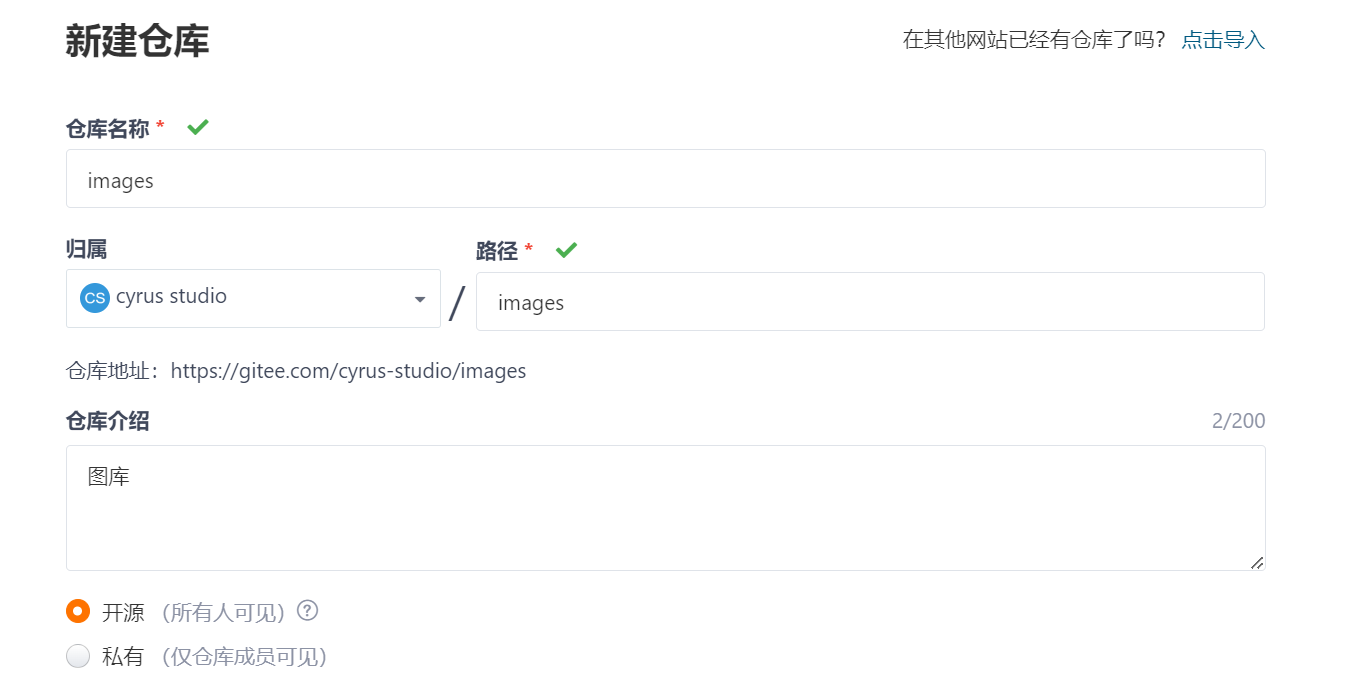
- 在 gitee 创建一个仓库作为图库
- 解析 markdown 中的所有图片,并以图片 base64 数据的 md5 命名保存到本地
- 把本地图片都上传到 gitee 图库
- 修改 markdown 中所有 base64 图片为 gitee 图库中图片的链接
创建gitee图库
把仓库 clone 到本地。
保存base64图片到图库
通过正则去匹配 markdown 中所有 base64 图片,并把图片数据都保存到本地 gitee 图库,文件以 base64 图片数据的 md5 命名
import re
import os
import hashlib
import base64def save_base64_images(markdown_content, output_dir):# 创建输出目录(如果不存在)if not os.path.exists(output_dir):os.makedirs(output_dir)# 正则表达式匹配 base64 图片数据base64_pattern = re.compile(r'data:image/(png|jpeg|jpg|gif);base64,([A-Za-z0-9+/=]+)')# 查找所有匹配的 base64 图片数据matches = base64_pattern.findall(markdown_content)for match in matches:image_type = match[0]base64_data = match[1]# 计算 base64 数据的 MD5 哈希值md5_hash = hashlib.md5(base64_data.encode('utf-8')).hexdigest()# 解码 base64 数据image_data = base64.b64decode(base64_data)# 生成文件路径image_filename = f"{md5_hash}.{image_type}"image_path = os.path.join(output_dir, image_filename)# 保存图片到指定目录with open(image_path, "wb") as image_file:image_file.write(image_data)print(f"Saved image: {image_path}")def save_base64_images_from_file(markdown_file_path, output_dir):# 读取本地 Markdown 文件内容with open(markdown_file_path, "r", encoding="utf-8") as file:markdown_content = file.read()save_base64_images(markdown_content, output_dir)# markdown 文件路径
markdown_file_path = r"D:\hugo\cyrus\content\posts\0成本通过Hugo和GitHub Pages搭建博客.md"
# 指定保存图片的目录
images_dir = r"D:\hugo\images"# 保存图片
save_base64_images_from_file(markdown_file_path, images_dir)
图片都保存到本地图库后,通过 git 把图片都 push 到 gitee 仓库。
生成多平台发布版本的 markdown
图片上传完成后,点击图片,点击【原始数据】就可以看到图片的链接了
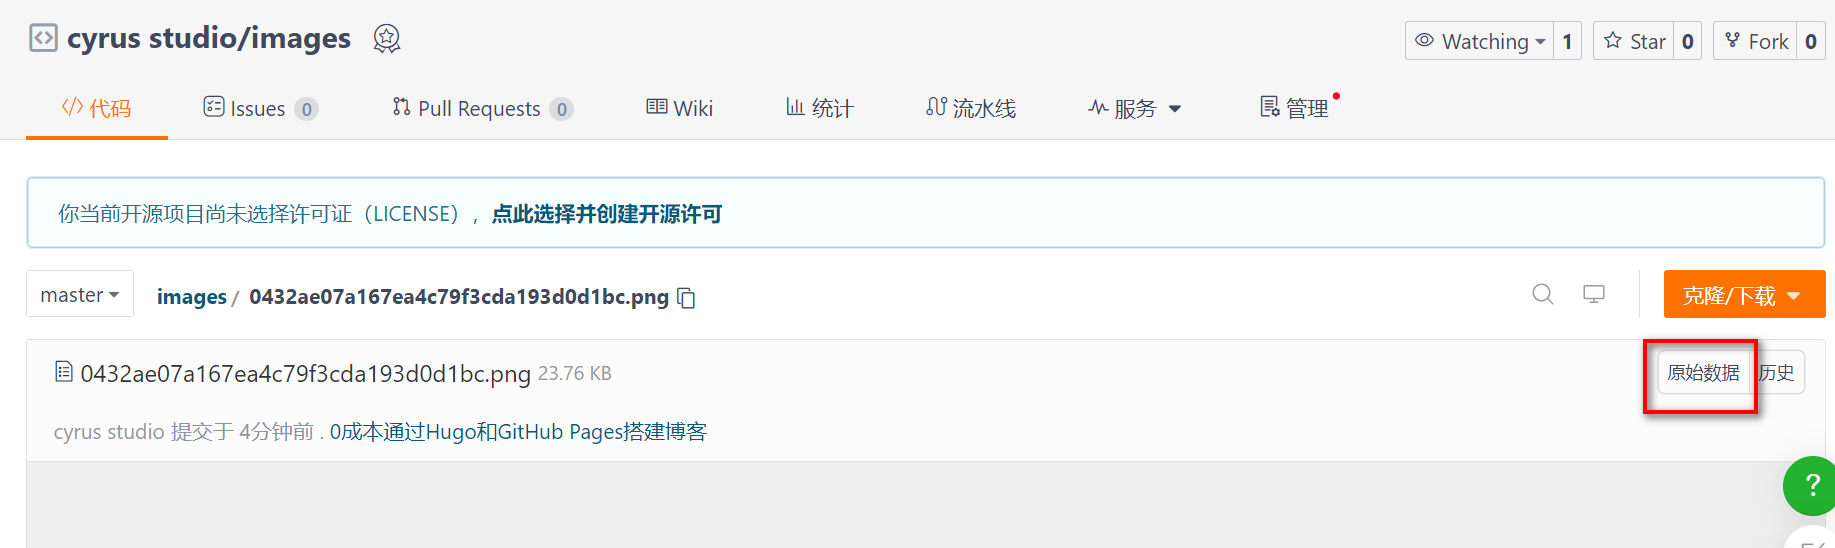
图片的链接格式如下:
https://gitee.com/cyrus-studio/images/raw/master/0432ae07a167ea4c79f3cda193d0d1bc.png
每个图片的链接前面部分都一样,只是文件名的md5不一样,接下来需要把 markdown 中的 base64 图片都换成 gitee 图库中图片的链接,并生成新的 markdown 即可。
实现步骤:
- 读取 markdown,并移除 hugo header
- 正则表达式匹配 base64 图片数据,计算md5,替换为 gitee 图库链接
- 将结果写入新的 Markdown 文件
import os
import re
import hashlibdef remove_hugo_header(markdown_content):# 正则匹配 Hugo front matter(通常在文件的开头用三条+包裹)front_matter_pattern = re.compile(r'^\+\+\+\s*\n.*?\n\+\+\+\s*\n', re.DOTALL)# 使用正则表达式去除 front matterreturn re.sub(front_matter_pattern, '', markdown_content)def replace_base64_images_with_links(markdown_file_path, output_dir, base_url):# 读取本地 Markdown 文件内容with open(markdown_file_path, "r", encoding="utf-8") as file:markdown_content = file.read()# 去除 Hugo header(front matter)markdown_content = remove_hugo_header(markdown_content)# 获取原文件名并构建新的文件路径original_filename = os.path.basename(markdown_file_path)output_file_path = os.path.join(output_dir, original_filename)# 创建输出目录(如果不存在)if not os.path.exists(output_dir):os.makedirs(output_dir)# 正则表达式匹配 base64 图片数据base64_pattern = re.compile(r'(data:image/(png|jpeg|jpg|gif);base64,([A-Za-z0-9+/=]+))')def replace_with_link(match):base64_data = match.group(3)# 计算 base64 数据的 MD5 哈希值md5_hash = hashlib.md5(base64_data.encode('utf-8')).hexdigest()# 构建新的图片链接image_url = f"{base_url}/{md5_hash}.png"return image_url# 替换所有 base64 图片为链接new_markdown_content = re.sub(base64_pattern, replace_with_link, markdown_content)# 将结果写入新的 Markdown 文件with open(output_file_path, "w", encoding="utf-8") as output_file:output_file.write(new_markdown_content)print(f"Replaced base64 images with links and removed Hugo header in {output_file_path}")# markdown 文件路径
markdown_file_path = r"D:\hugo\cyrus\content\posts\0成本通过Hugo和GitHub Pages搭建博客.md"
# 多平台发布版本的 markdown 保存目录
markdown_dir = r"D:\hugo\markdown"
# 图片的基础 URL
images_base_url = "https://gitee.com/cyrus-studio/images/raw/master"replace_base64_images_with_links(markdown_file_path, markdown_dir, images_base_url)