赶快收藏:快速安装PyTorch和TensorFlow(gpu+cpu+1.7.1+2.2.0--cuda_11.0.2_450.51.05)命令
如果有必要,记得先创建一个anaconda3虚拟环境:
onda create --name 环境名 python==3.7
cuda:
wget http://developer.download.nvidia.com/compute/cuda/11.0.2/local_installers/cuda_11.0.2_450.51.05_linux.run
sudo sh cuda_11.0.2_450.51.05_linux.run
PyTorch
豆瓣源:
pip install torch===1.4.0 torchvision===0.5.0 -f https://download.pytorch.org/whl/torch_stable.html -i https://pypi.douban.com/simple some-package
或者1.7.0最新稳定版本:
pip install torch==1.7.1+cu101 torchvision==0.8.2+cu101 torchaudio==0.7.2 -f https://download.pytorch.org/whl/torch_stable.html -i https://pypi.douban.com/simple some-package
https://pytorch.org/
或者
pip install torch=1.7.1 torchvision=0.8.2 torchaudio===0.7.2 -f https://download.pytorch.org/whl/torch_stable.html -i https://pypi.douban.com/simple some-package
清华源:
pip install torch===1.4.0 torchvision===0.5.0 -f https://download.pytorch.org/whl/torch_stable.html -i https://pypi.tuna.tsinghua.edu.cn/simple some-package
汇总:
pip install torch==1.7.1+cu110 torchvision==0.8.2+cu110 torchaudio==0.7.2 -f https://download.pytorch.org/whl/torch_stable.html -i https://pypi.douban.com/simple some-package

pip install torch==1.7.1+cu110 torchvision==0.8.2+cu110 torchaudio==0.7.2 -f https://download.pytorch.org/whl/torch_stable.html -i https://pypi.tuna.tsinghua.edu.cn/simple some-package

pip install torch==1.7.0+cu110 torchvision==0.8.1+cu110 torchaudio==0.7.0 -f https://download.pytorch.org/whl/torch_stable.html -i https://pypi.tuna.tsinghua.edu.cn/simple some-package
TensorFlow
pip install --index-url https://pypi.douban.com/simple tensorflow
或指定版本:
install --index-url https://pypi.douban.com/simple tensorflow==1.15.0

TF-gpu2.X
pip install --index-url https://pypi.douban.com/simple tensorflow-gpu==2

win10+cuda10.2安装pytorch1.7.1(使用清华镜像源)
(1)更换镜像源
在命令行中输入下述命令:
conda config --add channels https://mirrors.tuna.tsinghua.edu.cn/anaconda/pkgs/free/
conda config --add channels https://mirrors.tuna.tsinghua.edu.cn/anaconda/pkgs/main/
conda config --set show_channel_urls yes
conda config --add channels https://mirrors.tuna.tsinghua.edu.cn/anaconda/cloud/pytorch/
备注:
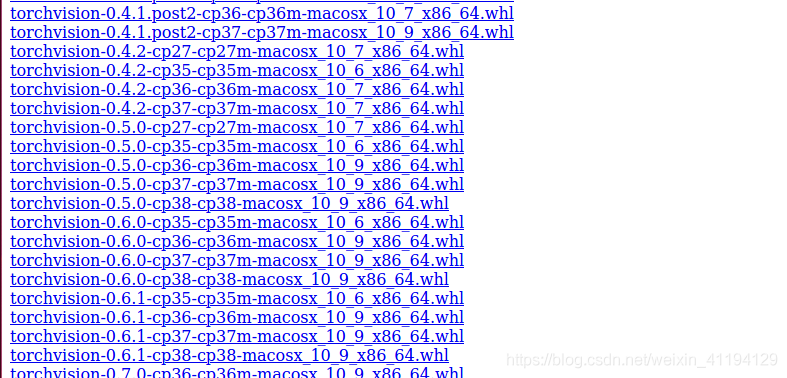
(1)torch和torchvison下载地址
https://download.pytorch.org/whl/torch_stable.html
(2)安装相应的pytorch版本
conda install pytorch torchvision cudatoolkit=10.2
(版本号从https://pytorch.org/上,查找对应版本)
参考文献:
https://blog.csdn.net/liubing8609/article/details/113359885
解决其他慢的参考文献:
https://www.zhihu.com/question/435340249
其他详细教程:
配置清华镜像源
我们使用Anaconda环境进行Pytorch的安装
在命令行中依次输入一下命令并执行
conda config --add channels https://mirrors.tuna.tsinghua.edu.cn/anaconda/pkgs/free/
conda config --add channels https://mirrors.tuna.tsinghua.edu.cn/anaconda/cloud/conda-forge
conda config --add channels https://mirrors.tuna.tsinghua.edu.cn/anaconda/cloud/msys2/
conda config --add channels https://mirrors.tuna.tsinghua.edu.cn/anaconda/cloud/pytorch/
设置搜索时显示通道地址
conda config --set show_channel_urls yes
安装Pytorch
使用清华镜像源进行Pytorch的安装时,官方给出的安装命令就失效了
官方给出的安装命令是:
conda install pytorch torchvision cudatoolkit=10.1 -c pytorch
如果使用清华镜像源安装Pytorch时,需要输入以下命令:
conda install pytorch torchvision cudatoolkit=10.1
在Linux上使用shell脚本一键安装
使用Linux系统的时候,有时一步一步复制粘贴命令非常麻烦,特别是使用远程服务器的时候。这时候就需要shell脚本一键解决复制粘贴命令的麻烦。
在任意文件目录下新建一个shell脚本文件,这里取名为 pytorch_install.sh
shell脚本文件的内容如下所示
conda config --add channels https://mirrors.tuna.tsinghua.edu.cn/anaconda/pkgs/free/
conda config --add channels https://mirrors.tuna.tsinghua.edu.cn/anaconda/cloud/conda-forge
conda config --add channels https://mirrors.tuna.tsinghua.edu.cn/anaconda/cloud/msys2/
conda config --add channels https://mirrors.tuna.tsinghua.edu.cn/anaconda/cloud/pytorch/
设置搜索时显示通道地址
conda config --set show_channel_urls yes
安装pytorch
conda install pytorch torchvision cudatoolkit=10.1
在命令行中执行shell脚本,输入命令:
bash pytorch_install.sh
1
等待安装完成即可。