jq的插件 vue中引用_vue 组件的三种使用方式教程
在vue angular react三大前端框架的大前端时代。许多人选择了vue,在 github 上的star,vue已经超过react的数量了。虽然star并不能代表vue更强,不过在发展速度上看来,vue确实很快。


在模块化的前端时代,万物皆组件,vue学习组件是必不可少的。

可是在大多数人熟悉了纯html、jq之后,在初次接触vue的组件时候,却是满脸蒙蔽。
今天咱们以最简单的方式,带vue小白童鞋们,步入组件的世界~
咱们今天讲三种组件使用方式
- 基本组件
- 全局组件
- 构造组件
1. 基本组件四步骤
- 写好组件(废话~)
- 在页面种引用组件
- 在components中声明组件
- 在页面上使用
咱们以一个
button子组件为例
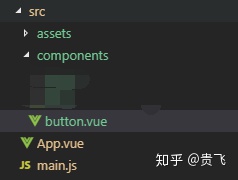
项目src结构:

组件一般都放在components文件夹下:
1.写好子组件:
<template>
  <button class="btn" :style="{color:color}">
    <slot/> <!-- 插槽 -->
  </button>
</template>

<script>
export default {
  // 传入子组件的参数写到props
  props: {
    color: {
      type: String, // 颜色参数类型
      default: "#000"  // 默认黑色
    }
  }
}
</script>

<style scoped>
  .btn {
    width: 110px;
    height: 60px;
    border-radius: 10px;
    border: none;
    font-size: 15px;
  }
</style>
2.3.4.父组件:
<template>
  <div id="app">
    <!-- 4. 在页面上使用 -->
    <Button color="red">我是插槽的值</Button>
  </div>
</template>

<script>
// 2. 在页面种引用组件
import Button from '@/components/Button.vue'
export default {
  name: "app",
  // 3. 在components中声明组件
  components: {
    Button
  }
};
</script>
效果:

2. 全局组件五步骤
- 写好组件(还是废话~)
- 子组件添加install方法
- 在
main.js中引用 - 使用
Vue.use方法 - 在页面上使用
1.子组件还是那样~~:
2. 子组件添加install方法
Button.js :
import ButtonComponent from './Button.vue'

// 添加install方法
const Button = {
  install: function (Vue) {
    Vue.component("Button", ButtonComponent);
  }
}

// 导出Button
export default Button
3.4. main.js
import Vue from 'vue'
import App from './App.vue'
// 3
import Button from '@/components/Button.js'
// 4
Vue.use(Button);
new Vue({
  render: h => h(App),
}).$mount('#app')
5. 在页面上使用
app.vue:
<template>
  <div id="app">
    <!-- 5. 在页面上使用 -->
    <Button color="blue">我是全局按钮</Button>
  </div>
</template>
效果如下:

2. 构造组件四步骤
- 写好组件(还**是废话~)
vue.extend构建组件- 挂载
Vue.prototype - 在js中使用
1.写好子组件:
<template>
  <p class="Message">{{value}}</p>
</template>

<script>
export default {
  data() {
    return {
      value: "我是一个弹框"
    };
  }
};
</script>

<style>
.Message {
  position: fixed;
  bottom: 30px;
  width: 200px;
  background-color: rgba(0, 0, 0, 0.5);
  color: #fff;
  border-radius: 10px;
  left: 50%;
  transform: translateX(-50%);
  line-height: 30px;
  text-align: center;
  font-size: 15px;
  animation: messageFade 3s 1;
}
/* 加个简单动画 */
@keyframes messageFade {
  0% {
    opacity: 0;
    -webkit-transform: translate3d(-50%, 80%, 0);
    transform: translate3d(-50%, 80%, 0);
  }
  16% {
    opacity: 1;
    -webkit-transform: translate3d(-50%, 0, 0);
    transform: translate3d(-50%, 0, 0);
  }
  84% {
    opacity: 1;
    -webkit-transform: translate3d(-50%, 0, 0);
    transform: translate3d(-50%, 0, 0);
  }
  100% {
    opacity: 0;
    -webkit-transform: translate3d(-50%, 80%, 0);
    transform: translate3d(-50%, 80%, 0);
  }
}
</style>
2. vue.extend构建组件
Message.js :
import Vue from 'vue';
import Message from './Message.vue';
// 构造组件
const MessageConstructor = Vue.extend(Message);
// 设置删除组件
const removeDom = (target) => {
    target.parentNode.removeChild(target);
};
// 构造组件添加关闭方法
MessageConstructor.prototype.close = function() {
    this.visible = false;
    removeDom(this.$el);
};

const MessageDiv = (options) => {
    // 实例化组件
    const instance = new MessageConstructor({
        el: document.createElement('div'),
        // 组件参数,运用到组件内的data
        data: options,
    });
    // 在body添加组件
    document.body.appendChild(instance.$el);
    Vue.nextTick(() => {
        instance.timer = setTimeout(() => {
            // 定时关闭组件
            instance.close();
        }, 3000);
    });
    return instance;
};

export default MessageDiv;
3. 挂载 Vue.prototype
main.js :
import Message from '@/components/Message.js'
Vue.prototype.$message = Message;
4. 使用:
<template>
  <div id="app">
    <Button color="blue" @click.native="msg">我是全局按钮</Button>
  </div>
</template>

<script>
import Button from "@/components/Button.vue";
export default {
  name: "app",
  components: {
    Button
  },
  methods: {
    msg() {
      // 4. 使用构造组件
      this.$message({value:'我是构造组件'});
    }
  }
};
</script>
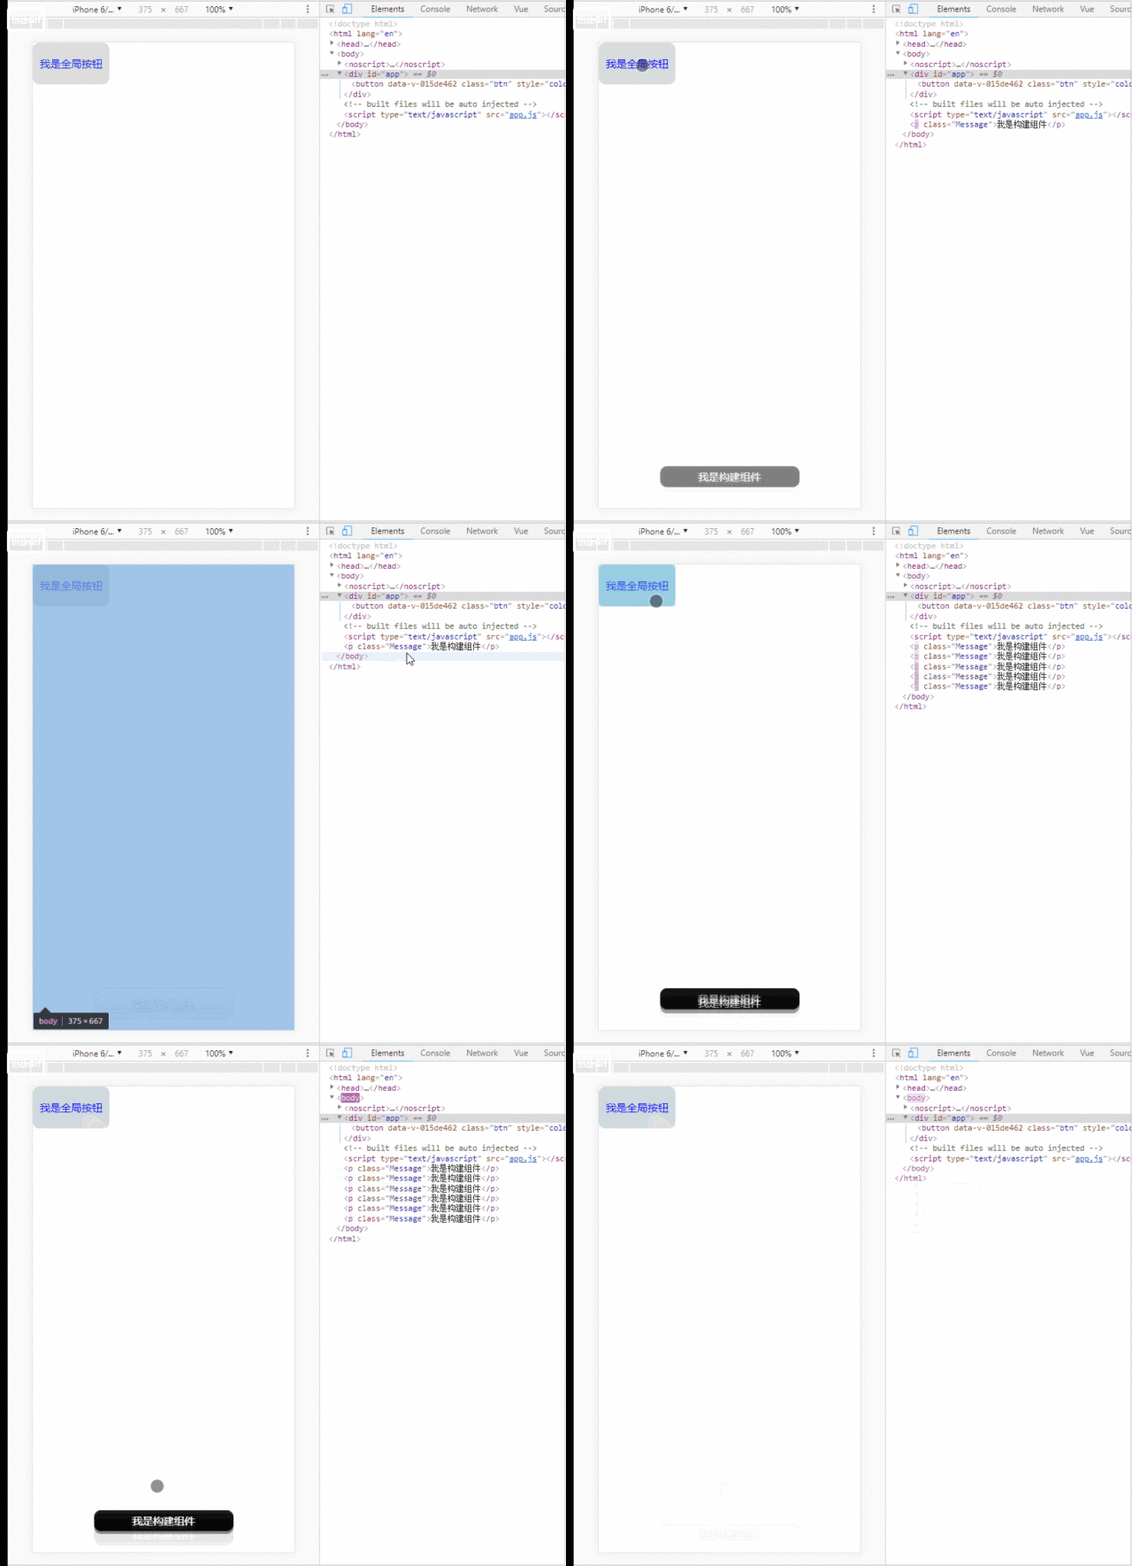
效果:

以上就是三种组件的基本使用啦~~
