深入浅出Spring注解(22)
参考链接
@Scope:指定bean的作用域
源码如下
@Target({ElementType.TYPE, ElementType.METHOD})
@Retention(RetentionPolicy.RUNTIME)
@Documented
public @interface Scope {
@AliasFor("scopeName")
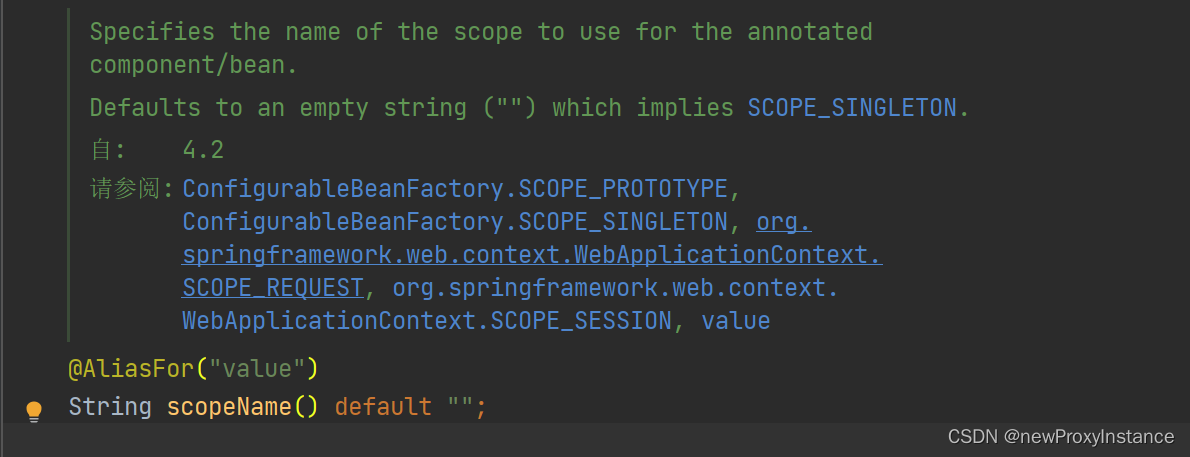
String value() default "";
@AliasFor("value")
String scopeName() default "";
ScopedProxyMode proxyMode() default ScopedProxyMode.DEFAULT;
}
修饰范围:类型和方法。AliasFor将value和scopeName互为别名默认空字符串。
public enum ScopedProxyMode {
	DEFAULT,
	NO,
	INTERFACES,
	TARGET_CLASS
}
字面意思代理模式范围,用到的时候在说明。
案例1:和@Compontent一起使用在类上
@Component
@Scope(ConfigurableBeanFactory.SCOPE_SINGLETON)//@1
public class ServiceA {
}
案例2:和@Bean一起标注在方法上
@Configurable
public class MainConfig2 {
    @Bean
    @Scope(ConfigurableBeanFactory.SCOPE_PROTOTYPE)
    public ServiceA serviceA() {
        return new ServiceA();
    }
}
可选值
    @Scope(ConfigurableBeanFactory.SCOPE_SINGLETON)
    @Scope(ConfigurableBeanFactory.SCOPE_PROTOTYPE)
    @Scope(WebApplicationContext.SCOPE_APPLICATION)
    @Scope(WebApplicationContext.SCOPE_SESSION)
    @Scope(WebApplicationContext.SCOPE_REQUEST)
Defaults to an empty string (“”) which implies SCOPE_SINGLETON. 默认情况下是单例模式。
如何扩展自定义,实现 Scope接口
public interface Scope {

	Object get(String name, ObjectFactory<?> objectFactory);

	@Nullable
	Object remove(String name);

	void registerDestructionCallback(String name, Runnable callback);

	@Nullable
	Object resolveContextualObject(String key);

	@Nullable
	String getConversationId();
}
@DependsOn:指定当前bean依赖的bean
回顾在 xml阶段的使用
    <bean id="bean9" class="com.example.lurenjia.spring.c9.NormalBean$Bean3" depends-on="bean7,bean8"/>
    <bean id="bean8" class="com.example.lurenjia.spring.c9.NormalBean$Bean2"/>
    <bean id="bean7" class="com.example.lurenjia.spring.c9.NormalBean$Bean1"/>
bean9依赖7和8,所以9的创建过程会在7和8之后。
源码
@Target({ElementType.TYPE, ElementType.METHOD})
@Retention(RetentionPolicy.RUNTIME)
@Documented
public @interface DependsOn {

	String[] value() default {};

}
修饰范围:类型和方法。value数组指定bean的名称。
案例1:和@Compontent一起使用在类上
@Component
public class Service1 {
    public Service1() {
        System.out.println("create Service1");
    }
}
@Component
public class Service2 {
    public Service2() {
        System.out.println("create Service2");
    }
}
@Component
public class Service3 {
    public Service3() {
        System.out.println("create Service3");
    }
}
@ComponentScan
public class Client {
    public static void main(String[] args) {
        AnnotationConfigApplicationContext context = new AnnotationConfigApplicationContext(Client.class);
        System.out.println(context.getBean(Service1.class));
    }
}
create Service1
create Service2
create Service3
默认情况下按照从上到下的顺序加载,这个我们如果想要1加载之前先完成2和3的加载就可以使用这个注解。
在 Service1上添加
@DependsOn({"service2", "service3"})
输出
create Service2
create Service3
create Service1
运行后就会变为231的顺序,保证1加载的时候2和3已经完成加载。
案例2:和@Bean一起标注在方法上
@Configurable
public class MainConfig4 {

    @Bean
    @DependsOn({"service2", "service3"})
    public Service1 service1() {
        return new Service1();
    }

    @Bean
    public Service2 service2() {
        return new Service2();
    }

    @Bean
    public Service3 service3() {
        return new Service3();
    }

    public static void main(String[] args) {
        AnnotationConfigApplicationContext context = new AnnotationConfigApplicationContext(MainConfig4.class);
        System.out.println(context.getBean(Service1.class));
    }

}
输出
create Service2
create Service3
create Service1
结果是按照231的顺序加载。
猜想:案例2我想获得的321的顺序应该怎么做?
首先尝试修改bean定义的顺序看看是否有用?
    @Bean
    public Service3 service3() {
        return new Service3();
    }

    @Bean
    public Service2 service2() {
        return new Service2();
    }
输出顺序还是231,猜想 @DependsOn({“service2”, “service3”}) 先定义了2后定义了3。
验证猜想:修改 @DependsOn({“service3”, “service2”}) 输出顺序变为了 321。
得出结论: @DependsOn({“service3”, “service2”}) 中规定了加载的顺序,前面的要先于后面加载。
@ImportResource:配置类中导入bean定义的配置文件
@Retention(RetentionPolicy.RUNTIME)
@Target(ElementType.TYPE)
@Documented
public @interface ImportResource {

	@AliasFor("locations")
	String[] value() default {};

	@AliasFor("value")
	String[] locations() default {};

	Class<? extends BeanDefinitionReader> reader() default BeanDefinitionReader.class;
}
修饰范围:类型。value和locations通过AliasFor作用互为别名。
案例1 从beans.xml中导入bean
public class ServiceA {
}
public class ServiceB {
}
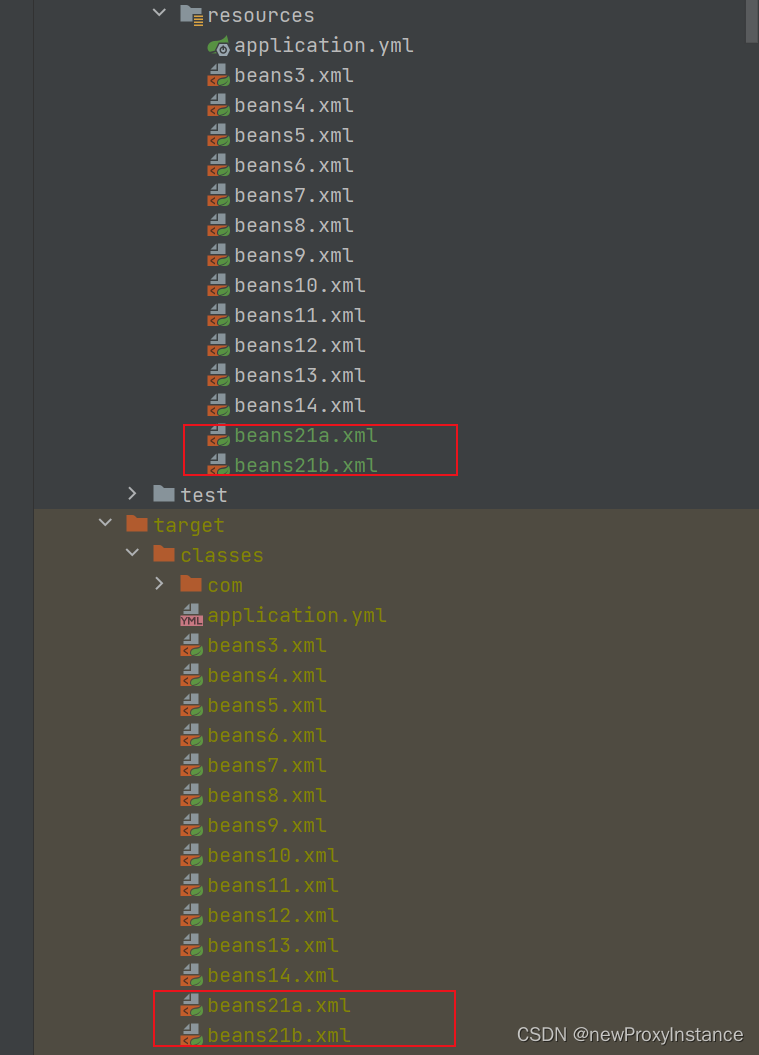
@ImportResource("classpath:beans21*.xml")
public class Client {
    public static void main(String[] args) {
        AnnotationConfigApplicationContext context = new AnnotationConfigApplicationContext(Client.class);
        for (String beanName : context.getBeanDefinitionNames()) {
            System.out.println(String.format("%s->%s", beanName, context.getBean(beanName)));
        }
    }
}
<?xml version="1.0" encoding="UTF-8"?>
<beans xmlns="http://www.springframework.org/schema/beans"
       xmlns:xsi="http://www.w3.org/2001/XMLSchema-instance"
       xsi:schemaLocation="http://www.springframework.org/schema/beans http://www.springframework.org/schema/beans/spring-beans.xsd">
    <bean id="serviceA" class="com.example.lurenjia.spring.c21.importResource.ServiceA">

    </bean>
</beans>
<?xml version="1.0" encoding="UTF-8"?>
<beans xmlns="http://www.springframework.org/schema/beans"
       xmlns:xsi="http://www.w3.org/2001/XMLSchema-instance"
       xsi:schemaLocation="http://www.springframework.org/schema/beans http://www.springframework.org/schema/beans/spring-beans.xsd">
    <bean id="serviceB" class="com.example.lurenjia.spring.c21.importResource.ServiceB">

    </bean>
</beans>
serviceA->com.example.lurenjia.spring.c21.importResource.ServiceA@105fece7
serviceB->com.example.lurenjia.spring.c21.importResource.ServiceB@3ec300f1
@Lazy:延迟初始化
回顾xml中使用
<bean id="lazyInitBean" class="com.example.lurenjia.spring.c12.LazyInitBean" lazy-init="true"/>
只有用到的时候才会进行初始化动作。
源码
@Target({ElementType.TYPE, ElementType.METHOD, ElementType.CONSTRUCTOR, ElementType.PARAMETER, ElementType.FIELD})
@Retention(RetentionPolicy.RUNTIME)
@Documented
public @interface Lazy {
	boolean value() default true;
}
修饰范围:类型、方法、构造函数、方法参数。 value值默认为true代表开启延迟初始化。
案例1:和@Compontent一起使用
@Component
@Lazy
public class Service1 {
    public Service1() {
        System.out.println("创建Service1");
    }
}
@ComponentScan
public class client {
    public static void main(String[] args) {
        System.out.println("准备启动spring容器");
        AnnotationConfigApplicationContext context = new AnnotationConfigApplicationContext(client.class);
        System.out.println("spring容器启动完毕");
        System.out.println(context.getBean(Service1.class));
    }
}
spring容器启动完毕
创建Service1
com.example.lurenjia.spring.c21.lazy.Service1@971d0d8
案例2:和@Configuration一起使用加在配置类上
@Lazy //@1
@Configurable
public class LazyConfig {

    @Bean
    public String name() {
        System.out.println("create bean:name");
        return "路人甲Java";
    }

    @Bean
    public String address() {
        System.out.println("create bean:address");
        return "上海市";
    }

    @Bean
    @Lazy(false) //@2
    public Integer age() {
        System.out.println("create bean:age");
        return 30;
    }
}
@ComponentScan
public class client {
    public static void main(String[] args) {
        System.out.println("准备启动spring容器");
        AnnotationConfigApplicationContext context2 = new AnnotationConfigApplicationContext(LazyConfig.class);
        System.out.println("spring容器启动完毕");

        for (String beanName : Arrays.asList("name", "age", "address")) {
            System.out.println("----------");
            System.out.println("getBean:" + beanName + ",start");
            System.out.println(String.format("%s->%s", beanName, context2.getBean(beanName)));
            System.out.println("getBean:" + beanName + ",end");
        }
    }
}