ShardingJdbc实战-ShardingJdbc配置及读写分离
文章目录
- 一、项目搭建
- 二、测试结果
- 1.访问http://localhost:8085/user/save
- 2.访问http://localhost:8085/user/listuser
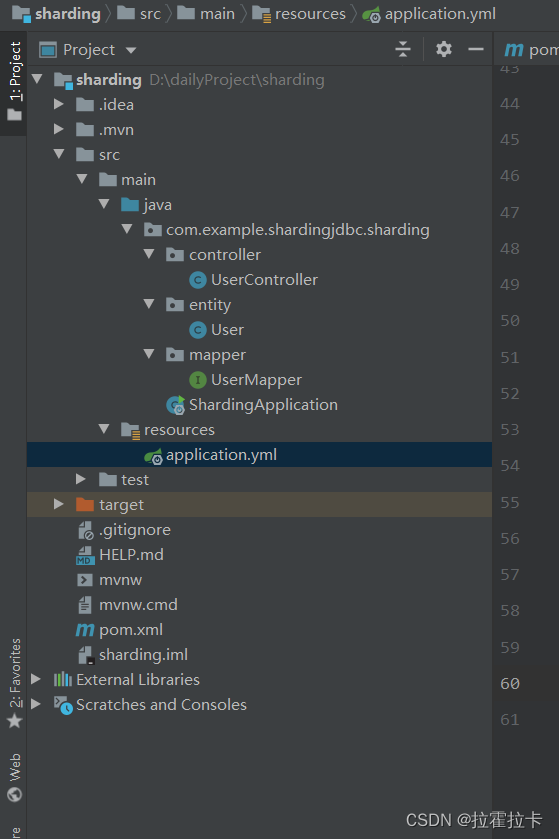
一、项目搭建
新建一个Spring Boot工程
引入依赖-sharding、ssm、数据库驱动
<properties><java.version>1.8</java.version><sharding-sphere.version>4.0.0-RC1</sharding-sphere.version></properties><dependencies><dependency><groupId>org.springframework.boot</groupId><artifactId>spring-boot-starter</artifactId></dependency><dependency><groupId>org.springframework.boot</groupId><artifactId>spring-boot-starter-web</artifactId></dependency><!-- 依赖mybatis和mysql驱动 --><dependency><groupId>org.mybatis.spring.boot</groupId><artifactId>mybatis-spring-boot-starter</artifactId><version>2.1.4</version></dependency><dependency><groupId>mysql</groupId><artifactId>mysql-connector-java</artifactId><scope>runtime</scope></dependency><dependency><groupId>org.projectlombok</groupId><artifactId>lombok</artifactId><optional>true</optional></dependency><dependency><groupId>org.springframework.boot</groupId><artifactId>spring-boot-starter-test</artifactId><scope>test</scope></dependency><!--依赖sharding--><dependency><groupId>org.apache.shardingsphere</groupId><artifactId>sharding-jdbc-spring-boot-starter</artifactId><version>${sharding-sphere.version}</version></dependency><dependency><groupId>org.apache.shardingsphere</groupId><artifactId>sharding-core-common</artifactId><version>${sharding-sphere.version}</version></dependency><!--依赖数据源druid--><dependency><groupId>com.alibaba</groupId><artifactId>druid-spring-boot-starter</artifactId><version>1.1.21</version></dependency></dependencies>
定义配置yml
server:port: 8085
spring:main:allow-bean-definition-overriding: trueshardingsphere:# 参数配置,显示sqlprops:sql:show: true# 配置数据源datasource:# 给每个数据源取别名,下面的ds1,ds2,ds3任意取名字names: ds1,ds2,ds3# 给master-ds1每个数据源配置数据库连接信息ds1:# 配置druid数据源type: com.alibaba.druid.pool.DruidDataSourcedriver-class-name: com.mysql.cj.jdbc.Driverurl: jdbc:mysql://master:port/ksd-sharding-db?useUnicode=true&characterEncoding=utf8&tinyInt1isBit=false&useSSL=false&serverTimezone=GMTusername: rootpassword: 123456maxPoolSize: 100minPoolSize: 5# 配置ds2-slaveds2:type: com.alibaba.druid.pool.DruidDataSourcedriver-class-name: com.mysql.cj.jdbc.Driverurl: jdbc:mysql://slave1:port/ksd-sharding-db?useUnicode=true&characterEncoding=utf8&tinyInt1isBit=false&useSSL=false&serverTimezone=GMTusername: rootpassword: 123456maxPoolSize: 10minPoolSize: 5# 配置ds3-slaveds3:type: com.alibaba.druid.pool.DruidDataSourcedriver-class-name: com.mysql.cj.jdbc.Driverurl: jdbc:mysql://slave2:port/ksd-sharding-db?useUnicode=true&characterEncoding=utf8&tinyInt1isBit=false&useSSL=false&serverTimezone=GMTusername: rootpassword: 123456maxPoolSize: 10minPoolSize: 5# 配置默认数据源ds1sharding:# 默认数据源,主要用于写,注意一定要配置读写分离 ,注意:如果不配置,那么就会把三个节点都当做从slave节点,新增,修改和删除会出错。default-data-source-name: ds1# 配置数据源的读写分离,但是数据库一定要做主从复制masterslave:# 配置主从名称,可以任意取名字name: ms# 配置主库master,负责数据的写入master-data-source-name: ds1# 配置从库slave节点slave-data-source-names: ds2,ds3# 配置slave节点的负载均衡均衡策略,采用轮询机制load-balance-algorithm-type: round_robin
# 整合mybatis的配置XXXXX
mybatis:mapper-locations: classpath:mapper/*.xmltype-aliases-package: com.example.shardingjdbc.sharding.entity
定义mapper,entity,controller
- entity
package com.example.shardingjdbc.sharding.entity;import lombok.Data;@Data
public class User {// 主键private Integer id;// 昵称private String nickname;// 密码private String password;// 性private Integer sex;// 性private String birthday;
}- mapper
package com.example.shardingjdbc.sharding.mapper;import com.example.shardingjdbc.sharding.entity.User;
import org.apache.ibatis.annotations.Insert;
import org.apache.ibatis.annotations.Select;import java.util.List;public interface UserMapper {/*** @description 保存用户* @params [user]*/@Insert("insert into ksd_user(id,nickname,password,sex,birthday) values(#{id},#{nickname},#{password},#{sex},#{birthday})")void addUser(User user);/*** @description 查询用户* @params [user]*/@Select("select * from ksd_user")List<User> findUsers();
}- controller
package com.example.shardingjdbc.sharding.controller;import com.example.shardingjdbc.sharding.entity.User;
import com.example.shardingjdbc.sharding.mapper.UserMapper;
import org.springframework.beans.factory.annotation.Autowired;
import org.springframework.web.bind.annotation.GetMapping;
import org.springframework.web.bind.annotation.RequestMapping;
import org.springframework.web.bind.annotation.RestController;import java.util.List;
import java.util.Random;@RestController
@RequestMapping("/user")
public class UserController {@Autowiredprivate UserMapper userMapper;@GetMapping("/save")public String insert() {User user = new User();user.setId(new Random().nextInt());user.setNickname("zhangsan");user.setPassword("1234567");user.setSex(1);user.setBirthday("1988-12-03");userMapper.addUser(user);return "success";}@GetMapping("/listuser")public List<User> listuser() {return userMapper.findUsers();}
}
二、测试结果
三个源初始化成功

1.访问http://localhost:8085/user/save
代码如下(示例):

2.访问http://localhost:8085/user/listuser
