Linux系统ubuntu20.04 无人机PX4 开发环境搭建(失败率很低)
Linux系统ubuntu20.04 无人机PX4 开发环境搭建
- PX4固件下载
- 开发环境搭建
- MAVROS安装
- 安装地面站QGC
PX4固件下载
PX4的源码处于GitHub,因为众所周知的原因git clone经常失败,此处从Gitee获取PX4源码和依赖模块。
git clone https://gitee.com/voima/PX4-Autopilot.git
正克隆到 ‘PX4-Autopilot’…
remote: Enumerating objects: 454209, done.
remote: Total 454209 (delta 0), reused 0 (delta 0), pack-reused 454209
接收对象中: 100% (454209/454209), 215.48 MiB | 2.32 MiB/s, 完成.
处理 delta 中: 100% (334699/334699), 完成.

使用cd命令切换到 px4项目文件目录:
cd ~/PX4-Autopilot
使用以下命令切换版本,以V1.14.0为例:
git checkout v1.14.0 #切换到1.14.0分支,当然也可以尝试其他版本
因为PX4的完整项目是嵌套子模块存储的,以上命令只下载了px4的基本代码,所以我们要进行子模块的下载,运行下列命令:
git submodule update --init --recursive # 在~/PX4-Autopilot目录下执行
以上命令中,submodule是子模块的意思, --init 选项会初始化,并注册子模块的地址,–recursive选项会递归克隆子模块。
此更新的链接来源于~/PX4-Autopilot/.gitmodules(注意是隐藏文件)
将文件打开,粘贴到下面,可以看到里面都github的地址,直接用上面的命令,会很难成功
[submodule "src/modules/mavlink/mavlink"]path = src/modules/mavlink/mavlinkurl = https://github.com/mavlink/mavlink.gitbranch = master
[submodule "src/drivers/uavcan/libuavcan"]path = src/drivers/uavcan/libuavcanurl = https://github.com/dronecan/libuavcan.gitbranch = main
[submodule "Tools/simulation/jmavsim/jMAVSim"]path = Tools/simulation/jmavsim/jMAVSimurl = https://github.com/PX4/jMAVSim.gitbranch = main
[submodule "Tools/simulation/gazebo-classic/sitl_gazebo-classic"]path = Tools/simulation/gazebo-classic/sitl_gazebo-classicurl = https://github.com/PX4/PX4-SITL_gazebo-classic.gitbranch = main
[submodule "src/drivers/gps/devices"]path = src/drivers/gps/devicesurl = https://github.com/PX4/PX4-GPSDrivers.gitbranch = main
[submodule "platforms/nuttx/NuttX/nuttx"]path = platforms/nuttx/NuttX/nuttxurl = https://github.com/PX4/NuttX.gitbranch = px4_firmware_nuttx-10.3.0+-v1.14
[submodule "platforms/nuttx/NuttX/apps"]path = platforms/nuttx/NuttX/appsurl = https://github.com/PX4/NuttX-apps.gitbranch = px4_firmware_nuttx-10.3.0+
[submodule "Tools/flightgear_bridge"]path = Tools/simulation/flightgear/flightgear_bridgeurl = https://github.com/PX4/PX4-FlightGear-Bridge.git
[submodule "Tools/simulation/jsbsim/jsbsim_bridge"]path = Tools/simulation/jsbsim/jsbsim_bridgeurl = https://github.com/PX4/px4-jsbsim-bridge.git
[submodule "src/drivers/cyphal/libcanard"]path = src/drivers/cyphal/libcanardurl = https://github.com/opencyphal/libcanard.git
[submodule "src/drivers/cyphal/public_regulated_data_types"]path = src/drivers/cyphal/public_regulated_data_typesurl = https://github.com/opencyphal/public_regulated_data_types.git
[submodule "src/drivers/cyphal/legacy_data_types"]path = src/drivers/cyphal/legacy_data_typesurl = https://github.com/PX4/public_regulated_data_types.gitbranch = legacy
[submodule "src/lib/crypto/monocypher"]path = src/lib/crypto/monocypherurl = https://github.com/PX4/Monocypher.gitbranch = px4
[submodule "src/lib/events/libevents"]path = src/lib/events/libeventsurl = https://github.com/mavlink/libevents.gitbranch = main
[submodule "src/lib/crypto/libtomcrypt"]path = src/lib/crypto/libtomcrypturl = https://github.com/PX4/libtomcrypt.gitbranch = px4
[submodule "src/lib/crypto/libtommath"]path = src/lib/crypto/libtommathurl = https://github.com/PX4/libtommath.gitbranch = px4
[submodule "src/modules/uxrce_dds_client/Micro-XRCE-DDS-Client"]path = src/modules/uxrce_dds_client/Micro-XRCE-DDS-Clienturl = https://github.com/PX4/Micro-XRCE-DDS-Client.gitbranch = px4
将其更新为 gitee 的地址,已经整理测试好了,直接替换掉文件的内容即可
[submodule "src/modules/mavlink/mavlink"]path = src/modules/mavlink/mavlinkurl = https://gitee.com/wtp95/mavlink.gitbranch = master[submodule "Tools/flightgear_bridge"]path = Tools/simulation/flightgear/flightgear_bridgeurl = https://gitee.com/seokhb/PX4-FlightGear-Bridge.git[submodule "Tools/simulation/gazebo-classic/sitl_gazebo-classic"]path = Tools/simulation/gazebo-classic/sitl_gazebo-classicurl = https://gitee.com/seokhb/PX4-SITL_gazebo-classic.gitbranch = main[submodule "Tools/simulation/jmavsim/jMAVSim"]path = Tools/simulation/jmavsim/jMAVSimurl = https://gitee.com/seokhb/jMAVSim.gitbranch = main[submodule "Tools/simulation/jsbsim/jsbsim_bridge"]path = Tools/simulation/jsbsim/jsbsim_bridgeurl = https://gitee.com/seokhb/px4-jsbsim-bridge.git[submodule "platforms/nuttx/NuttX/apps"]path = platforms/nuttx/NuttX/appsurl = https://gitee.com/seokhb/NuttX-apps.gitbranch = px4_firmware_nuttx-10.3.0+[submodule "platforms/nuttx/NuttX/nuttx"]path = platforms/nuttx/NuttX/nuttxurl = https://gitee.com/seokhb/NuttX.gitbranch = px4_firmware_nuttx-10.3.0+-v1.14[submodule "src/drivers/cyphal/public_regulated_data_types"]path = src/drivers/cyphal/public_regulated_data_typesurl = https://gitee.com/seokhb/public_regulated_data_types.git[submodule "src/drivers/cyphal/legacy_data_types"]path = src/drivers/cyphal/legacy_data_typesurl = https://gitee.com/jiyuanwangxs/legacy_data_types.gitbranch = legacy[submodule "src/drivers/cyphal/libcanard"]path = src/drivers/cyphal/libcanardurl = https://gitee.com/seokhb/libcanard.git[submodule "src/drivers/gps/devices"]path = src/drivers/gps/devicesurl = https://gitee.com/seokhb/PX4-GPSDrivers.gitbranch = main[submodule "src/drivers/uavcan/libuavcan"]path = src/drivers/uavcan/libuavcanurl = https://gitee.com/seokhb/libuavcan.git[submodule "src/lib/crypto/libtomcrypt"]path = src/lib/crypto/libtomcrypturl = https://gitee.com/seokhb/libtomcrypt.gitbranch = px4[submodule "src/lib/crypto/libtommath"]path = src/lib/crypto/libtommathurl = https://gitee.com/seokhb/libtommath.gitbranch = px4[submodule "src/lib/crypto/monocypher"]path = src/lib/crypto/monocypherurl = https://gitee.com/seokhb/Monocypher.gitbranch = px4[submodule "src/lib/events/libevents"]path = src/lib/events/libeventsurl = https://gitee.com/seokhb/libevents.gitbranch = main[submodule "src/modules/uxrce_dds_client/Micro-XRCE-DDS-Client"]path = src/modules/uxrce_dds_client/Micro-XRCE-DDS-Clienturl = https://gitee.com/seokhb/Micro-XRCE-DDS-Client.gitbranch = px4
然后执行下面的命令,就可以
git submodule update --init --recursive
有的子模块还是走的github,失败了就多试几次,直到用上面命令不再下载东西了就可以了

开发环境搭建
PX4的完整代码已经下载完了,接下来就是配置开发环境。PX4源码中已经提供了开发环境配置的脚本,在/PX4-Autopilot/Tools/setup目录中,该目录下的文件如下:
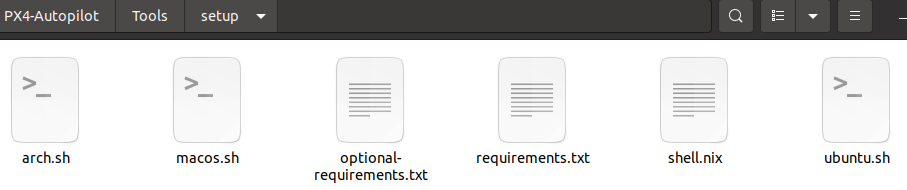
可以看到里面有Arch/Macos和ubuntu系统的配置脚本。
ubuntu系统,运行ubuntu.sh文件
这是一个脚本文件,里面是一些bash命令,可以理解为一系列下载px4开发环境的代码。在上图界面右键选择在终端打开,使用下列命令运行:
bash ubuntu.sh
如果出现很多错误,和镜像源有关,那么则手动安装一些模块
sudo apt install python3-pip
pip3 install kconfiglib
pip3 install --user jinja2
pip3 install --user jsonschema
sudo apt-get update
sudo apt-get install libgstreamer1.0-0 gstreamer1.0-plugins-base gstreamer1.0-plugins-good gstreamer1.0-plugins-bad gstreamer1.0-plugins-ugly gstreamer1.0-libav gstreamer1.0-doc gstreamer1.0-tools gstreamer1.0-x gstreamer1.0-alsa gstreamer1.0-gl gstreamer1.0-gtk3 gstreamer1.0-qt5 gstreamer1.0-pulseaudio libgstreamer1.0-dev libgstreamer-plugins-base1.0-dev
然后需配置~/.bashrc文件,打开该文件,在底部添加如下内容,保存。
# >>> PX4 initialize >>>
source ~/PX4-Autopilot/Tools/simulation/gazebo-classic/setup_gazebo.bash ~/PX4-Autopilot ~/PX4-Autopilot/build/px4_sitl_default
export ROS_PACKAGE_PATH=$ROS_PACKAGE_PATH:~/PX4-Autopilot
export ROS_PACKAGE_PATH=$ROS_PACKAGE_PATH:~/PX4-Autopilot/Tools/simulation/gazebo-classic/sitl_gazebo-classic
# <<< PX4 initialize <<<
然后进行编译
cd ~/PX4-Autopilot # 也可以 roscd px4
make px4_sitl_default gazebo
```cd ~/PX4-Autopilot
如果出现下面的错误,一直在等待master> [Msg] Waiting for master.
[Err] [ConnectionManager.cc:121] Failed to connect to master in 30 seconds.
[Err] [gazebo_shared.cc:78] Unable to initialize transport.
[Err] [gazebo_client.cc:56] Unable to setup Gazebo
则需要在.bashrc文件的最后一行加入```c
source /opt/ros/noetic/setup.bash
然后再启动
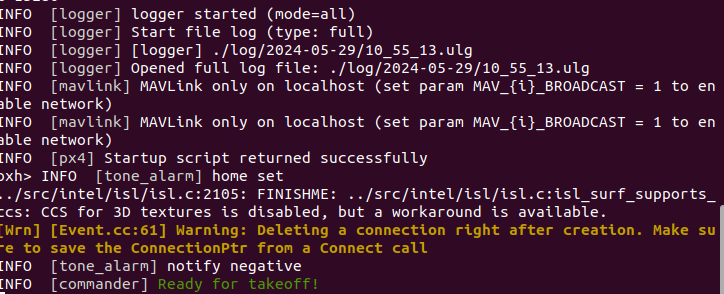
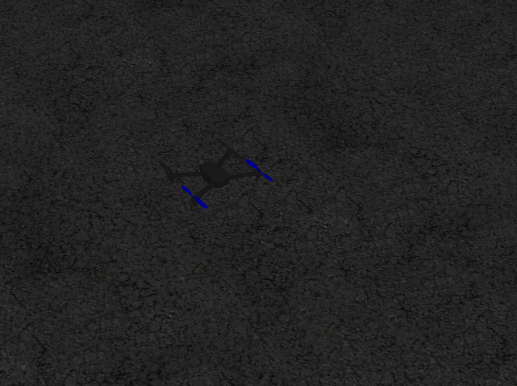
终端出现如下,gazebo启动,中间有个小飞机,则代表开发环境搭建成功
MAVROS安装
安装geographiclib数据库(GeographicLib是一个用于解决地理坐标转换、大地测量(geodesy)和地图投影等问题的库,广泛用于航空航天和GIS(地理信息系统)领域)
安装MAVROS
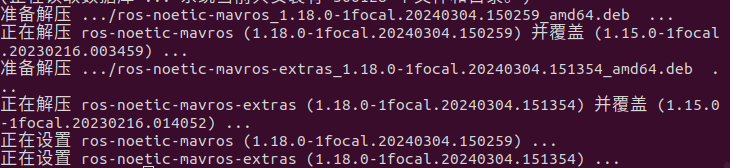
sudo apt install ros-noetic-mavros ros-noetic-mavros-extras
准备解压 …/ros-noetic-mavros_1.18.0-1focal.20240304.150259_amd64.deb …
正在解压 ros-noetic-mavros (1.18.0-1focal.20240304.150259) 并覆盖 (1.15.0-1focal
.20230216.003459) …
准备解压 …/ros-noetic-mavros-extras_1.18.0-1focal.20240304.151354_amd64.deb .
…
正在解压 ros-noetic-mavros-extras (1.18.0-1focal.20240304.151354) 并覆盖 (1.15.0
-1focal.20230216.014052) …
正在设置 ros-noetic-mavros (1.18.0-1focal.20240304.150259) …
正在设置 ros-noetic-mavros-extras (1.18.0-1focal.20240304.151354) …
安装geographiclib数据库(GeographicLib是一个用于解决地理坐标转换、大地测量(geodesy)和地图投影等问题的库,广泛用于航空航天和GIS(地理信息系统)领域)
wget https://gitee.com/robin_shaun/XTDrone/raw/master/sitl_config/mavros/install_geographiclib_datasets.sh
sudo chmod a+x ./install_geographiclib_datasets.sh
sudo ./install_geographiclib_datasets.sh
检查MAVROS是否安装成功可输入如下命令:
roslaunch px4 mavros_posix_sitl.launch
新打开一个终端,输入:
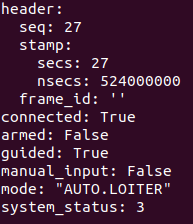
rostopic echo mavros/state
header:
seq: 27
stamp:
secs: 27
nsecs: 524000000
frame_id: ‘’
connected: True
armed: False
guided: True
manual_input: False
mode: “AUTO.LOITER”
system_status: 3
看到connected为True 则 MAVROS安装成功
安装地面站QGC
首先执行下面指令
sudo usermod -a -G dialout $USER
sudo apt-get remove modemmanager -y
安装一些依赖库
sudo apt install gstreamer1.0-plugins-bad gstreamer1.0-libav gstreamer1.0-gl -y
sudo apt install libfuse2 -y
sudo apt install libxcb-xinerama0 libxkbcommon-x11-0 libxcb-cursor0 -y
然后系统登出再登入,确定改变了用户权限
下面开始安装QGC
下载QGroundControl.AppImage,下载链接
将该文件移动到主目录下面
通过指令更改权限,和运行
chmod +x ./QGroundControl.AppImage
./QGroundControl.AppImage
然后会运行QGC的软件
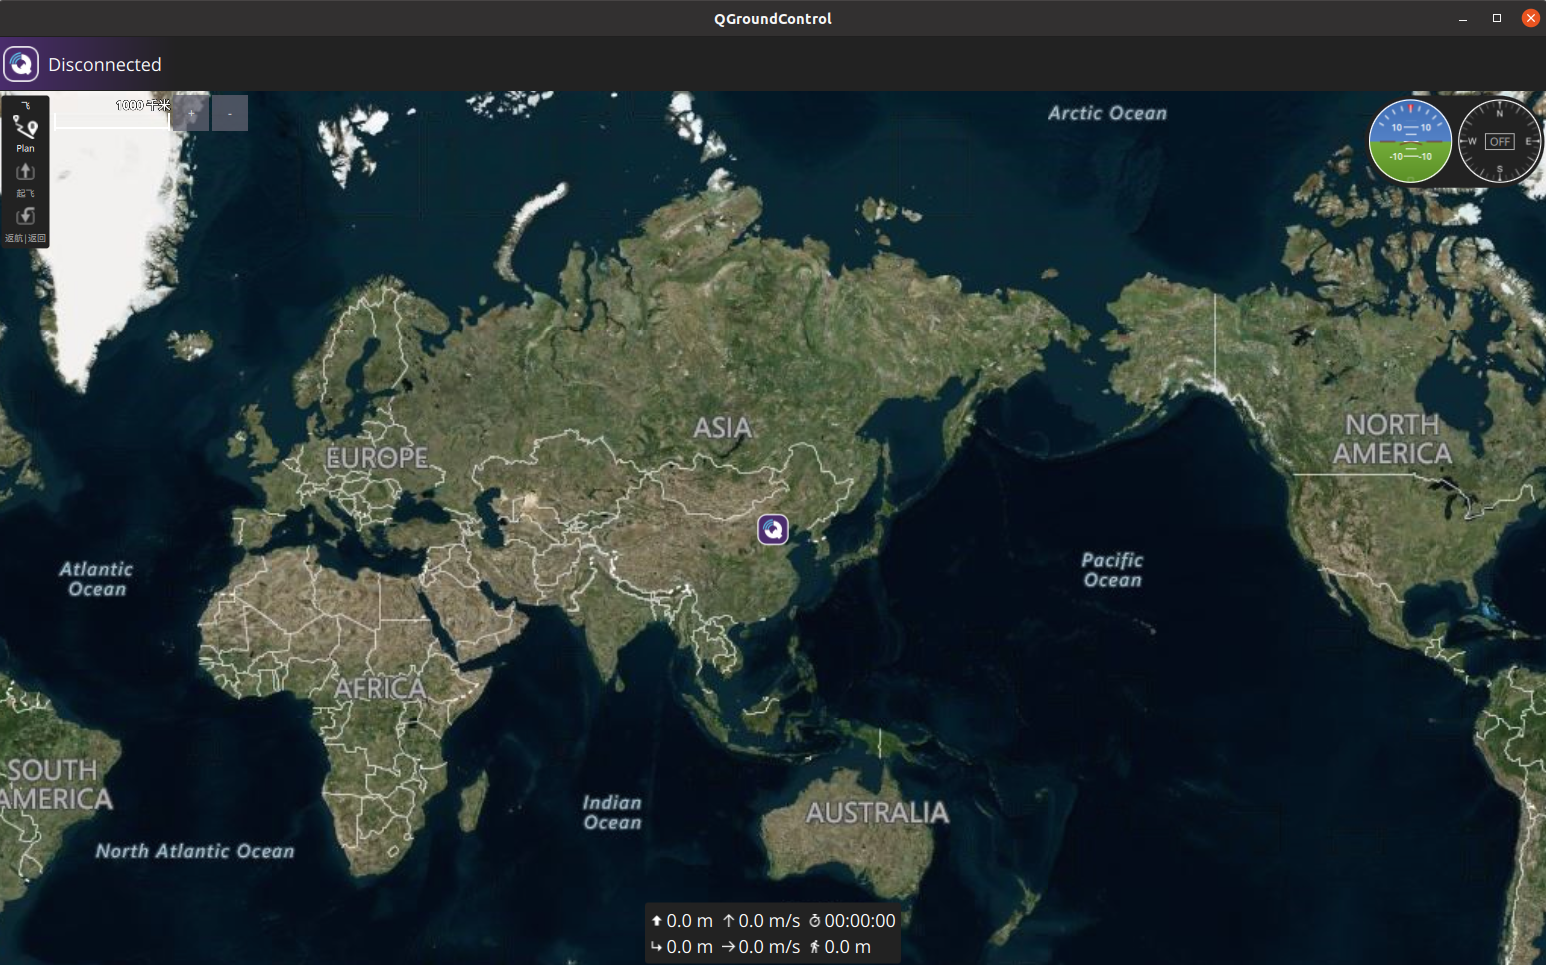
之后双击 QGroundControl.AppImage 图标也可以运行该软件