【web前端开发】前端生日礼物--注册页面篇
文章目录
- 总计划
- 注册界面
- 页面背景设置
- 注意
- 字体选择
- 不明原因:在父相子绝下字体不对齐父类
- 登录浮窗
- 制作透明盒子
- 给盒子设定圆角值
- 把透明盒子搬到register页面中
- 文本输入框样式设置
- 1.改变背景框颜色+文本内容
- 2.放入register.php的布局问题
- 3.输入框下拉更进
- 实现登录功能
- 1.对代码进行理解+配合下面章节中**其他-input**的内容理解
- 2.对代码功能适应修改
- 3.按照成功的逻辑写入register.php中
- 可改进
- 其他
- css-普通盒子
- input
- 暂时成功样品
总计划
- 登录界面 今日
- 主页面+登录失败 24日
- 记事本 25、26、27日
注册界面
页面背景设置
way1:
.content{
            position: relative;
            width:800px;
            height:300px;
            background: url(5.jpg);
            background-repeat: repeat-x;
            background-size: cover;
        }
铺不满
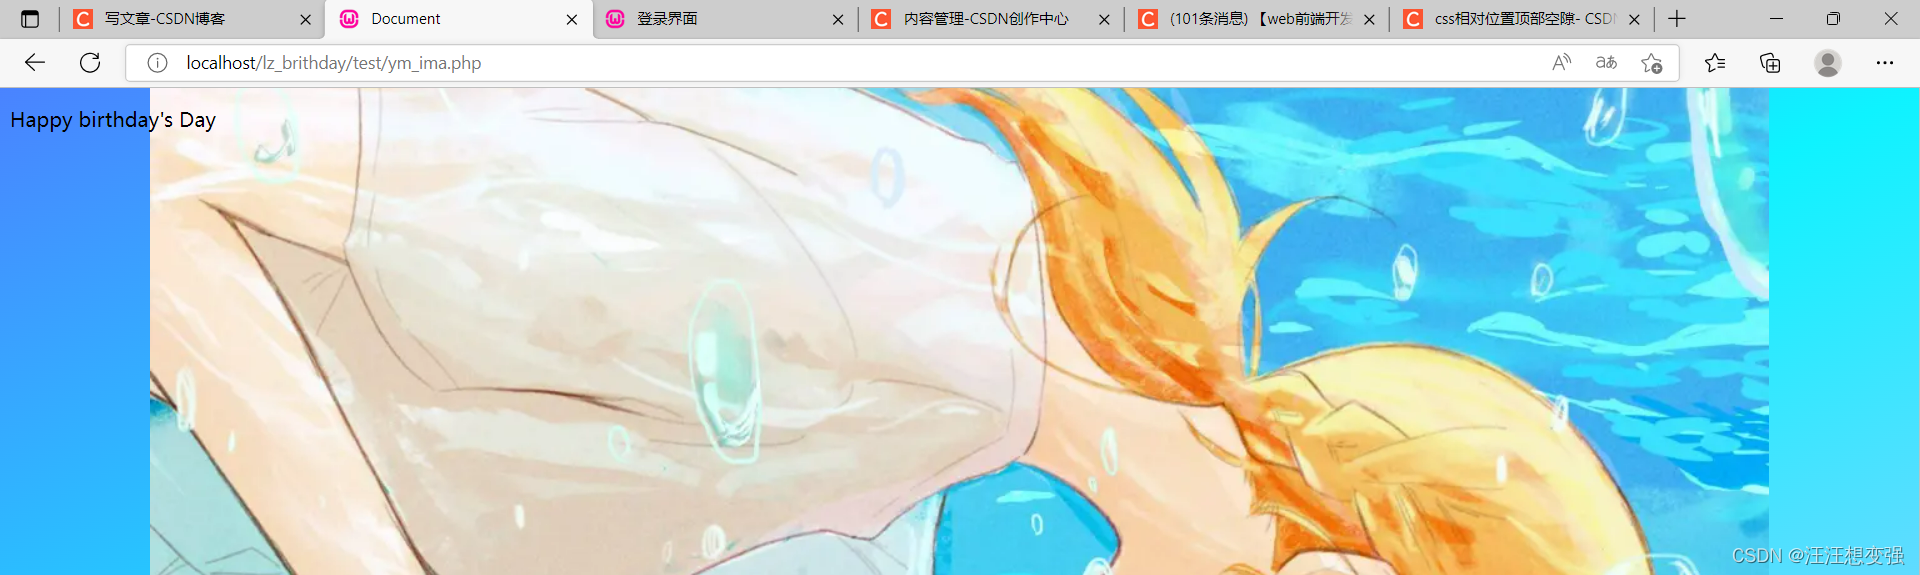
way2:
.content{
            position:fixed;
                top: 0;
                left: 0;
                width:100%;
                height:100%;
                min-width: 1000px;
                z-index:-10;
                zoom: 1;
                background-color: #fff;
                background: url(5.jpg);
                background-repeat: no-repeat;
                background-size: cover;
                -webkit-background-size: cover;
                -o-background-size: cover;
                background-position: center 0;
        }
过于满了。。
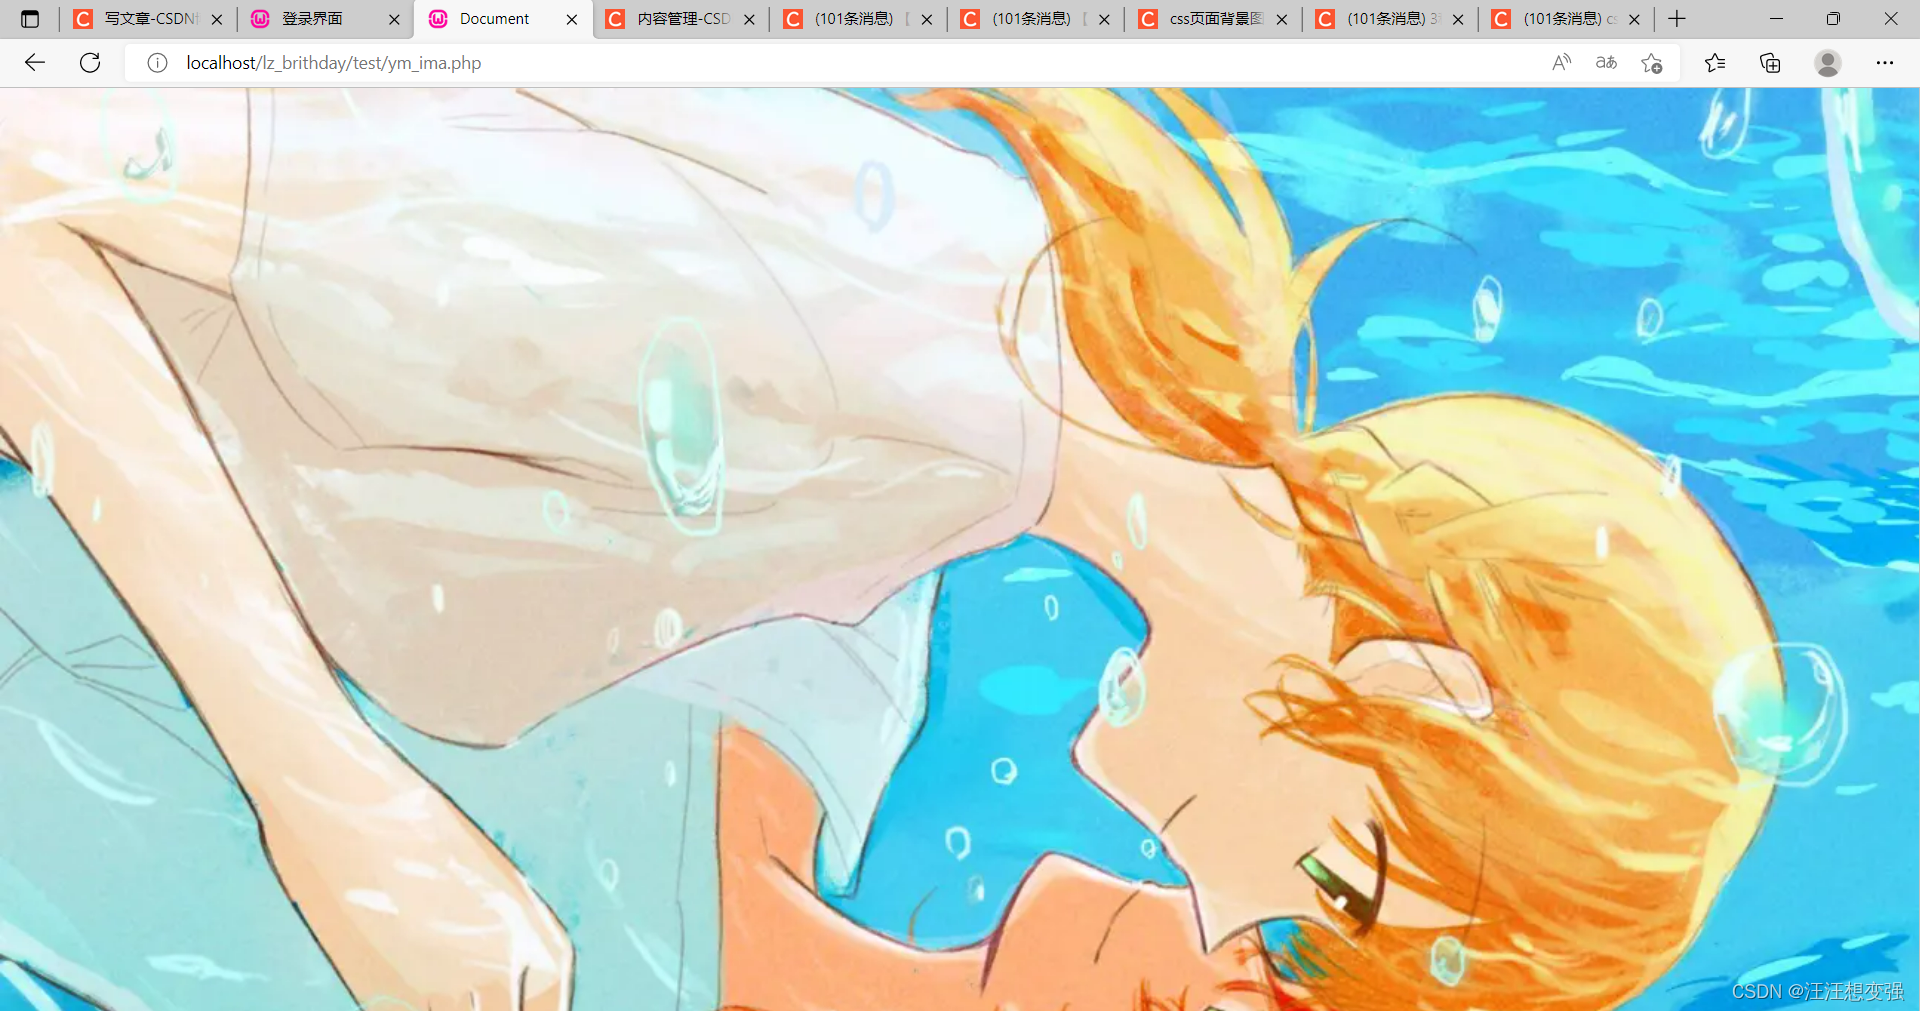
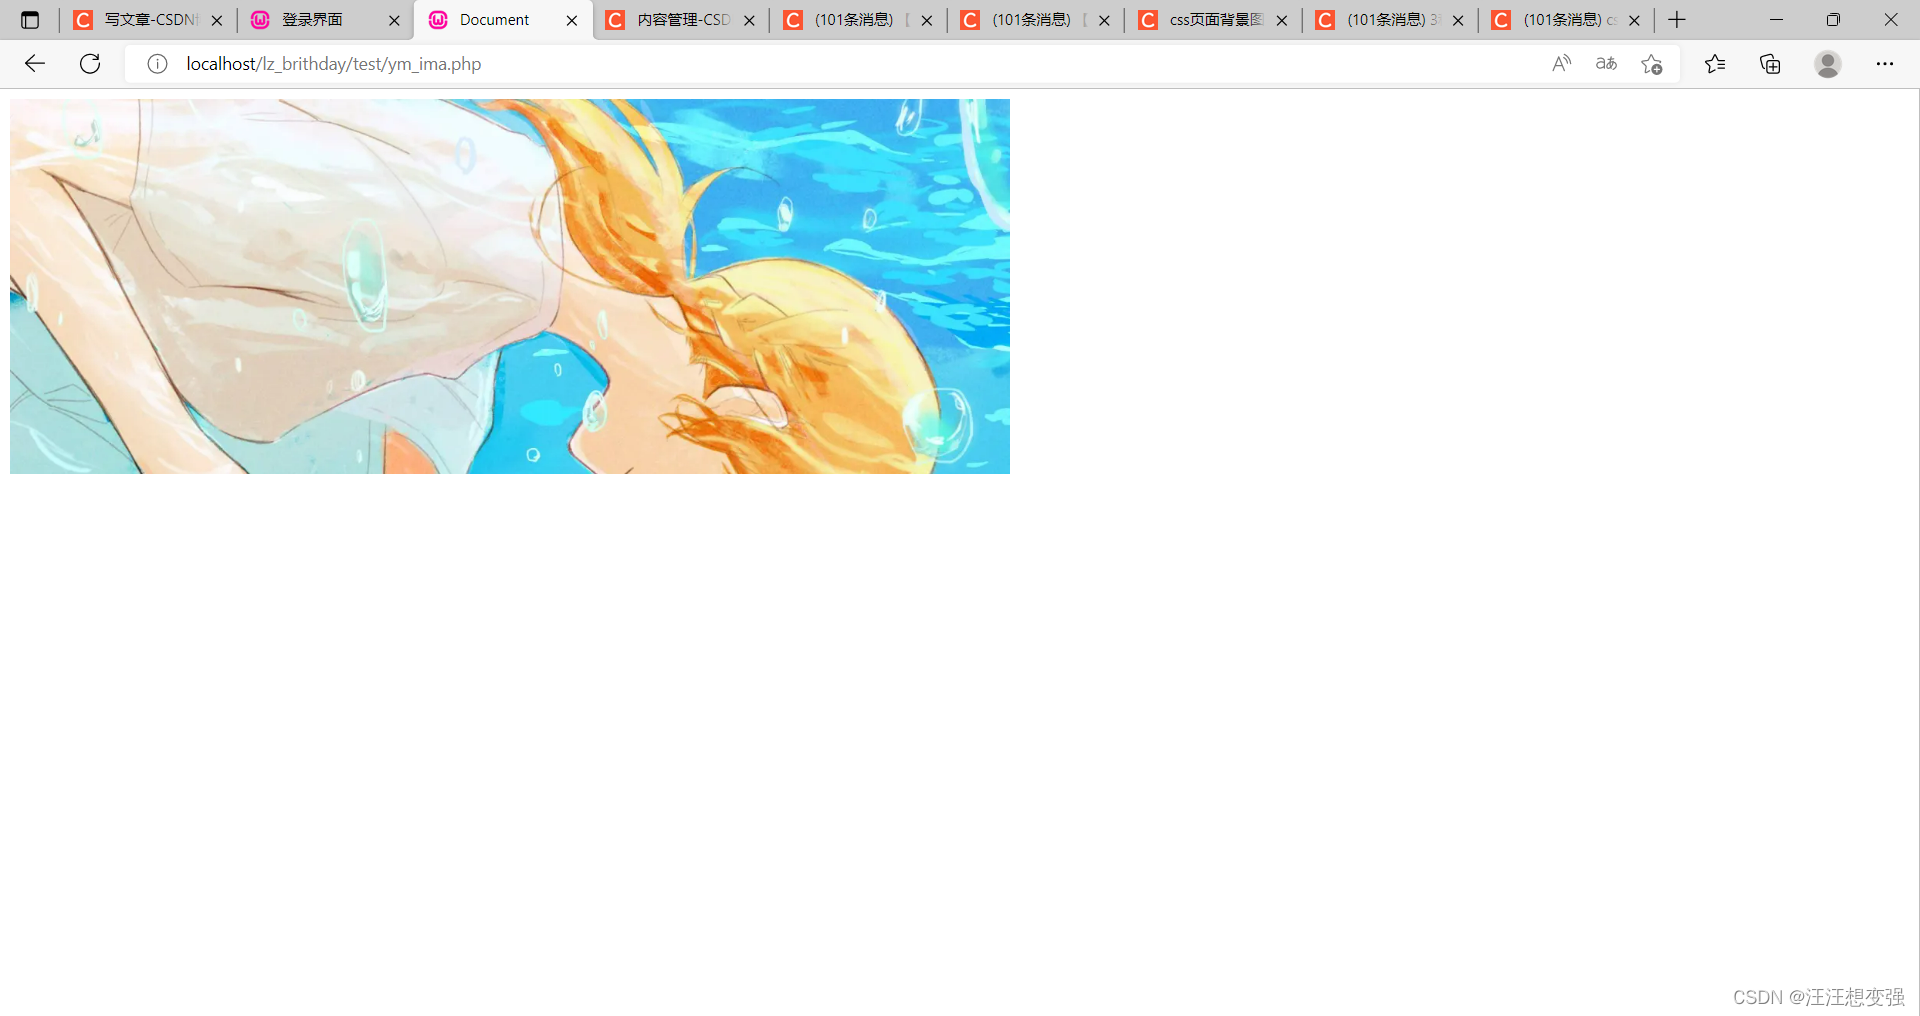
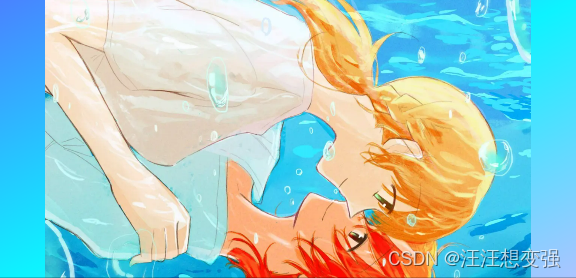
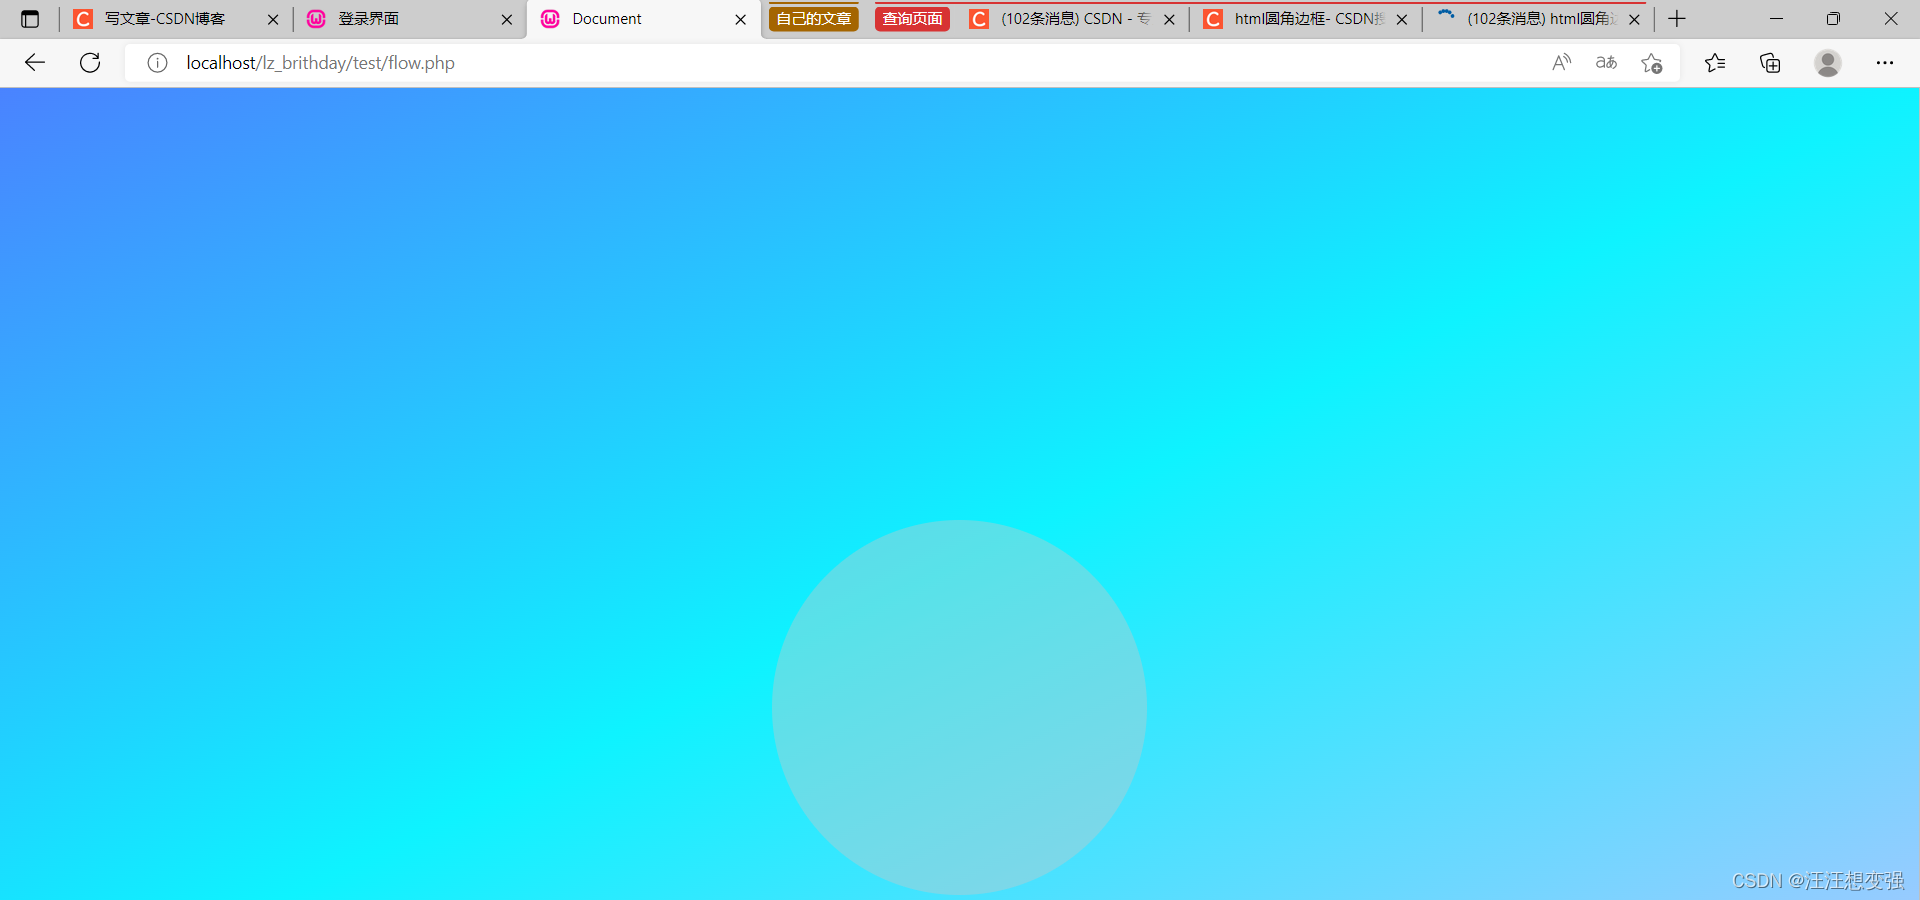
way3:
宽度不管了,高度适中,背景使用body加渐变
<style>
        body{
            /* background-color: #4DCDF2; */
            height:100vh;
            display:flex;
            justify-content:center;
            align-items:center;
            /* 渐变背景 */
            background:linear-gradient(to top left,#AFC4FF,#0EF3FF,#4A83FF);
            overflow:hidden;
        }
        .content{
            position:fixed;
                top: 0;
                left: 0;
                width:100%;
                height:100%;
                /* min-width: 1000px; */
                /* z-index:-10; */
                /* zoom: 1; */
                /* background-position: center; */
                background-color: #4DCDF2;
                background: url(5.jpg);
                background-repeat: no-repeat;
                /* background-size: cover; */
                -o-background-size: cover;
                background-position: center 0;
            }
    </style>
注意
- 去掉宽高图片不显示
- 以后设置页面可以参考此模板
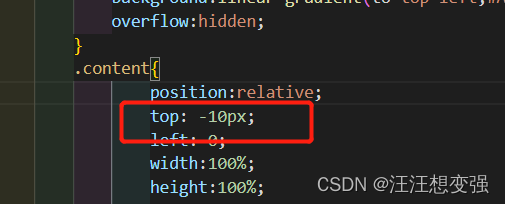
- 设置为相对位置,顶端有空隙。(解决)

way:改top值
字体选择
使用普通白色
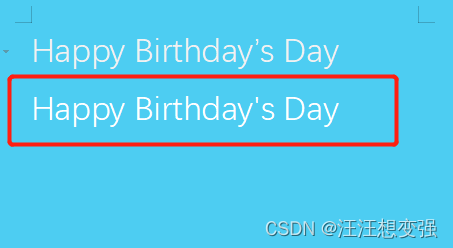
不明原因:在父相子绝下字体不对齐父类
由于显示效果不好,打算把字体放入登录浮窗中
登录浮窗
制作透明盒子
way1:
<!DOCTYPE html>
<html lang="en">
<head>
    <meta charset="UTF-8">
    <meta http-equiv="X-UA-Compatible" content="IE=edge">
    <meta name="viewport" content="width=device-width, initial-scale=1.0">
    <title>Document</title>
    <!-- //浮动窗口的显示隐藏是通过js实现的 -->
    <script type="text/javascript">
    /*显示浮动框*/
        function showCommentDiv(obj) {
            var top = $(obj).offset().top;
            var left = $(obj).offset().left + $(obj).width() - 7;
            $("#commentListDiv").css({'top':top + "px",'left':left+"px"}).show("slow");
        }

        function showThis(obj) {
            $(obj).show();
        }
        /*隐藏浮动框*/
        function hideCommentDiv() {
            $("#editCourseDiv").hide();
        }
        function hideThis(obj) {
            $(obj).hide();
        }
        // 获取选中的评语
        function getValue(obj) {
        var selectId = obj.value;
        var selectTitle = obj.title;
        $("#teaMarkContent").val(selectTitle);
        }

    </script>
</head>
<body>
<div align="left" id="commentListDiv" onmouseover="showThis(this);" onmouseout="hideThis(this);" style="width:200px;height:200px;border:solid 1px #a1bece;position:absolute;z-index:10000;display:none;background-color:#EEF7EA;">
    <p><b>基本评语:</b></p>
            <table>
                <c:forEach items="${commentListJB}" var="comment">
                    <tr>
                        <td>
                            <span style="white-space:nowrap;">
                                <input type="radio" name="comment" id="comment" value="${comment.id}" title="${comment.content}" onclick="getValue(this)"/>${comment.content}
                            </span>
                        </td>
                    </tr>
                </c:forEach>
            </table>
    </div>
</body>
</html>
无效果:
way2:
.bottom{
        position:absolute;
        bottom:100px;
        width:300px;
        height:300px;
        line-height:30px;
        background-color: rgba(200,200,200,0.4); //设置颜色的半透明效果
        background-position: center;
    }
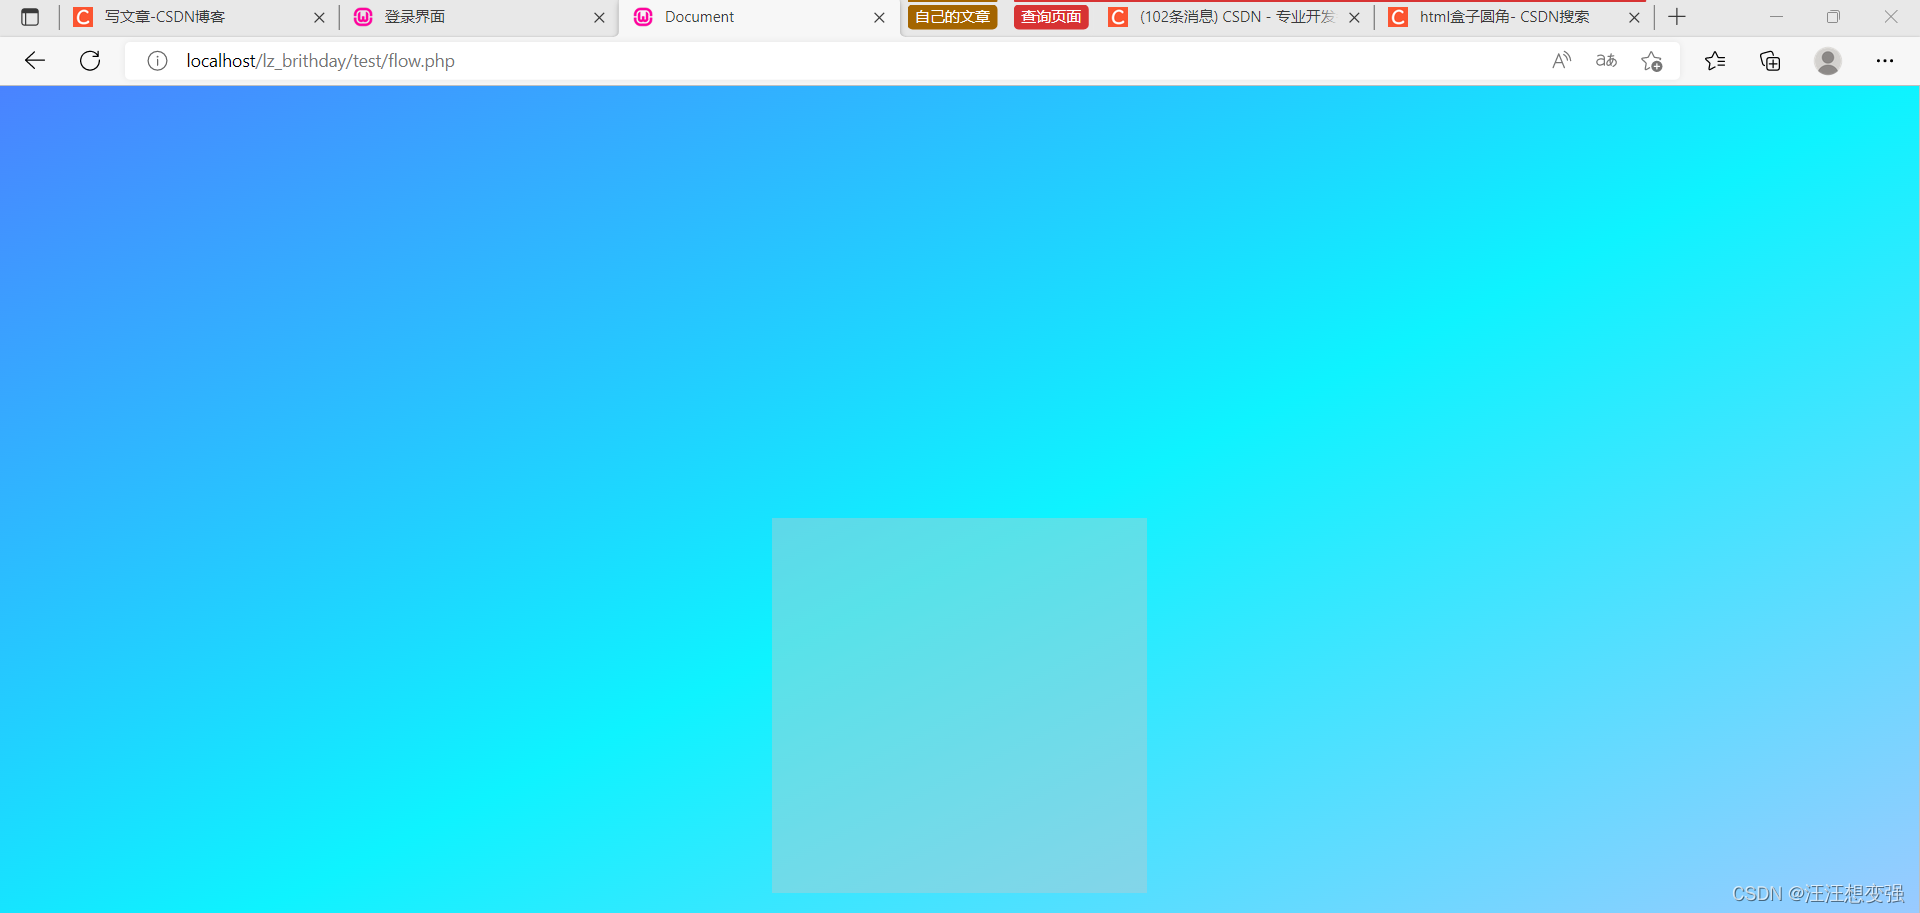
成功!
给盒子设定圆角值
在bottom类中添加语句如下:
border-radius: 50%;
成功!
把透明盒子搬到register页面中
1.明明使用了父相子绝,仍然关系错乱:
.lucency{
                position:absolute;
                bottom:500px;
                width:300px;
                height:300px;
                line-height:30px;
                background-color: rgba(200,200,200,0.5); //设置颜色的半透明效果
                background-position: center;
                border-radius: 50%;
            }
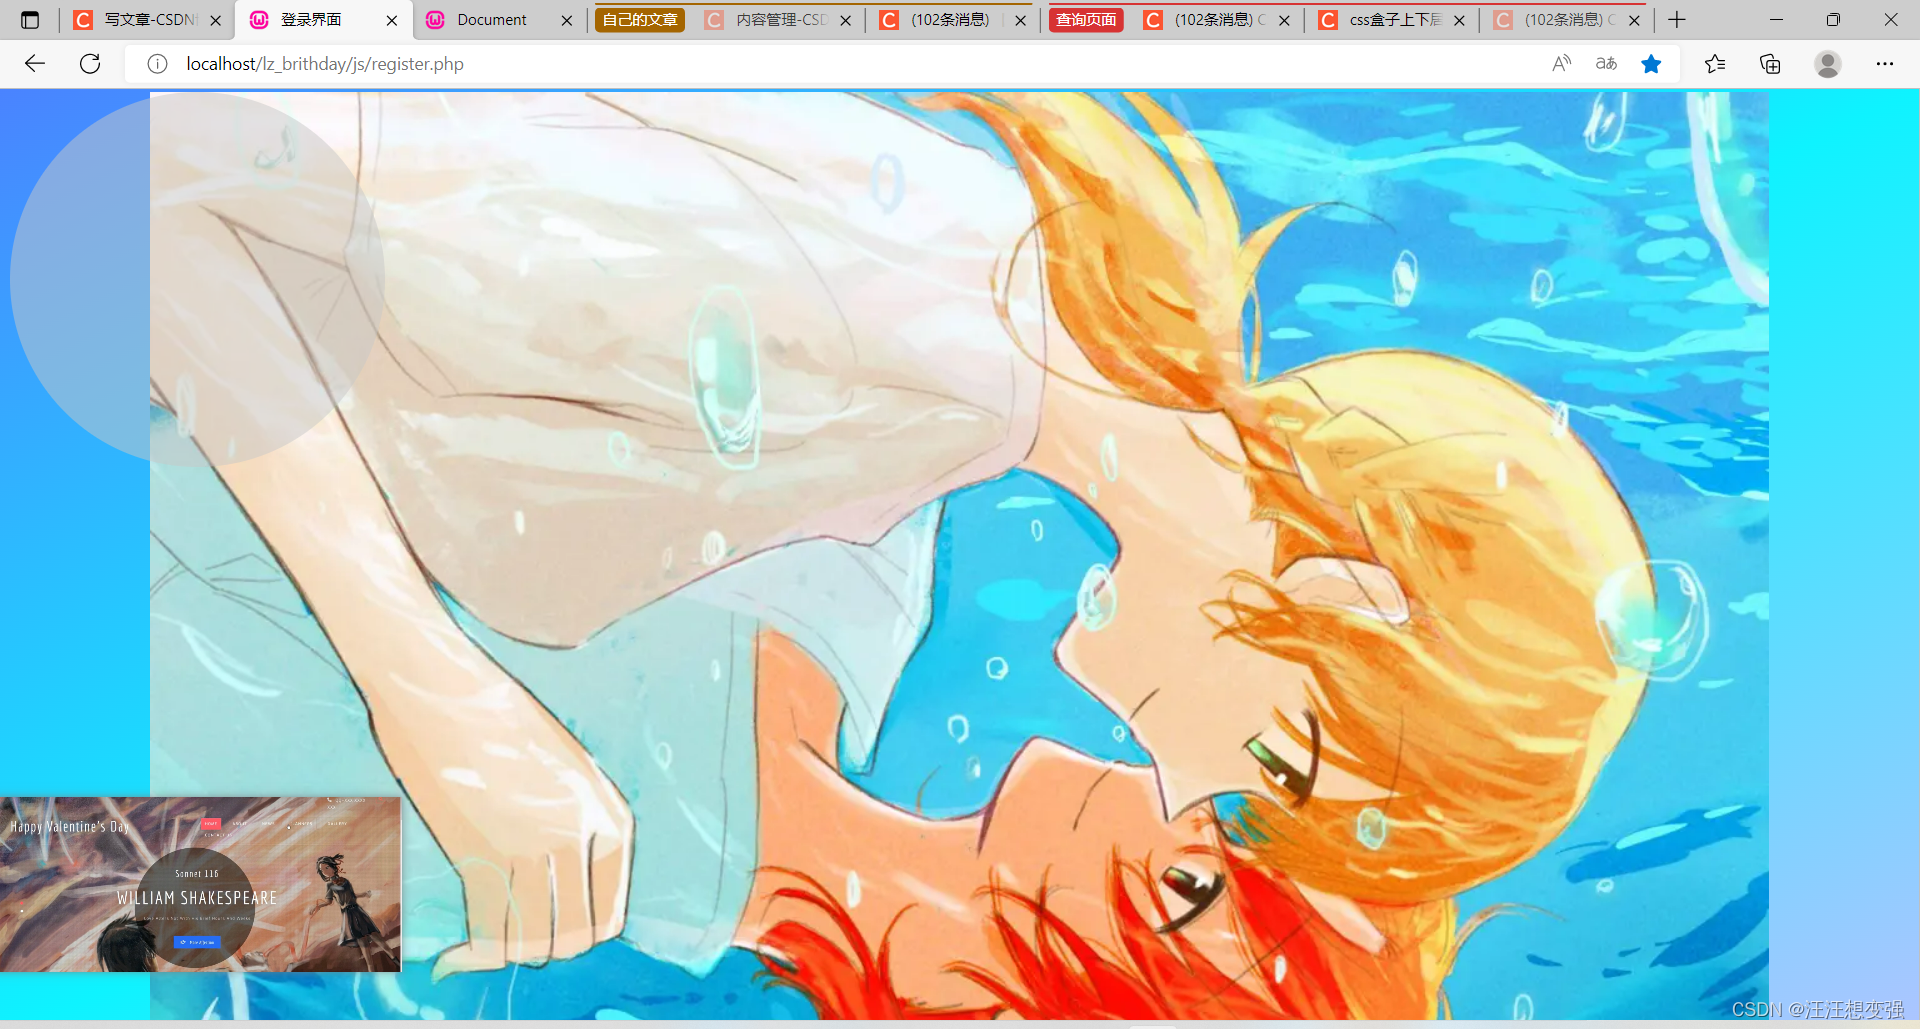
2.只有top类设置对其有效
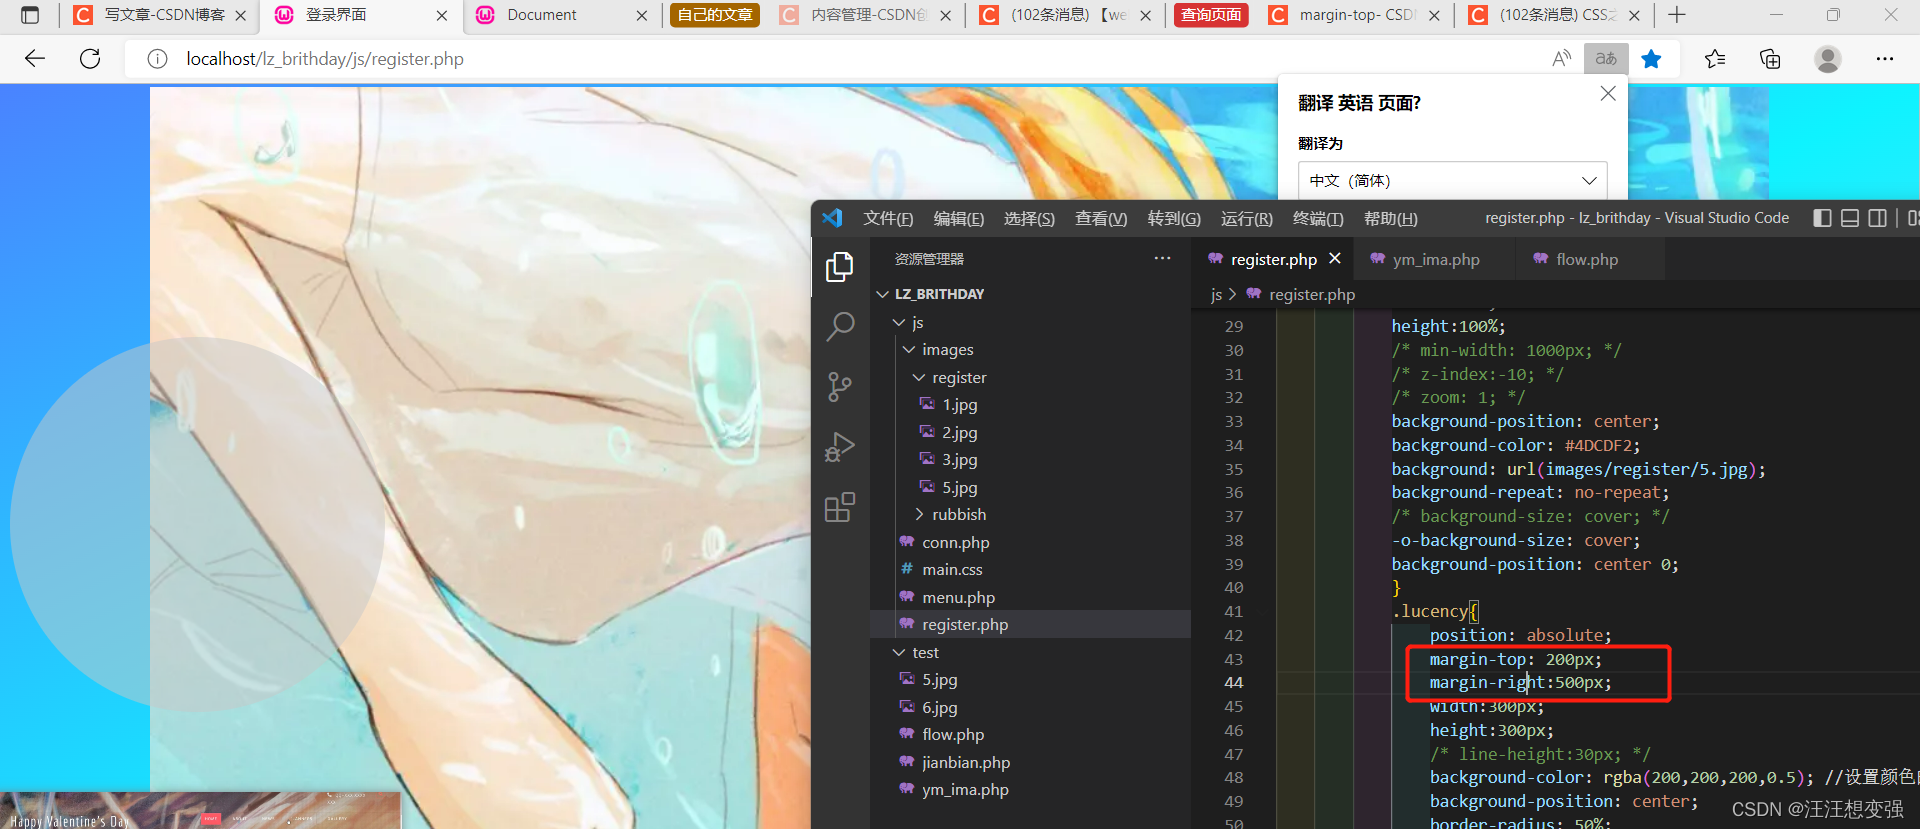
3.把前面两个盒子设置为父相子绝,最后使用margin-left推动透明盒子
*{
            top:0;
            bottom:0;
            left:0;
        }
        body{
            position:relative;
            /* background-color: #4DCDF2; */
            height:100vh;
            display:flex;
            justify-content:center;
            align-items:center;
            /* 渐变背景 */
            background:linear-gradient(to top left,#AFC4FF,#0EF3FF,#4A83FF);
            overflow:hidden;
        }
        .content{
            position: absolute;

            /* bottom: -6px; */
            width:100%;
            height:100%;


            background: url(images/register/5.jpg);
            background-repeat: no-repeat;
            -o-background-size: cover;
            background-position: center 0;
            /* margin:auto; */
            }
            .lucency{

                margin-top: 200px;
                /* margin-right:500px; */
                width:300px;
                height:300px;
                margin-left:600px;
                border-radius: 50%;
                /* line-height:30px; */
                background-color: rgba(200,200,200,0.5); //设置颜色的半透明效果
                /* background-position: center; */
                margin:auto;

            }
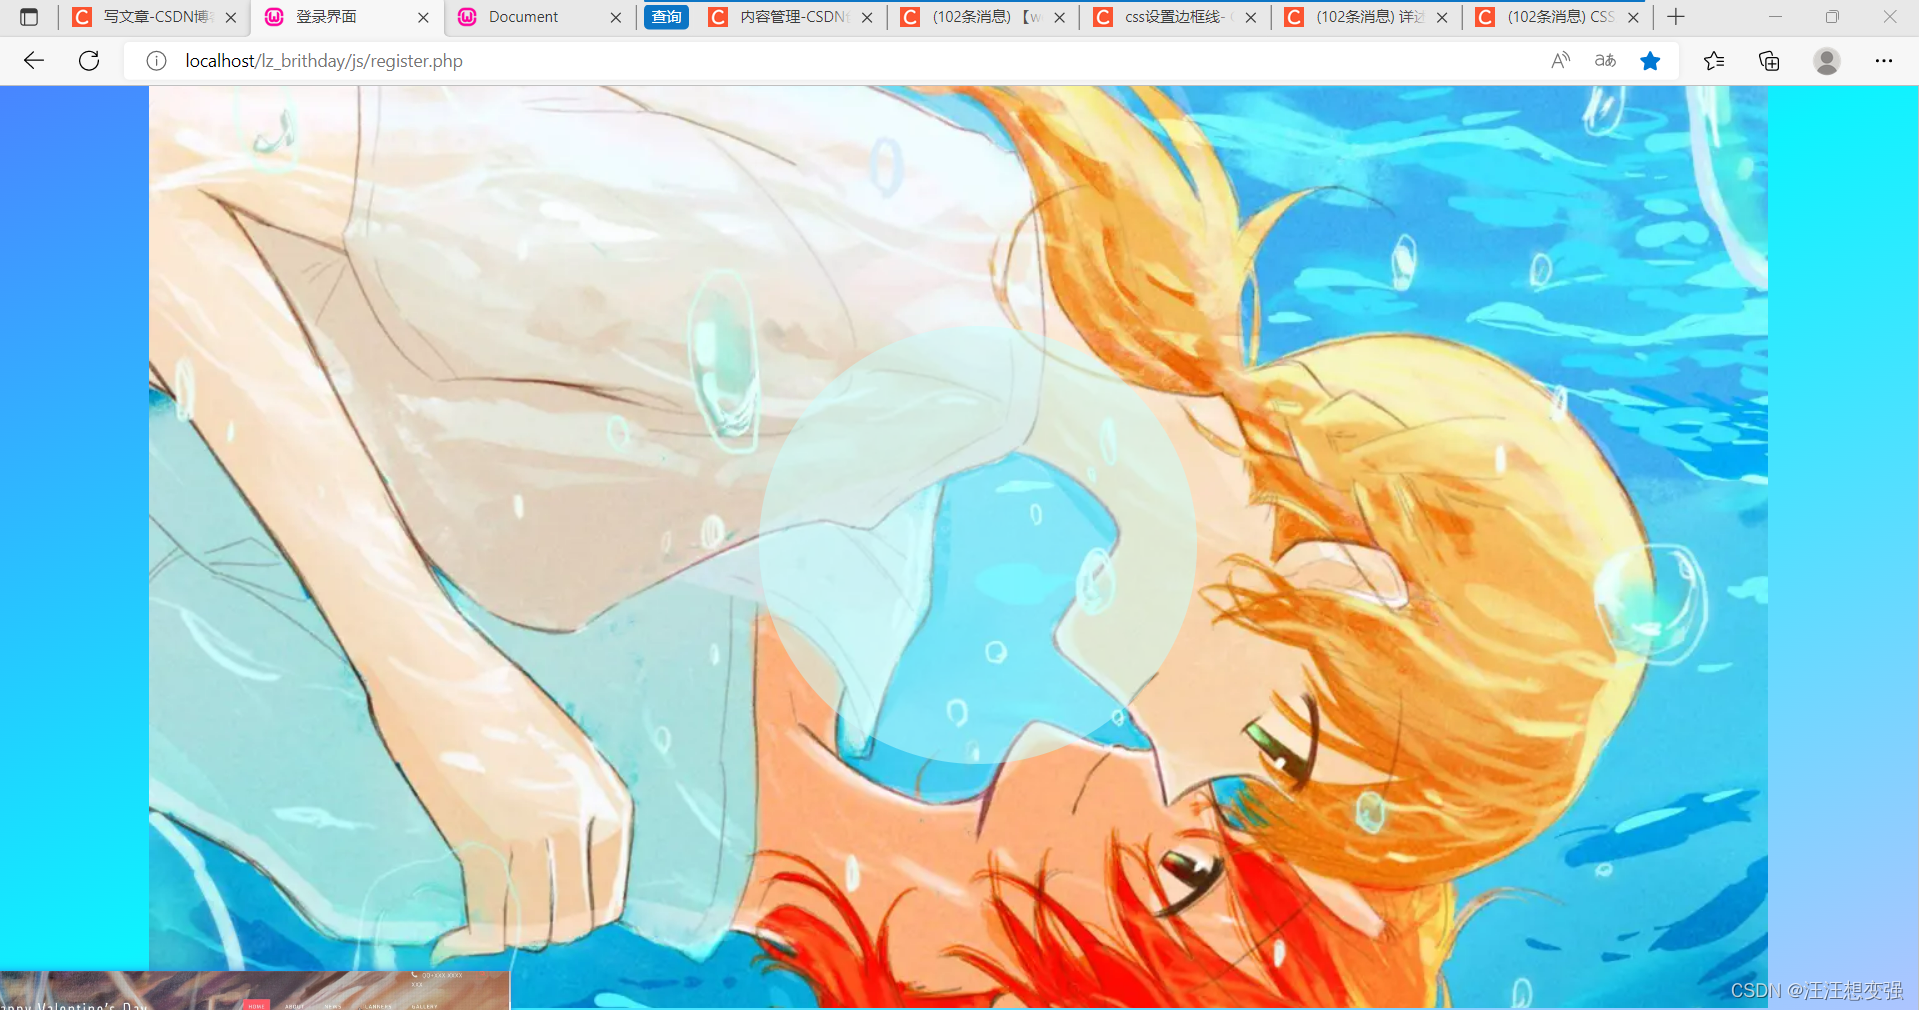
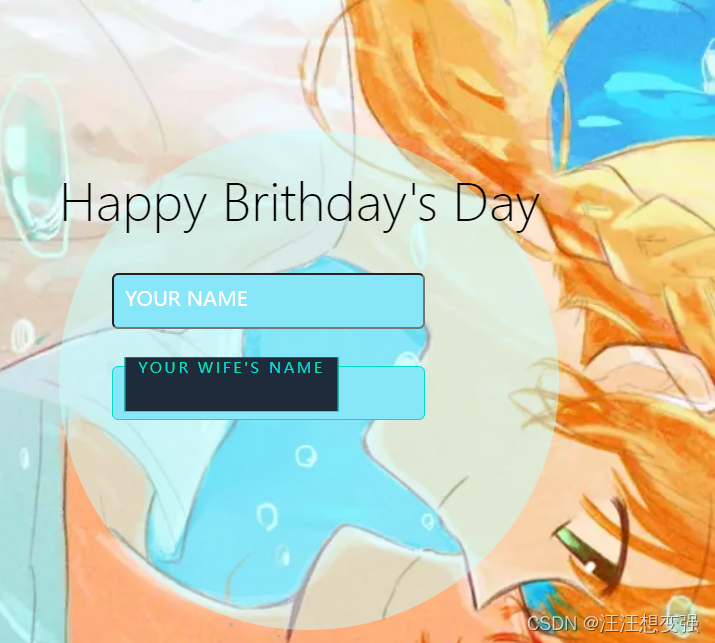
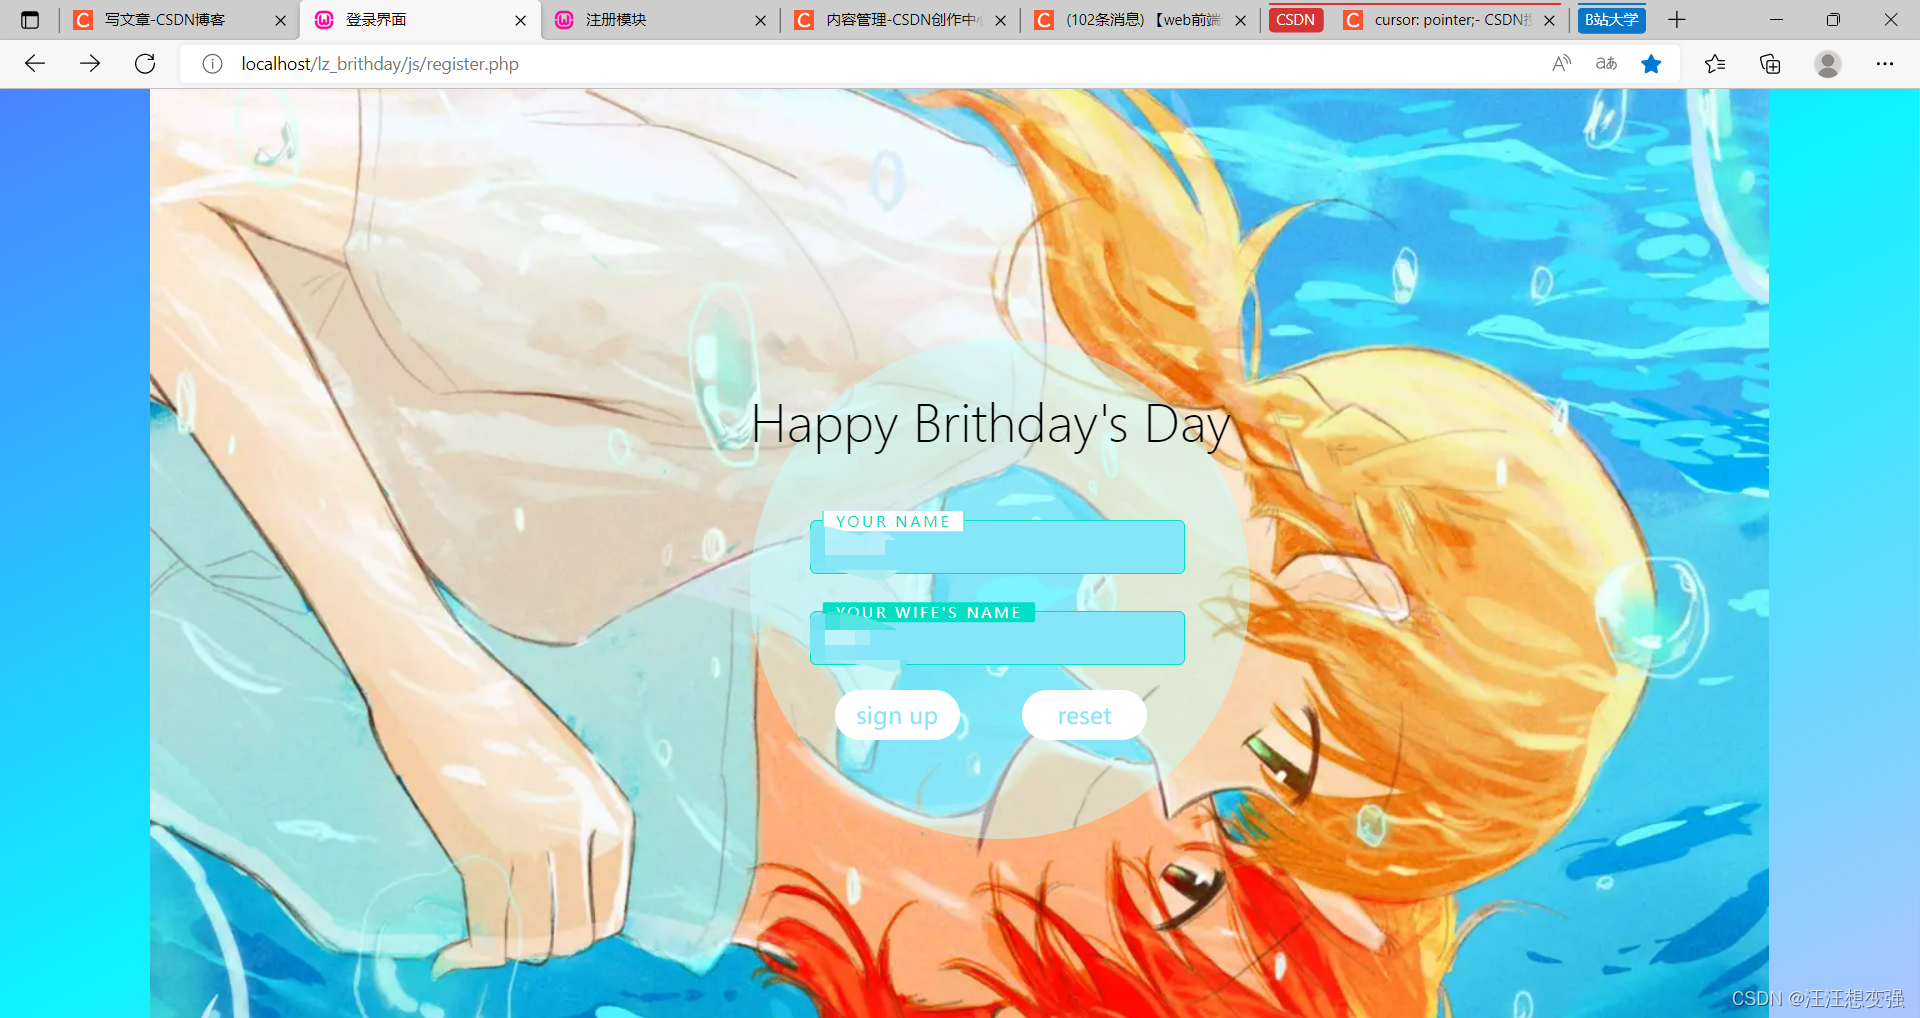
最终效果:
文本输入框样式设置
使用B站的炫酷特效
https://www.bilibili.com/video/BV1UT41157KF/?spm_id_from=333.1007.top_right_bar_window_custom_collection.content.click&vd_source=6954056a8db135714ab7367467252a52
效果图:

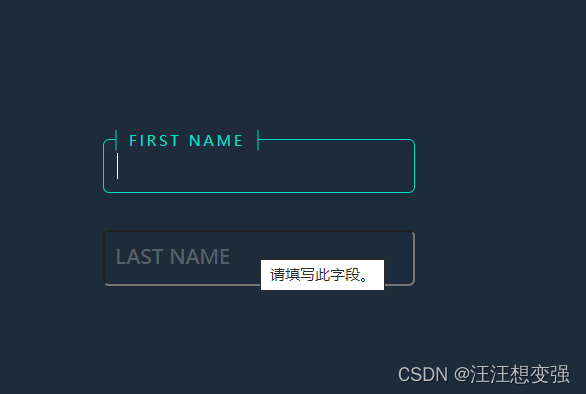
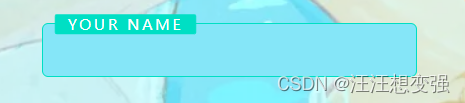
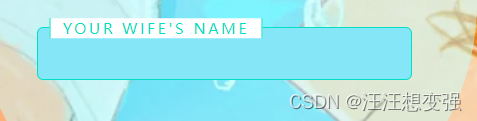
1.改变背景框颜色+文本内容
感觉不错~
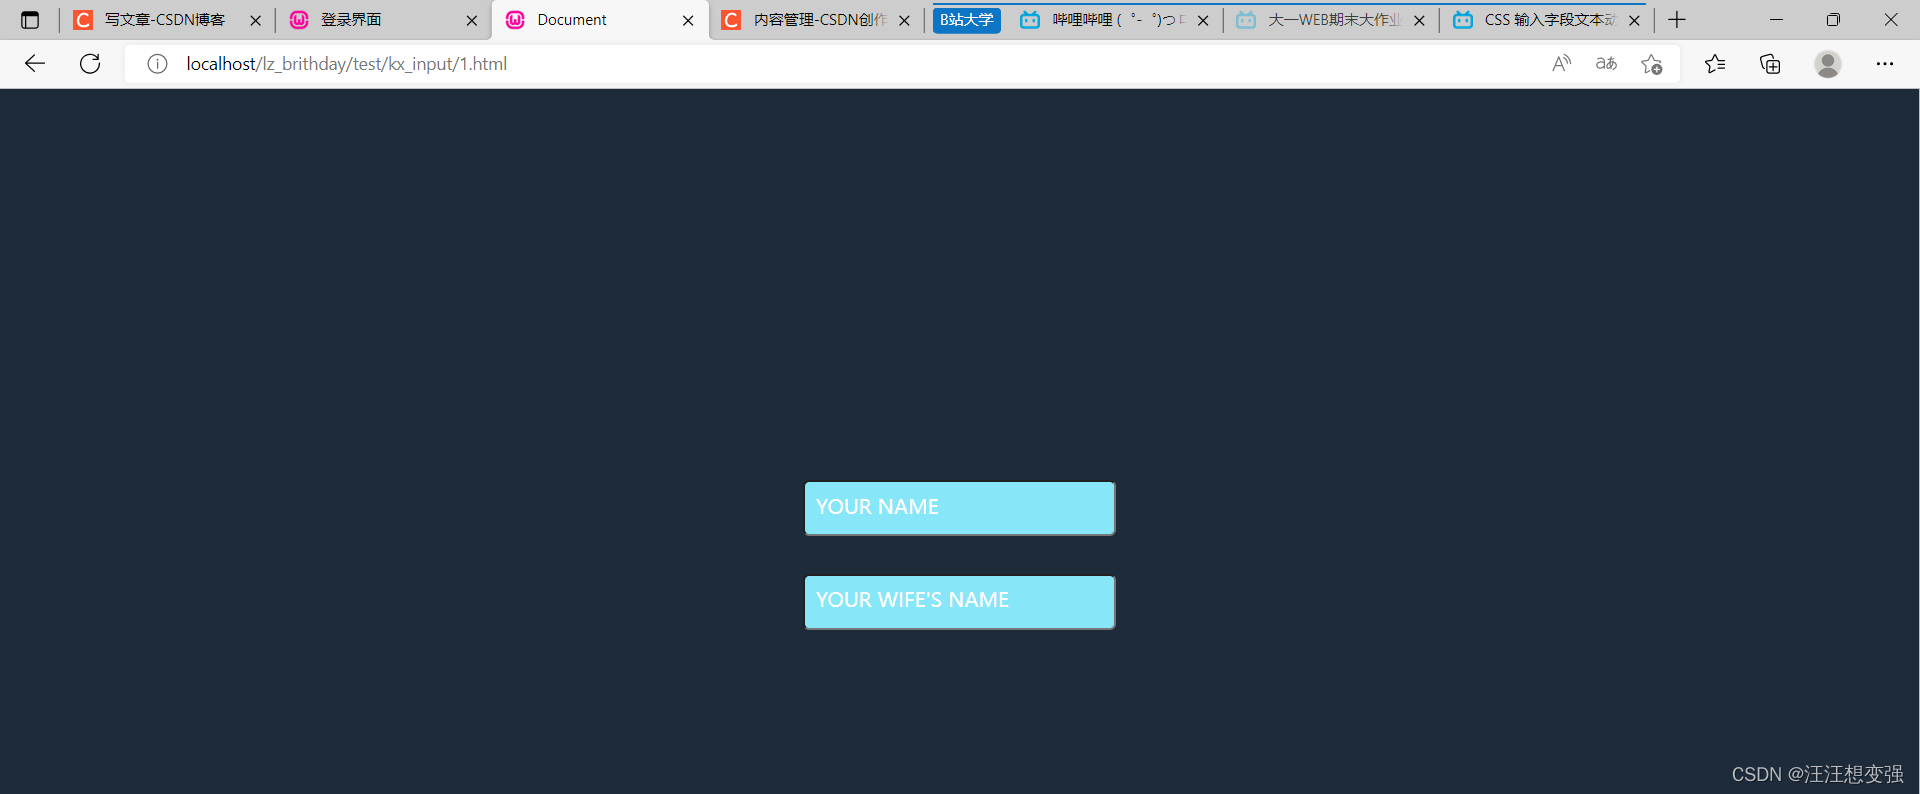
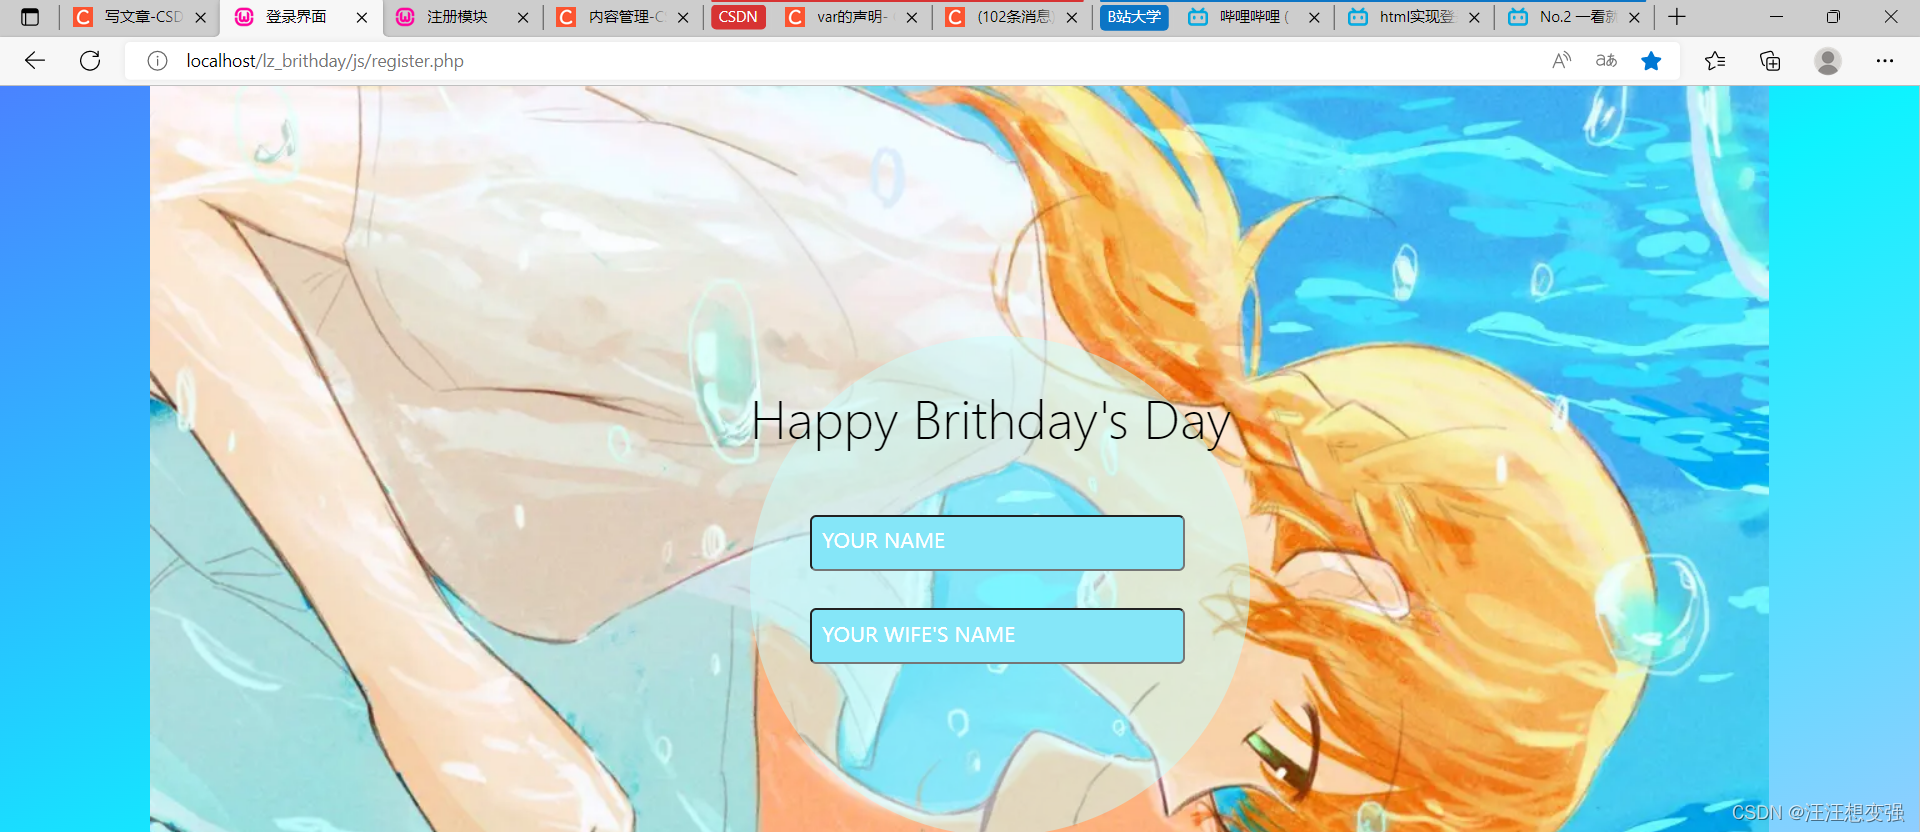
2.放入register.php的布局问题
放入所有盒子外层+稍微修改register.php的body和*类:
不明原因框下拉:
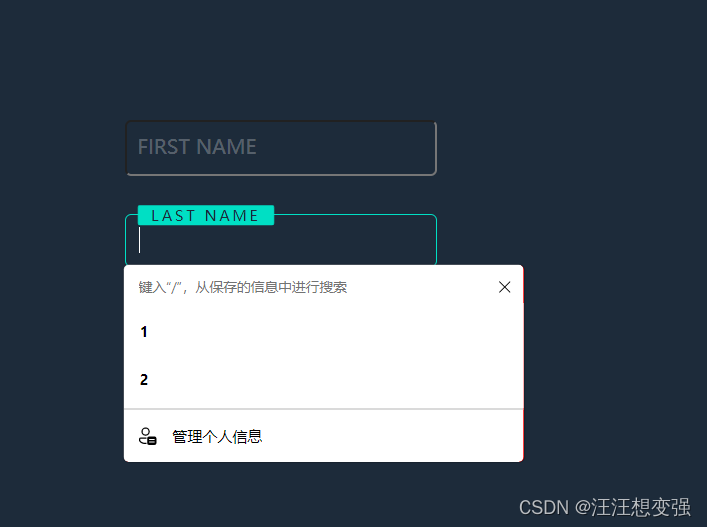
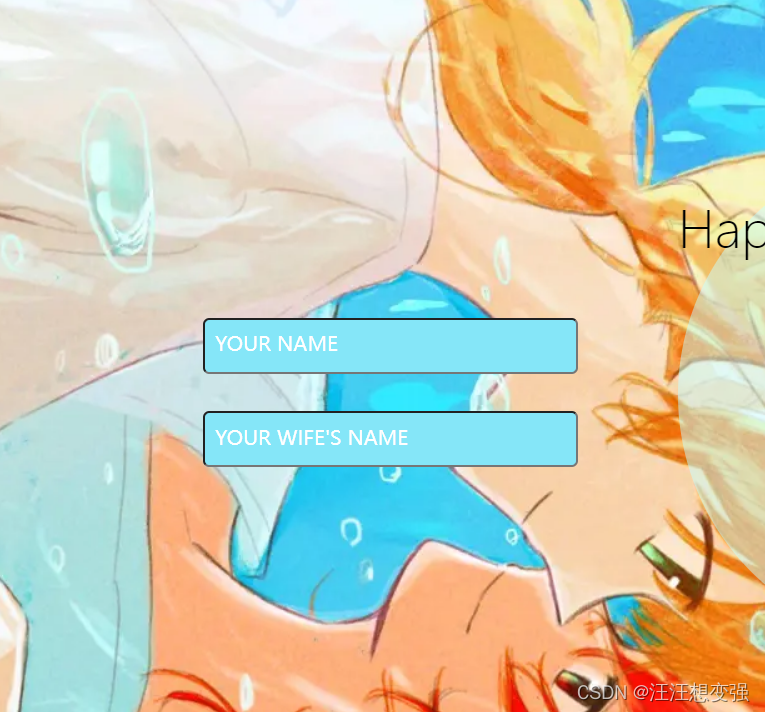
3.输入框下拉更进
1.解决刚刚上面问题
对比8和body,改变代码:
ok~~~
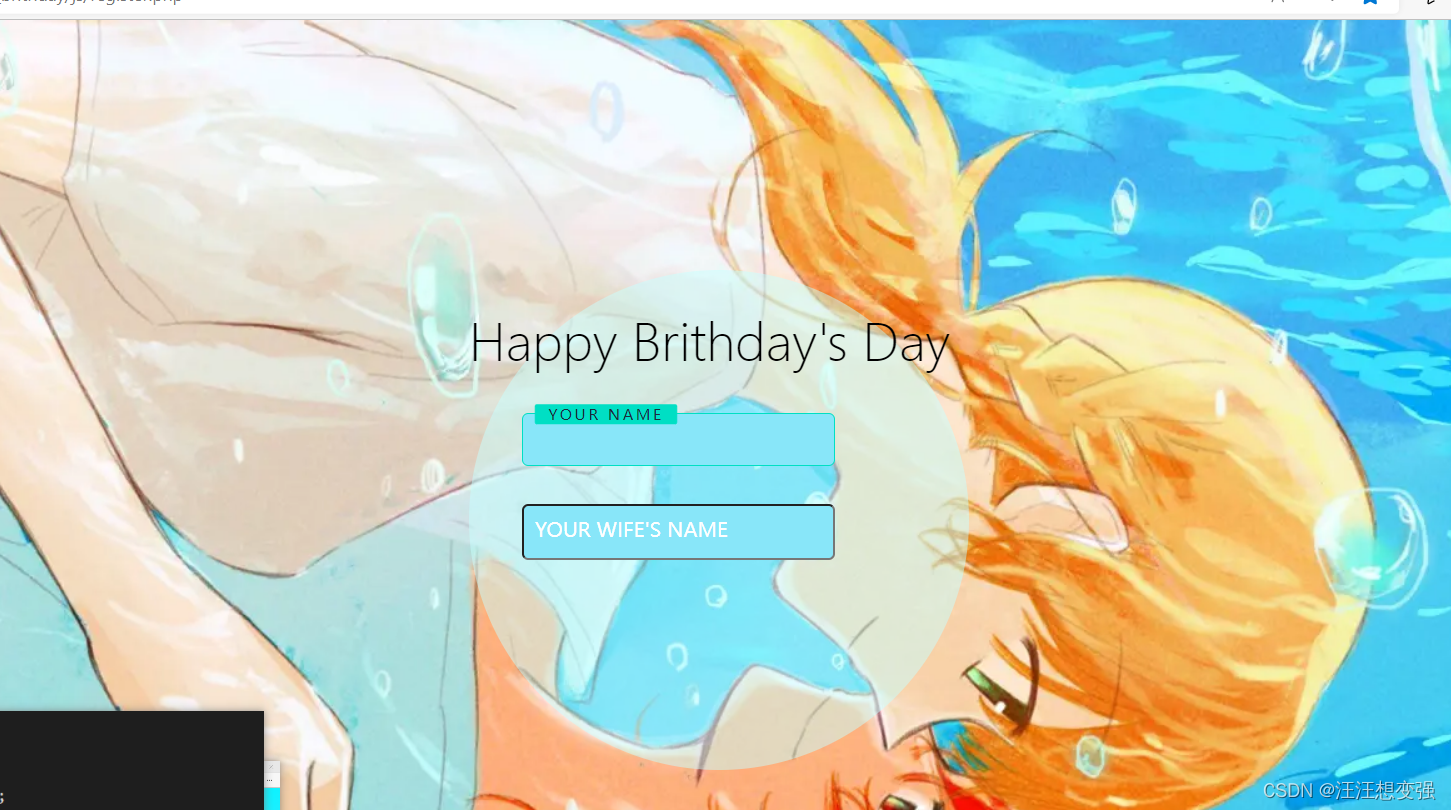
2.继续修饰
register.php
<!DOCTYPE html>
<html lang="en">
<head>
<meta charset="UTF-8">
<meta http-equiv="X-UA-Compatible" content="IE=edge">
<meta name="viewport" content="width=device-width, initial-scale=1.0">
<title>登录界面</title>
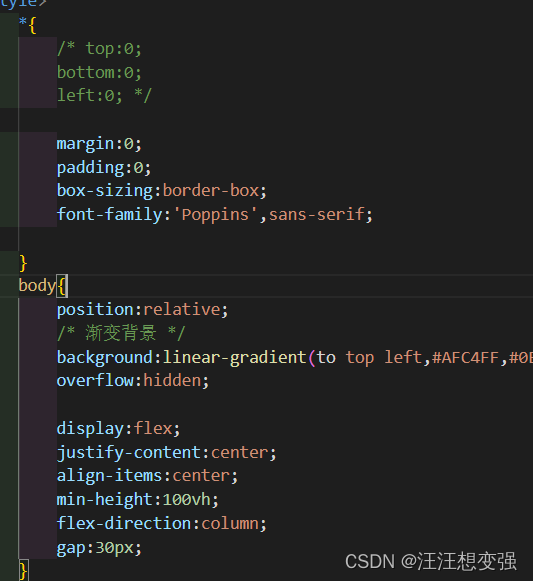
<style>
*{
margin:0;
padding:0;
box-sizing:border-box;
font-family:'Poppins',sans-serif;
}
body{
position:relative;
/* 渐变背景 */
background:linear-gradient(to top left,#AFC4FF,#0EF3FF,#4A83FF);
overflow:hidden;
display:flex;
justify-content:center;
align-items:center;
min-height:100vh;
flex-direction:column;
gap:30px;
}
.content{
position: absolute;
/* bottom: -6px; */
width:100%;
height:100%;
background: url(images/register/5.jpg);
background-repeat: no-repeat;
-o-background-size: cover;
background-position: center 0;
/* margin:auto; */
}
.lucency{
position:relative;
margin-top: 200px;
width: 400px;
height: 400px;
margin-left: 600px;
border-radius: 50%;
background-color: rgba(200,400,400,0.5); //设置颜色的半透明效果
/* background-position: center; */
/* margin:auto; */
}
.text{
position: absolute;
font-family:Microsoft YaHei UI Light;
font-size:40px;
top:40px;
/* font-weight:bold; */
}
/* 进入输入框类 */
.inputBox{
position:relative;
width:300px;
left:30px;
top:30px;
}
.inputBox input{
width:100%;
padding:10px;
border:1px soild rgba(255,255,255,0.25);
/* background:#1d2b3a; */
/* background:#46CCEE; */
background:#85E6F8;
border-radius:5px;
/* 关闭聚焦 */
outline:none;
color:#fff;
font-size:1em;
}
.inputBox span{
position: absolute;
left:0;
padding:10px;
pointer-events:none;
font-size:1em;
/* color:rgba(255,255,255,0.25); */
color:#fff;
text-transform:uppercase;
transition: 0.5s;
}
.inputBox input:valid~span,
.inputBox input:focus~span{
color:#00dfc4;;
transform: translateX(10px) translateY(-7px);
font-size:0.65em;
padding:0 10px;
background: #fff;
border-left:1px solid #00dfc4;
border-right:1px solid #00dfc4;
letter-spacing:0.2em;
}
.inputBox:nth-child(2) input:valid~span,
.inputBox:nth-child(2) input:focus~span{
background:#00dfc4;
color:#fff;
border-radius:2px;
}
.inputBox input:valid,
.inputBox input:focus{
border:1px solid #00dfc4;
}
</style>
</head>
<body>
<div class="content">
<div class="lucency">
<!-- 进入透明盒子lucency -->
<p class="text">Happy Brithday's Day</p>
</div>
</div>
<!-- 尝试不嵌套位置书写 -->
<div class="inputBox">
<input type="text" required="required">
<span>Your Name</span>
</div>
<div class="inputBox">
<input type="text" required="required">
<span>Your Wife's Name</span>
</div>
</body>
</html>
实现登录功能
翻阅多篇文章和视频,终于有点思路。。。
【html页面实现登录验证码功能(纯前端)】https://blog.csdn.net/qq_49137582/article/details/125253568
1.对代码进行理解+配合下面章节中其他-input的内容理解
<!-- 1.我们不需要 注册 这一功能,所以此代码需求上很大相似 -->
<!-- 2.主要关注的是: -->
<!-- * 判断输入框内输入是否符合的逻辑 -->
<!DOCTYPE HTML>
<html>
<head>
<title>注册模块</title>
<meta charset="utf-8">
<style>
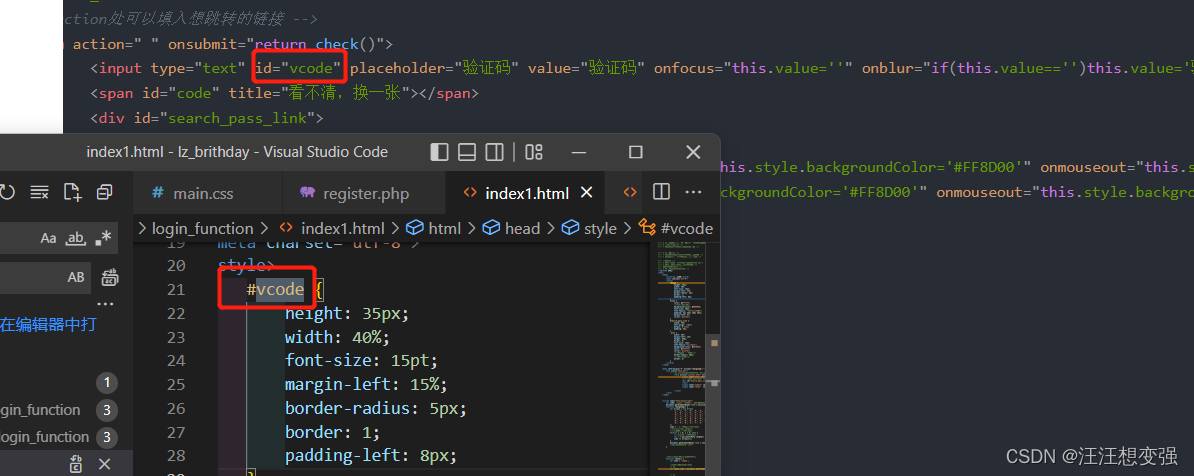
#vcode {
height: 35px;
width: 40%;
font-size: 15pt;
margin-left: 15%;
border-radius: 5px;
border: 1;
padding-left: 8px;
}
#code {
color: #ffffff;
/*字体颜色白色*/
background-color: #000000;
font-size: 20pt;
font-family: "华康娃娃体W5";
padding: 5px 35px 10px 35px;
margin-left: 5%;
cursor: pointer;
}
#search_pass_link {
width: 70%;
text-align: right;
margin: 0 auto;
padding: 5px;
}
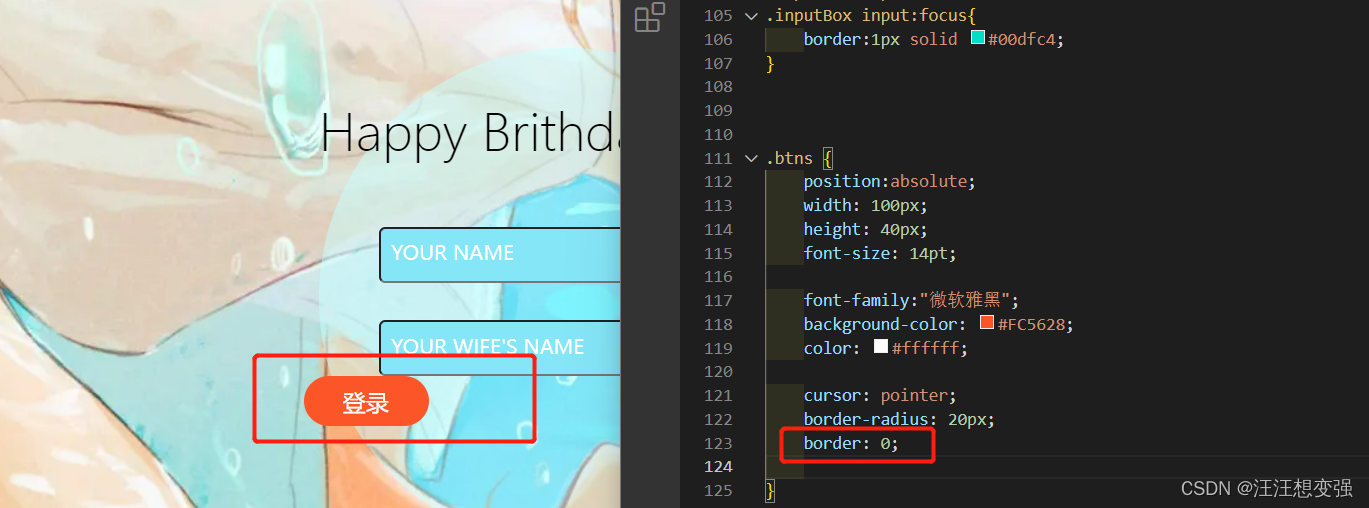
.btns {
width: 30%;
margin-left: 13%;
height: 40px;
border: 0;
font-size: 14pt;
font-family:"微软雅黑";
background-color: #FC5628;
color: #ffffff;
cursor: pointer;
/*设置指针鼠标的样式*/
border-radius: 20px;
/*设置圆角样式*/
border: 0;
}
</style>
</head>
<body left-margin="0" onload="changeImg()">
<div class="main_bar">
<!-- #1 action处可以填入想跳转的链接 -->
<form action=" " onsubmit="return check()">
<input type="text" id="vcode" placeholder="验证码" value="验证码" onfocus="this.value=''" onblur="if(this.value=='')this.value='验证码'" />
<span id="code" title="看不清,换一张"></span>
<div id="search_pass_link">
</div>
<input type="submit" id="submit" value="登录" class="btns" onmouseover="this.style.backgroundColor='#FF8D00'" onmouseout="this.style.backgroundColor='#FC5628'">
<input type="reset" value="重置" class="btns" onmouseover="this.style.backgroundColor='#FF8D00'" onmouseout="this.style.backgroundColor='#FC5628'">
</form>
</div>
</body>
<script type="text/javascript">
var code; //声明一个变量用于存储生成的验证码
document.getElementById("code").onclick = changeImg;
function changeImg() {
var arrays = new Array(
'1', '2', '3', '4', '5', '6', '7', '8', '9', '0',
'a', 'b', 'c', 'd', 'e', 'f', 'g', 'h', 'i', 'j',
'k', 'l', 'm', 'n', 'o', 'p', 'q', 'r', 's', 't',
'u', 'v', 'w', 'x', 'y', 'z',
'A', 'B', 'C', 'D', 'E', 'F', 'G', 'H', 'I', 'J',
'K', 'L', 'M', 'N', 'O', 'P', 'Q', 'R', 'S', 'T',
'U', 'V', 'W', 'X', 'Y', 'Z'
);
code = ''; //重新初始化验证码
//alert(arrays.length);
//随机生成四位数验证码
for(var i = 0; i < 4; i++) {
//随机获取一个数组的下标
var r = parseInt(Math.random() * arrays.length);
code += arrays[r];
}
document.getElementById('code').innerHTML = code;
//将验证码写入右侧黑框中
}
//效验验证码(表单被提交时触发)
function check() {
//获取用户输入的验证码
// !
var input_code = document.getElementById('vcode').value;
// !
if(input_code.toLowerCase() == code.toLowerCase()) {
//验证码正确(表单提交)
return true;
}
alert("请输入正确的验证码!");
//验证码不正确,表单不允许提交
// #2 可以修改为跳转惩罚页面
return false;
}
</script>
</html>
<!-- 符号说明 -->
<!-- (从上向下看的) -->
<!-- # 可以修改的地方 -->
<!-- !自己功能实现的关键句子 -->
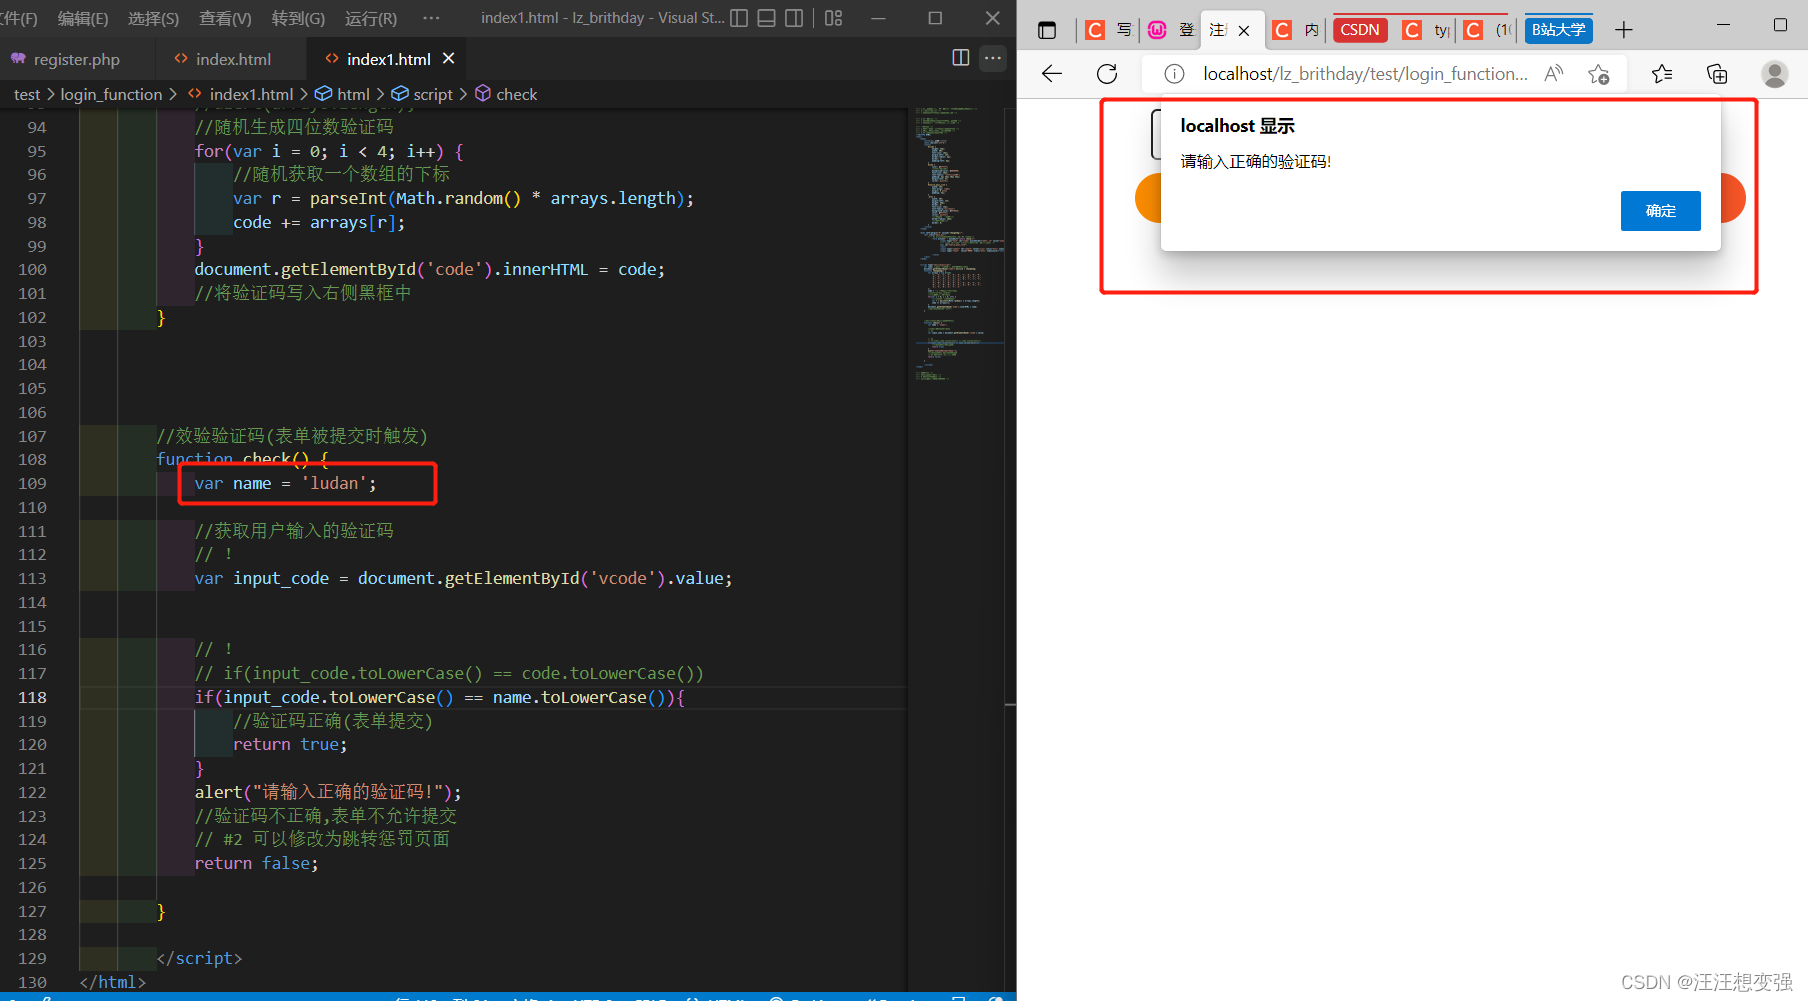
2.对代码功能适应修改
改动function check()代码:
function check() {
            var name = 'ludan';

			//获取用户输入的验证码
            // !
			var input_code = document.getElementById('vcode').value;


            // !
			// if(input_code.toLowerCase() == code.toLowerCase())
            if(input_code.toLowerCase() == name.toLowerCase()){
				//验证码正确(表单提交)
				return true;
			}
			alert("请输入正确的验证码!");
			//验证码不正确,表单不允许提交
            // #2 可以修改为跳转惩罚页面
			return false;

		}

        </script>
设置name = ludan,输入lud,出现提示,说明成功:
3.按照成功的逻辑写入register.php中
- 加入< form >后两个输入框粘连:改body中gap为inputBox中margin
- 加入value\placeholder\onfocus中valus这些骚操作后,特效挂在上面下不来,删除一些后好了:
<input type="text" required="required" id="vcode">
3.配置两个输入框判断+下面两个按钮
跳转成功:

可改进
- 加个前言的炫酷动画
- 可以做成轮播图背景
- 网页缩放不为100%时文本框错乱(先让朋友查看一下会不会这样)
其他
css-普通盒子
- background同background-image
- css左右居中
//way1:
margin: 0 auto;
//way2:
background-position: center;
- 设置四角进行平铺 --此方法只适用于颜色盒子
.content{
                position:relative;
                top: 0;
                bottom:0;
                left: 0;
                right:0;
                /* background: url(5.jpg); */
                background-color:red;
            }
- display:flex弹性布局【待详解】
- margin表示元素的外边距
- top、bottom、left、right是绝对定位,必须设置position为absolute。 margin一系列设置是相对定位。
- align-items属性 作用:设置同一行子元素在Y轴的对齐方式
- height: 100px;百分比是跟着父类元素的
- order 作用:排序
- flex-grow (分配剩余空间)
content类尝试,err
- border-style:solid;设置边框线
- 图片平铺父容器【待详解】
- 在*{}中加入margin:0;后图片垂直平铺了!
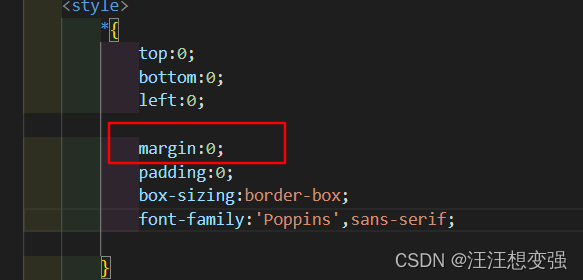
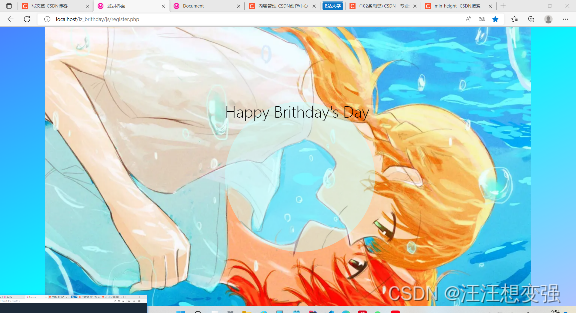
但是中间的文本字体偏上了。。
改进:
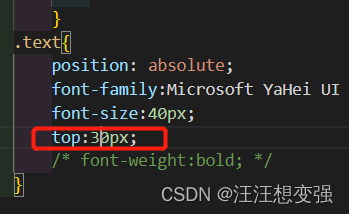
ok了~~~
input
- 【js】toLowerCase()方法用来返回一个字符串,该字符串中的字母被转换成小写字母,而且对非字母字符不会产生影响
- 【js】val变量。
- JavaScript中,使用一个变量之前,先用var关键字声明它,变量如果没有赋值,则初始化值为undefined
- var关键字声明的变量,无论实际声明的位置在何处,都会被视为声明在函数的顶部(如果声明不在任意函数内,则视为在全局作用域的顶部,也称变量提升)
var a = 1;
- 【js】document.getElementById(" ") 得到的是一个对象
- 【js】onclick 事件会在元素被点击时发生。,就是帮我们实现点击某个元素想要执行某个操作的需求。
- 【js】parseInt获取一个数组的下标
- 【js】innerHTML在JS是双向功能:获取对象的内容 或 向对象插入内容
- 【js】onload:多时候我们要对页面中的某一个模块进行操作,这时候我们常常使用javascript代码来进行操作。为了能够保证操作的模块或对象在js代码之前就加载了,我们不得不把js代码放在页面的底端
- 【js】onsubmit方法:在点击按钮进行提交后,如果设置了onsubmit,则首先会调用到onsubmit中的方法,onsubmit的值为true则继续提交,为false则不提交,默认值为true,一定要配套return,不然true还是false都正常提交。
- 【js】onblur 事件会在对象失去焦点时发生。
可以尝试一下下面的例子就明白了
<HTML>
    <HEAD>
    <TITLE>使用onBlur事件处理程序</TITLE>
    </HEAD>
    <BODY BGCOLOR="lavender">
    <FORM name="F1">
    <INPUT TYPE=text NAME=text1 value="1111ONBLUR_green" ONBLUR="(document.bgColor='green')">
    <INPUT TYPE=text NAME=text2 value="2222ONBLUR_black" ONBLUR="(document.bgColor='black')">
    <INPUT TYPE=text NAME=text2 value="3333ONBLUR_yellow" ONBLUR="(document.bgColor='yellow')">
    <br>
    <p>
    <INPUT TYPE=text NAME=text3 value="4444onfocus_blue" οnfοcus="(document.bgColor='blue')">
    <INPUT TYPE=text NAME=text4 value="5555onfocus_red" οnfοcus="(document.bgColor='red')">
    <INPUT TYPE=text NAME=text4 value="6666onfocus_orange" οnfοcus="(document.bgColor='orange')">
    </FORM>
    </BODY>
    </HTML>
- 【html】value\placeholder\onfocus中valus
<input type="text" id="vcode" placeholder="名字背景" value="name" onfocus="this.value=''" onblur="if(this.value=='')this.value='名字粗体'"
-
【js】onfous作用:聚焦时文本框内容值(去掉上面代码中的οnfοcus="this.value=‘’"对比查看效果)
-
【js】< script >和< script type=“text/javascript” >都正确
-
【html】onsubmit返回表单真值,若真进行action功能
-
【CSS】对id属性进行css样式修改,加#
-
【CSS】gap和padding都是css中的样式,在bootstrap中的p-5和g-4指的分别是对padding设置和gap的设置
只能用于body中 -
【CSS】cursor:pointer的作用
cursor : 网页浏览时用户鼠标指针的样式或图形形状。
属性值:
default:默认光标(通常是一个箭头)
auto:默认,浏览器设置的光标
crosshair:光标为十字线
pointer:光标为一只手
move:光标为某对象可移动
text:光标指示文本
wait:光标指示程序正在忙(通常是一只表或者一个沙漏) -
【CSS】去掉边框
-
【HTML】按钮聚焦和非聚焦下颜色
//鼠标聚焦时按钮颜色
onmouseover="this.style.backgroundColor='#FF8D00'"

//鼠标非聚焦时按钮颜色
onmouseout="this.style.backgroundColor='#FFFFFF'"
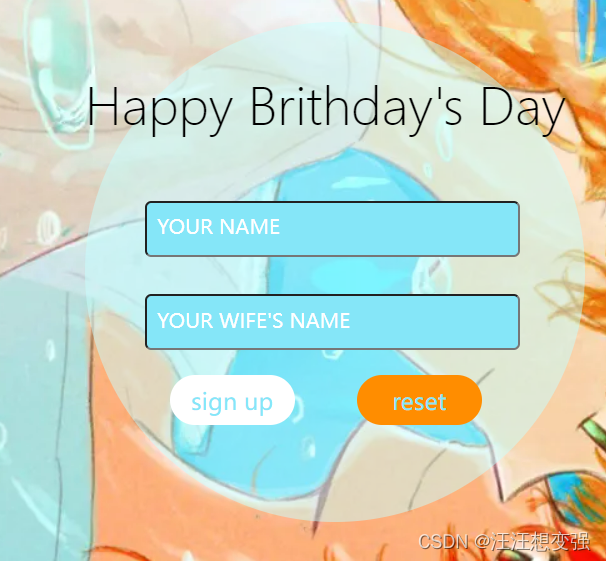
暂时成功样品
main.css
*{
    margin:0;
    padding:0;
    box-sizing:border-box;
    font-family:'Poppins',sans-serif;

}
body{
    position:relative;
    /* 渐变背景 */
    background:linear-gradient(to top left,#AFC4FF,#0EF3FF,#4A83FF);
    overflow:hidden;

    display:flex;
    justify-content:center;
    align-items:center;
    min-height:100vh;
    flex-direction:column;
    /* gap:30px;  */
}
.content{
    position: absolute;

    /* bottom: -6px; */
    width:100%;
    height:100%;

    background: url(images/register/5.jpg);
    background-repeat: no-repeat;
    background-position: center 0;
    /* margin:auto; */
    }
.lucency{
    position:relative;
    margin-top: 200px;
    width: 400px;
    height: 400px;
    margin-left: 600px;
    border-radius: 50%;
    background-color: rgba(200,400,400,0.5);
    /* background-position: center; */
    /* margin:auto; */
}
.text{
    position: absolute;
    font-family:Microsoft YaHei UI Light;
    font-size:40px;
    top:40px;
    /* font-weight:bold; */
}


/* 进入输入框类 */
.inputBox{
    position:relative;
    width:300px;
    left:30px;
    top:30px;
    margin:30px;
}
.inputBox input{
    width:100%;
    padding:10px;
    border:1px soild rgba(255,255,255,0.25);
    /* background:#1d2b3a; */
    /* background:#46CCEE; */
    background:#85E6F8;
    border-radius:5px;
    /* 关闭聚焦 */
    outline:none;
    color:#fff;
    font-size:1em;
    /* margin:30px; */
}
.inputBox span{
    position: absolute;
    left:0;
    padding:10px;
    pointer-events:none;
    font-size:1em;
    /* color:rgba(255,255,255,0.25); */
    color:#fff;
    text-transform:uppercase;
    transition: 0.5s;
}
.inputBox input:valid~span,
.inputBox input:focus~span{
    color:#00dfc4;;
    transform: translateX(10px) translateY(-7px);
    font-size:0.65em;
    padding:0 10px;
    background: #fff;
    border-left:1px solid #00dfc4;
    border-right:1px solid #00dfc4;
    letter-spacing:0.2em;
}
.inputBox:nth-child(2) input:valid~span,
.inputBox:nth-child(2) input:focus~span{
    background:#00dfc4;
    color:#fff;
    border-radius:2px;
}
.inputBox input:valid,
.inputBox input:focus{
    border:1px solid #00dfc4;
}


.btns1{
    /* 以透明盒子为父类 */
    position:absolute;
    width: 100px;
    height: 40px;
    margin-left:80px;
    margin-top:20px;

    font-size: 14pt;
    font-family:"微软雅黑";
    background-color: #ffffff;
    color: #85E6F8;

    cursor: pointer;
    border-radius: 20px;
    border: 0;
}
.btns2{
    position:absolute;
    width: 100px;
    height: 40px;
    margin-left:230px;
    margin-top:20px;

    font-size: 14pt;
    font-family:"微软雅黑";
    background-color: #ffffff;
    color: #85E6F8;

    cursor: pointer;
    border-radius: 20px;
    border: 0;
}
register.php
<!DOCTYPE html>
<html lang="en">
<head>
    <meta charset="UTF-8">
    <meta http-equiv="X-UA-Compatible" content="IE=edge">
    <meta name="viewport" content="width=device-width, initial-scale=1.0">
    <title>登录界面</title>
    <link rel="stylesheet" href="main.css">
</head>
<body>
    <div class="content">
        <div class="lucency">
            <!-- 进入透明盒子lucency -->
            <p class="text">Happy  Brithday's  Day</p>
        </div>
    </div>


    <form action="reg_suc.html" οnsubmit=" return check()">
        <!-- 文本输入框 (尝试不嵌套位置书写) -->
        <div class="inputBox">
            <!-- 和fuction check()有关的参数: vcode -->
            <input type="text" required="required"
            id="vcode">
            <span>Your Name</span>
        </div>

        <div class="inputBox">
            <input type="text" required="required">
            <span>Your Wife's Name</span>
        </div>

        <input type="submit" id="submit" value="sign up" class="btns1"
            onmouseover="this.style.backgroundColor='#FF8D00'"
            onmouseout="this.style.backgroundColor='#FC5628'">
		<input type="reset"  value="reset" class="btns2"
            onmouseover="this.style.backgroundColor='#FF8D00'"
            onmouseout="this.style.backgroundColor='#FC5628'">
    </form>


</body>

<script>
        //效验输入(表单被提交时触发)
		function check() {
            var name = '刘丹琪';

			//获取用户输入的验证码
			var input_code = document.getElementById('vcode').value;


			// if(input_code.toLowerCase() == code.toLowerCase())
            if(input_code.toLowerCase() == name.toLowerCase()){
				//验证码正确(表单提交)
				return true;
			}
			alert("这不能输错吧呜呜呜呜呜");
			//验证码不正确,表单不允许提交
            // #2 可以修改为跳转惩罚页面
			return false;

		}
</script>
</html>