Nginx之动静分离
Nginx之动静分离
文章目录
- 配置RS01主机
- RS01-部署Nginx
- RS01-部署MySQL
- RS01-部署PHP
- RS01-nginx连接php配置
- 配置RS02主机
- 配置LB主机
- 测试负载均衡与动静分离
题目需求:
1)利用Nginx做负载均衡器,配置动静分离,要通过访问负载均衡器的IP实现动静分离的效果。
2)后端RS服务器一台搭建LNMP架构,一台部署LAMP架构。
3)Nginx与PHP必须以源码编译的方式安装。LNMP架构中的版本控制要求分别为nginx1.22、mysql8.0、php8.1。
本次实验环境说明:
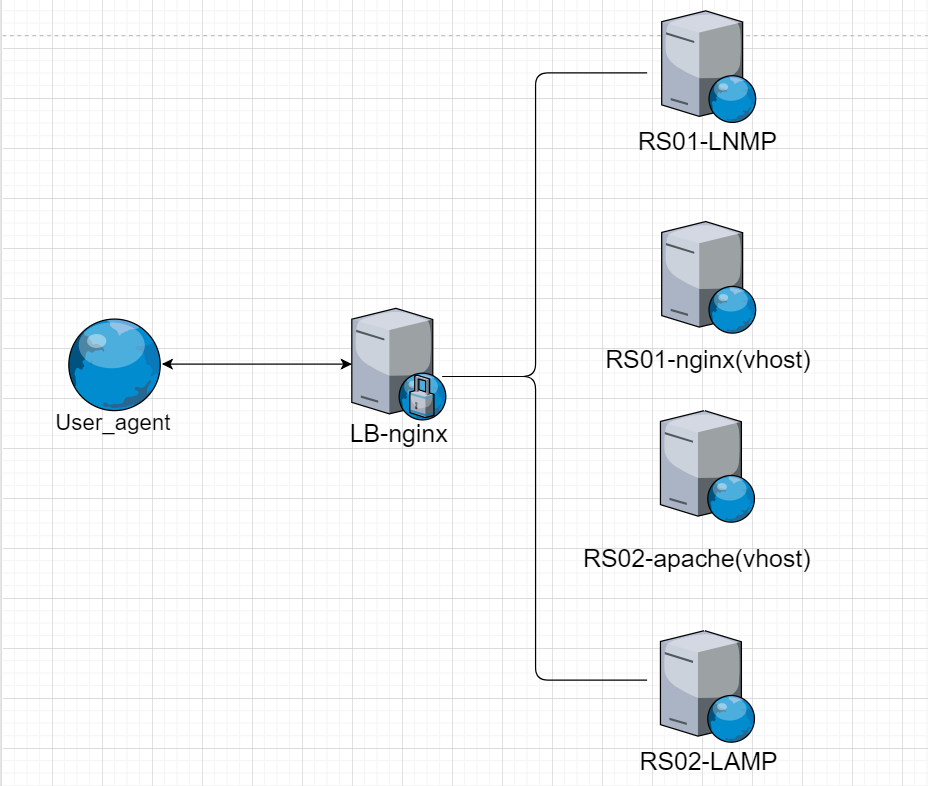
| 主机名 | IP地址 | 应用服务 | 操作系统 |
|---|---|---|---|
| LB | 192.168.92.130 | nginx | Centos8 |
| RS01 | 192.168.92.129 | nginx、mysql、php | Centos8 |
| RS02 | 192.168.92.132 | httpd、mariadb、php | Centos8 |
实验架构图:
配置RS01主机
配置RS01主机,该主机部署LNMP架构
RS01-部署Nginx
#关闭防火墙与SELinux
[root@RS01 ~]# systemctl disable --now firewalld.service
[root@RS01 ~]# setenforce 0
[root@RS01 ~]# sed -i 's/SELINUX=enforcing/SELINUX=disabled/g' /etc/selinux/config
[root@RS01 ~]# systemctl status firewalld.service
● firewalld.service - firewalld - dynamic firewall daemon
   Loaded: loaded (/usr/lib/systemd/system/firewalld.service; disabled; vendor preset: enabled)
   Active: inactive (dead)
     Docs: man:firewalld(1)
[root@RS01 ~]# getenforce
Disabled

#配置国内YUM源仓库
[root@RS01 ~]# curl -o /etc/yum.repos.d/CentOS-Base.repo https://mirrors.aliyun.com/repo/Centos-vault-8.5.2111.repo
[root@RS01 ~]# sed -i -e '/mirrors.cloud.aliyuncs.com/d' -e '/mirrors.aliyuncs.com/d' /etc/yum.repos.d/CentOS-Base.repo

#创建nginx用户
[root@RS01 ~]# useradd -Mrs /sbin/nologin nginx

#下载所需依赖包
[root@RS01 ~]# dnf -y install pcre-devel openssl openssl-devel gd-devel gcc gcc-c++ wget vim make

#下载nginx源码包并解压
[root@RS01 ~]# cd /usr/local/src/
[root@RS01 src]# wget http://nginx.org/download/nginx-1.22.0.tar.gz
[root@RS01 src]# tar -xf nginx-1.22.0.tar.gz

#进行编译安装
[root@RS01 src]# cd nginx-1.22.0/
[root@RS01 nginx-1.22.0]# ./configure \
--prefix=/usr/local/nginx \
--user=nginx \
--group=nginx \
--with-debug \
--with-http_ssl_module \
--with-http_realip_module \
--with-http_image_filter_module \
--with-http_gunzip_module \
--with-http_gzip_static_module \
--with-http_stub_status_module
[root@RS01 nginx-1.22.0]# make -j $(grep 'processor' /proc/cpuinfo | wc -l) && make install

#配置环境变量
[root@RS01 ~]# echo 'export PATH=/usr/local/nginx/sbin:$PATH' > /etc/profile.d/nginx.sh
[root@RS01 ~]# source /etc/profile.d/nginx.sh

#写service文件,用systemd方式控制nginx服务
cat > /usr/lib/systemd/system/nginx.service <<EOF
[Unit]
Description=nginx server daemon
After=network.target

[Service]
Type=forking
ExecStart=/usr/local/nginx/sbin/nginx
ExecStop=/usr/local/nginx/sbin/nginx -s stop
ExecReload=/bin/kill -HUP \$MAINPID

[Install]
WantedBy=multi-user.target
EOF

#重载生效配置
[root@RS01 ~]# systemctl daemon-reload
#启动nginx并设为开机自启
[root@RS01 ~]# systemctl enable --now nginx
#查看nginx的默认80端口是否启动
[root@RS01 ~]# ss -anlt
State       Recv-Q      Send-Q           Local Address:Port             Peer Address:Port      Process
LISTEN      0           128                    0.0.0.0:22                    0.0.0.0:*
LISTEN      0           128                    0.0.0.0:80                    0.0.0.0:*
LISTEN      0           128                       [::]:22                       [::]:*
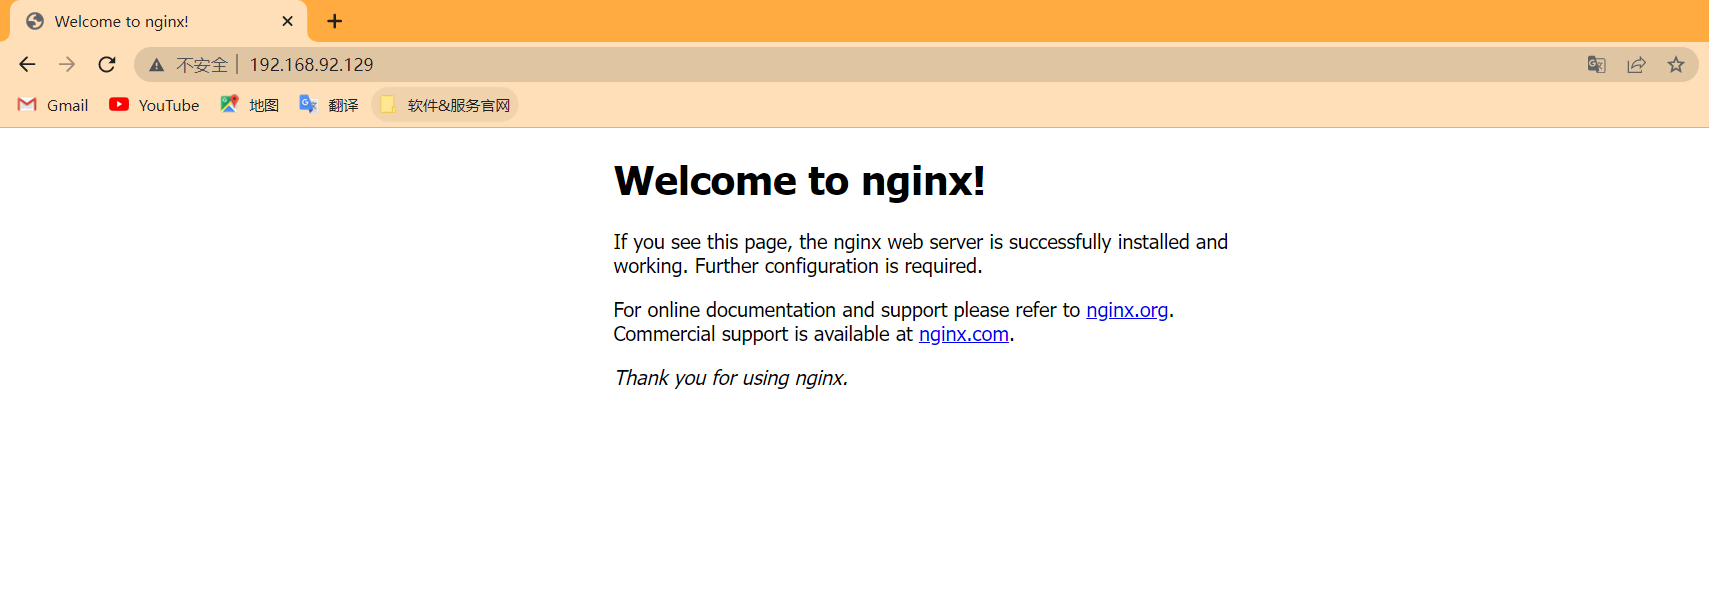
浏览器访问nginx首页,确保nginx部署无问题
RS01-部署MySQL
#创建mysql用户
[root@RS01 ~]# useradd -Mrs /sbin/nologin mysql

#下载所需依赖包
[root@RS01 ~]# dnf -y install ncurses-devel openssl-devel openssl cmake mariadb-devel ncurses-compat-libs

#下载mysql二进制包并解压至/usr/local/目录下
[root@RS01 ~]# cd /usr/local/src/
[root@RS01 src]# wget https://downloads.mysql.com/archives/get/p/23/file/mysql-8.0.30-linux-glibc2.12-x86_64.tar.xz
[root@RS01 src]# tar -xf mysql-8.0.30-linux-glibc2.12-x86_64.tar.xz -C /usr/local/

#将解压的mysql目录更名为mysql,修改该目录的属主属组为mysql
[root@RS01 local]# mv mysql-8.0.30-linux-glibc2.12-x86_64 mysql
[root@RS01 local]# chown -R mysql.mysql mysql
[root@RS01 local]# ll -d mysql
drwxr-xr-x 9 mysql mysql 129 Oct 19 15:49 mysql

#添加环境变量,映射头文件、库文件、man手册
[root@RS01 ~]# echo 'export PATH=$PATH:/usr/local/mysql/bin' > /etc/profile.d/mysql.sh
[root@RS01 ~]# source /etc/profile.d/mysql.sh
[root@RS01 ~]# ln -s /usr/local/mysql/include/ /usr/local/include/mysql
[root@RS01 ~]# echo '/usr/local/mysql/lib' > /etc/ld.so.conf.d/mysql.conf
[root@RS01 ~]# ldconfig
[root@RS01 ~]# sed -i '22a MANDATORY_MANPATH      /usr/local/mysql/man' /etc/man_db.conf

#创建数据存放目录,并修改属主属组为mysql
[root@RS01 ~]# mkdir /data
[root@RS01 ~]# chown -R mysql.mysql /data
[root@RS01 ~]# ll -d /data
drwxr-xr-x 2 mysql mysql 6 Oct 19 16:03 /data

#初始化数据库
[root@RS01 ~]# /usr/local/mysql/bin/mysqld --initialize --user=mysql --datadir=/data/
2022-10-19T08:04:52.924520Z 0 [System] [MY-013169] [Server] /usr/local/mysql/bin/mysqld (mysqld 8.0.30) initializing of server in progress as process 38603
2022-10-19T08:04:52.933728Z 1 [System] [MY-013576] [InnoDB] InnoDB initialization has started.
2022-10-19T08:04:53.432867Z 1 [System] [MY-013577] [InnoDB] InnoDB initialization has ended.
2022-10-19T08:04:54.545086Z 6 [Note] [MY-010454] [Server] A temporary password is generated for root@localhost: y-hV/mlqw6Bg

#添加配置文件
cat > /etc/my.cnf <<EOF
[mysqld]
basedir = /usr/local/mysql
datadir = /data
socket = /tmp/mysql.sock
port = 3306
pid-file = /data/mysql.pid
user = mysql
skip-name-resolve
EOF

#写service文件,用systemd方式控制mysql服务
cat > /usr/lib/systemd/system/mysqld.service <<EOF
[Unit]
Description=mysql server daemon
After=network.target sshd-keygen.target

[Service]
Type=forking
ExecStart=/usr/local/mysql/support-files/mysql.server start
ExecStop=/usr/local/mysql/support-files/mysql.server stop
ExecReload=/bin/kill -HUP

[Install]
WantedBy=multi-user.target
EOF
#重载生效配置
[root@RS01 ~]# systemctl daemon-reload
#启动mysql并设为开机自启
[root@RS01 ~]# systemctl enable --now mysqld.service

#利用初始化的临时密码登录后重设密码
[root@RS01 ~]# mysql -uroot -p'y-hV/mlqw6Bg'
mysql: [Warning] Using a password on the command line interface can be insecure.
Welcome to the MySQL monitor.  Commands end with ; or \g.
Your MySQL connection id is 8
Server version: 8.0.30

Copyright (c) 2000, 2022, Oracle and/or its affiliates.

Oracle is a registered trademark of Oracle Corporation and/or its
affiliates. Other names may be trademarks of their respective
owners.

Type 'help;' or '\h' for help. Type '\c' to clear the current input statement.

mysql> ALTER user 'root'@'localhost' IDENTIFIED WITH caching_sha2_password BY '123456';
Query OK, 0 rows affected (0.00 sec)

mysql> exit;
Bye
#利用新密码进行登录测试是否登录成功
[root@RS01 ~]# mysql -uroot -p123456
mysql: [Warning] Using a password on the command line interface can be insecure.
Welcome to the MySQL monitor.  Commands end with ; or \g.
Your MySQL connection id is 9
Server version: 8.0.30 MySQL Community Server - GPL

Copyright (c) 2000, 2022, Oracle and/or its affiliates.

Oracle is a registered trademark of Oracle Corporation and/or its
affiliates. Other names may be trademarks of their respective
owners.

Type 'help;' or '\h' for help. Type '\c' to clear the current input statement.

mysql> exit
Bye
[root@RS01 ~]#
RS01-部署PHP
#安装所需的依赖包
[root@RS01 ~]# dnf -y install epel-release
[root@RS01 ~]# dnf -y install libxml2 libxml2-devel openssl openssl-devel bzip2 bzip2-devel libcurl libcurl-devel libicu-devel libjpeg libjpeg-devel libpng libpng-devel openldap-devel  pcre-devel freetype freetype-devel gmp gmp-devel libmcrypt libmcrypt-devel readline readline-devel libxslt libxslt-devel mhash mhash-devel php-mysqlnd libsqlite3x-devel libzip-devel wget gcc gcc-c++ make
[root@RS01 ~]# dnf -y install http://mirror.centos.org/centos/8-stream/PowerTools/x86_64/os/Packages/oniguruma-devel-6.8.2-2.el8.x86_64.rpm

#下载php源码包并解压
[root@RS01 ~]# cd /usr/local/src/
[root@RS01 src]# wget https://www.php.net/distributions/php-8.1.11.tar.gz
[root@RS01 src]# tar -xf php-8.1.11.tar.gz

#进行编译安装
[root@RS01 src]# cd php-8.1.11/
[root@RS01 php-8.1.11]# ./configure --prefix=/usr/local/php8 \
--with-config-file-path=/etc \
--enable-fpm \
--disable-debug \
--disable-rpath \
--enable-shared \
--enable-soap \
--with-openssl \
--enable-bcmath \
--with-iconv \
--with-bz2 \
--enable-calendar \
--with-curl \
--enable-exif  \
--enable-ftp \
--enable-gd \
--with-jpeg \
--with-zlib-dir \
--with-freetype \
--with-gettext \
--enable-mbstring \
--enable-pdo \
--with-mysqli=mysqlnd \
--with-pdo-mysql=mysqlnd \
--with-readline \
--enable-shmop \
--enable-simplexml \
--enable-sockets \
--with-zip \
--enable-mysqlnd-compression-support \
--with-pear --enable-pcntl \
--enable-posix
[root@RS01 php-8.1.11]# make -j $(cat /proc/cpuinfo |grep processor|wc -l) && make install

#配置环境变量
[root@RS01 ~]# echo 'export PATH=/usr/local/php8/bin:$PATH' > /etc/profile.d/php8.sh
[root@RS01 ~]# source /etc/profile.d/php8.sh
#查看php版本,测试php的环境变量配置成功与否
[root@RS01 ~]# php -v
PHP 8.1.11 (cli) (built: Oct 19 2022 16:34:27) (NTS)
Copyright (c) The PHP Group
Zend Engine v4.1.11, Copyright (c) Zend Technologies
#映射头文件
[root@RS01 ~]# ln -s /usr/local/php8/include /usr/include/php
[root@RS01 ~]# ll /usr/include/php
lrwxrwxrwx 1 root root 23 Oct 19 16:42 /usr/include/php -> /usr/local/php8/include
#映射库文件
[root@RS01 ~]# echo '/usr/local/php8/lib' > /etc/ld.so.conf.d/php.conf
[root@RS01 ~]# ldconfig

#配置php-fpm
[root@RS01 ~]# cd /usr/local/src/php-8.1.11/
[root@RS01 php-8.1.11]# cp sapi/fpm/init.d.php-fpm /etc/init.d/php-fpm
[root@RS01 php-8.1.11]# chmod +x /etc/rc.d/init.d/php-fpm
[root@RS01 php-8.1.11]# cp /usr/local/php8/etc/php-fpm.conf.default /usr/local/php8/etc/php-fpm.conf
[root@RS01 php-8.1.11]# cp /usr/local/php8/etc/php-fpm.d/www.conf.default /usr/local/php8/etc/php-fpm.d/www.conf

#写service文件,用systemd方式控制php服务
[root@RS01 ~]# cat > /usr/lib/systemd/system/php.service <<EOF
[Unit]
Description=php server daemon
After=network.target

[Service]
Type=forking
ExecStart=/usr/local/php8/sbin/php-fpm
ExecStop=ps -ef |grep php |grep -v grep|awk '{print$2}'|xargs kill
ExecReload=/bin/kill -HUP $MAINPID

[Install]
WantedBy=multi-user.target
EOF

#重载生效配置
[root@RS01 ~]# systemctl daemon-reload
#启动php并设为开机自启
[root@RS01 ~]# systemctl enable --now php.service

#80是nginx的端口,3306与33060是mysql的端口,9000是phpp的端口
[root@RS01 ~]# ss -anlt
State       Recv-Q      Send-Q           Local Address:Port             Peer Address:Port      Process
LISTEN      0           128                    0.0.0.0:22                    0.0.0.0:*
LISTEN      0           128                  127.0.0.1:9000                  0.0.0.0:*
LISTEN      0           128                    0.0.0.0:80                    0.0.0.0:*
LISTEN      0           128                       [::]:22                       [::]:*
LISTEN      0           70                           *:33060                       *:*
LISTEN      0           128                          *:3306                        *:*
RS01-nginx连接php配置
[root@RS01 ~]# cd /usr/local/nginx/conf/
#修改配置文件前记得备份原文,防止误操作
[root@RS01 conf]# cp nginx.conf nginx.conf.bak

[root@RS01 conf]# vim nginx.conf
...........
        location / {
            root   html;
            index  index.html index.htm index.php;	 #新增index.php
        }
...........
        location ~ \.php$ {			#将php块取消注释
            root           html;
            fastcgi_pass   127.0.0.1:9000;
            fastcgi_index  index.php;
            fastcgi_param  SCRIPT_FILENAME  $document_root$fastcgi_script_name;	 #将/scripts改成$document_root
            include        fastcgi_params;
        }
...............
#重启服务,生效配置
[root@RS01 conf]# systemctl restart nginx.service

[root@RS01 conf]# vim /usr/local/php8/etc/php-fpm.d/www.conf
.........
user = nginx
group = nginx
..........
listen = 127.0.0.1:9000
..........
#重启服务,生效配置
[root@RS01 conf]# systemctl restart php.service

#写个php测试页面
[root@RS01 conf]# cd /usr/local/nginx/html/
[root@RS01 html]# mv index.html{,.bak}
[root@RS01 html]# cat > index.php <<EOF
<?php
   phpinfo();
?>
EOF
[root@RS01 html]# ls
50x.html  index.html.bak  index.php

#添加一个虚拟主机,做静态网站
[root@RS01 ~]# vim /usr/local/nginx/conf/nginx.conf
..............
    server {		#新增一个server端
        listen      82;
        location / {
            root  html/static;
            index  index.html;
        }
    }
...............
#重启服务,生效配置
[root@RS01 ~]# systemctl restart nginx.service

#创建虚拟主机的网页存放目录,写一个静态页面
[root@RS01 ~]# cd /usr/local/nginx/html/
[root@RS01 html]# mkdir static
[root@RS01 html]# echo 'hello,world!' > static/index.html
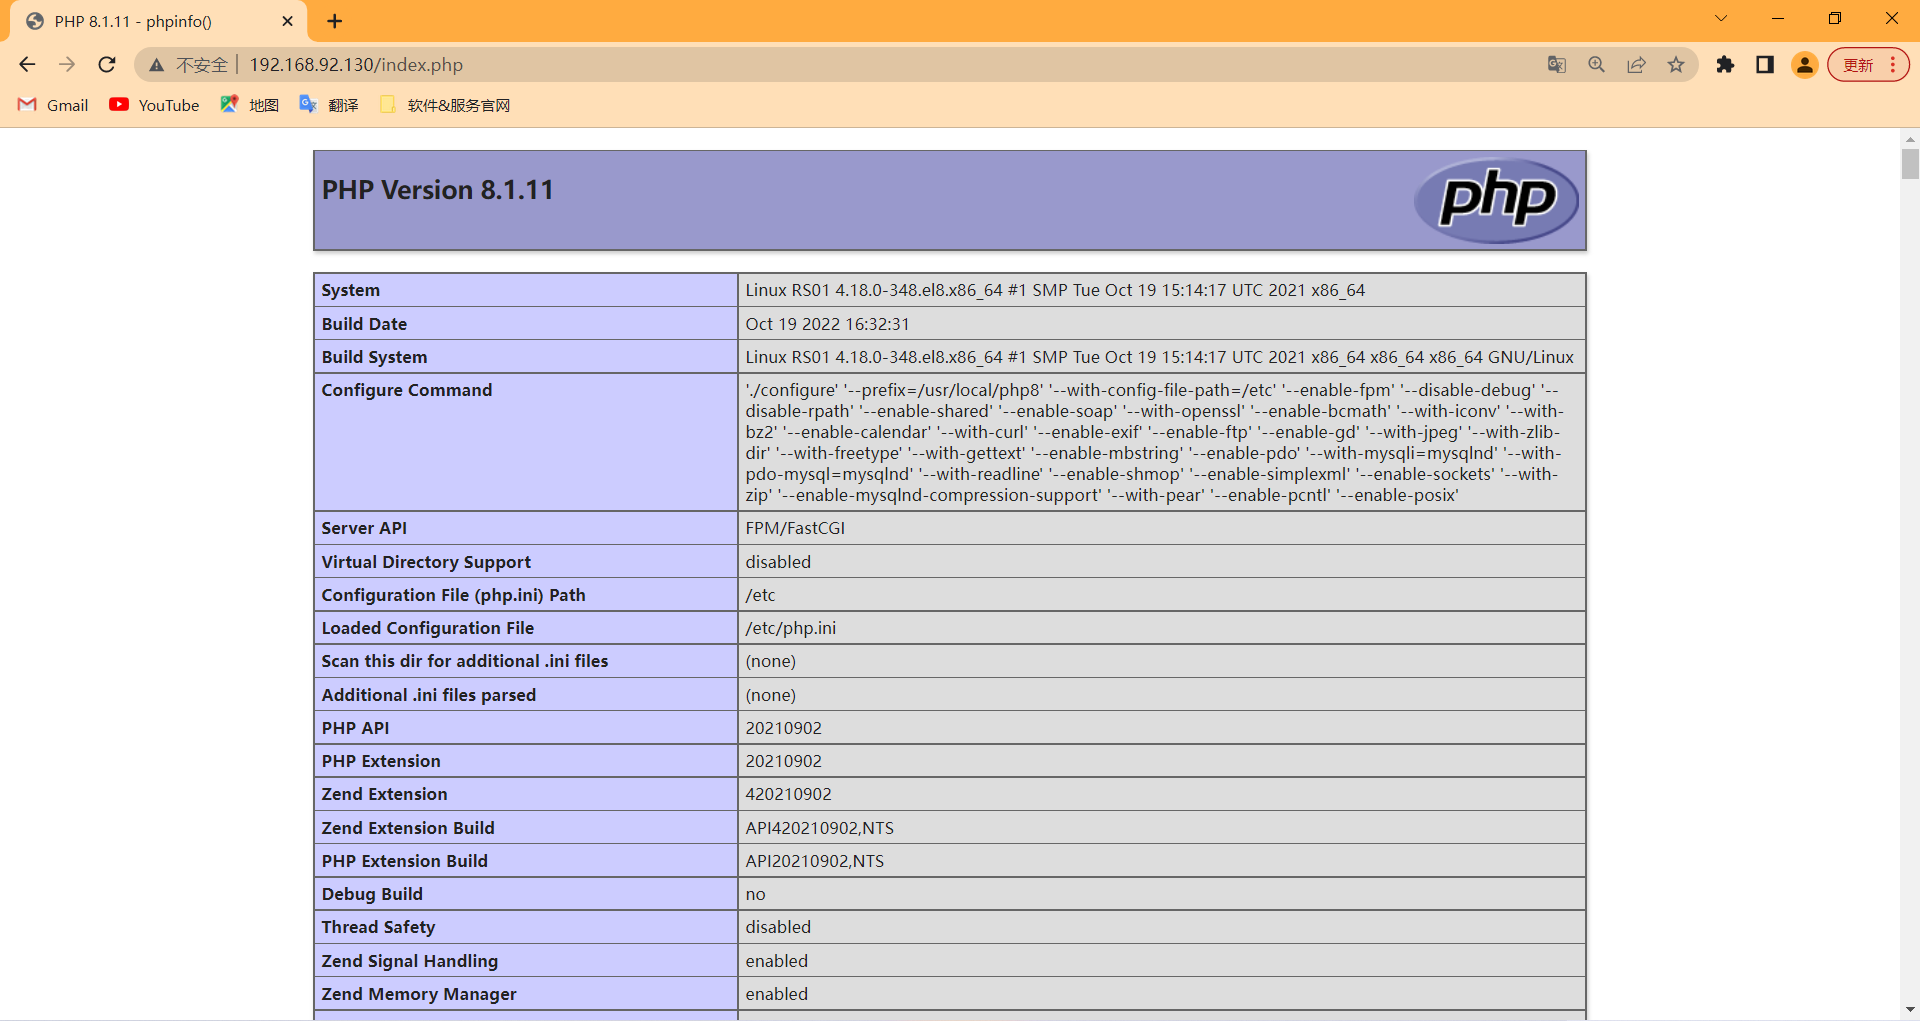
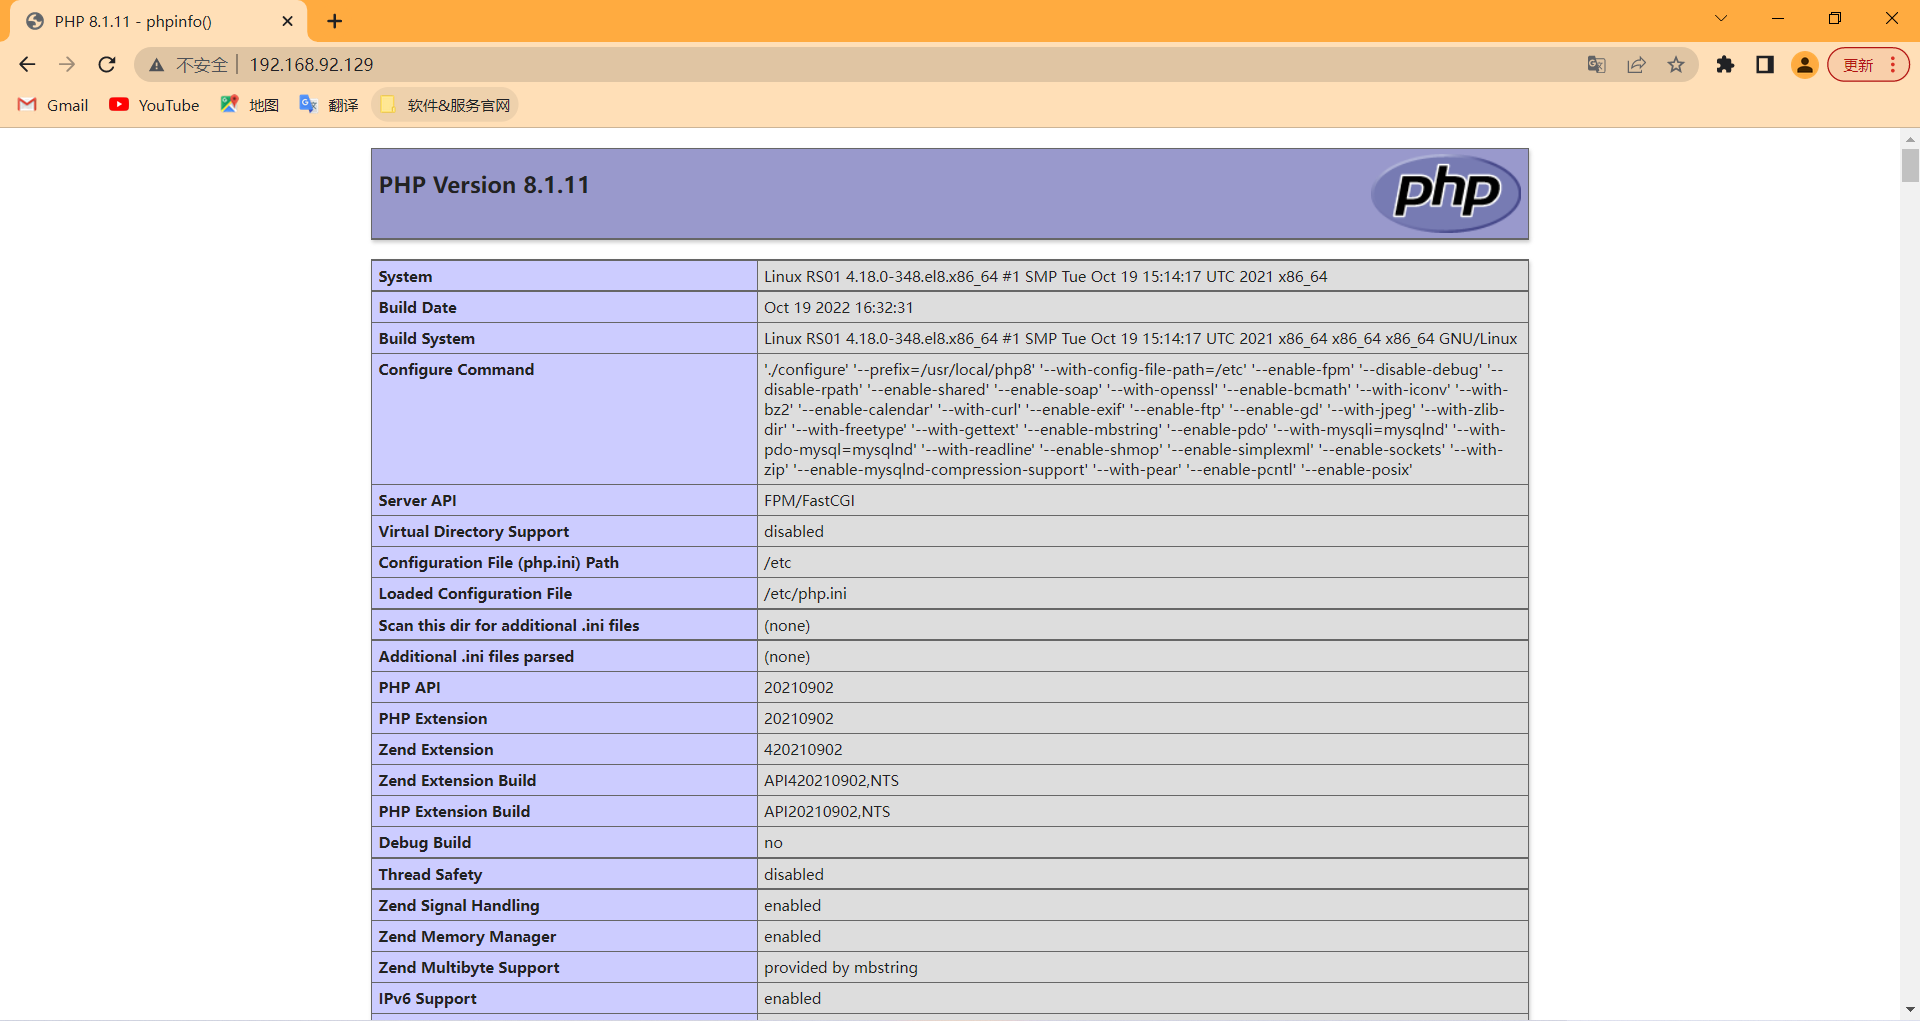
浏览器访问动态页面
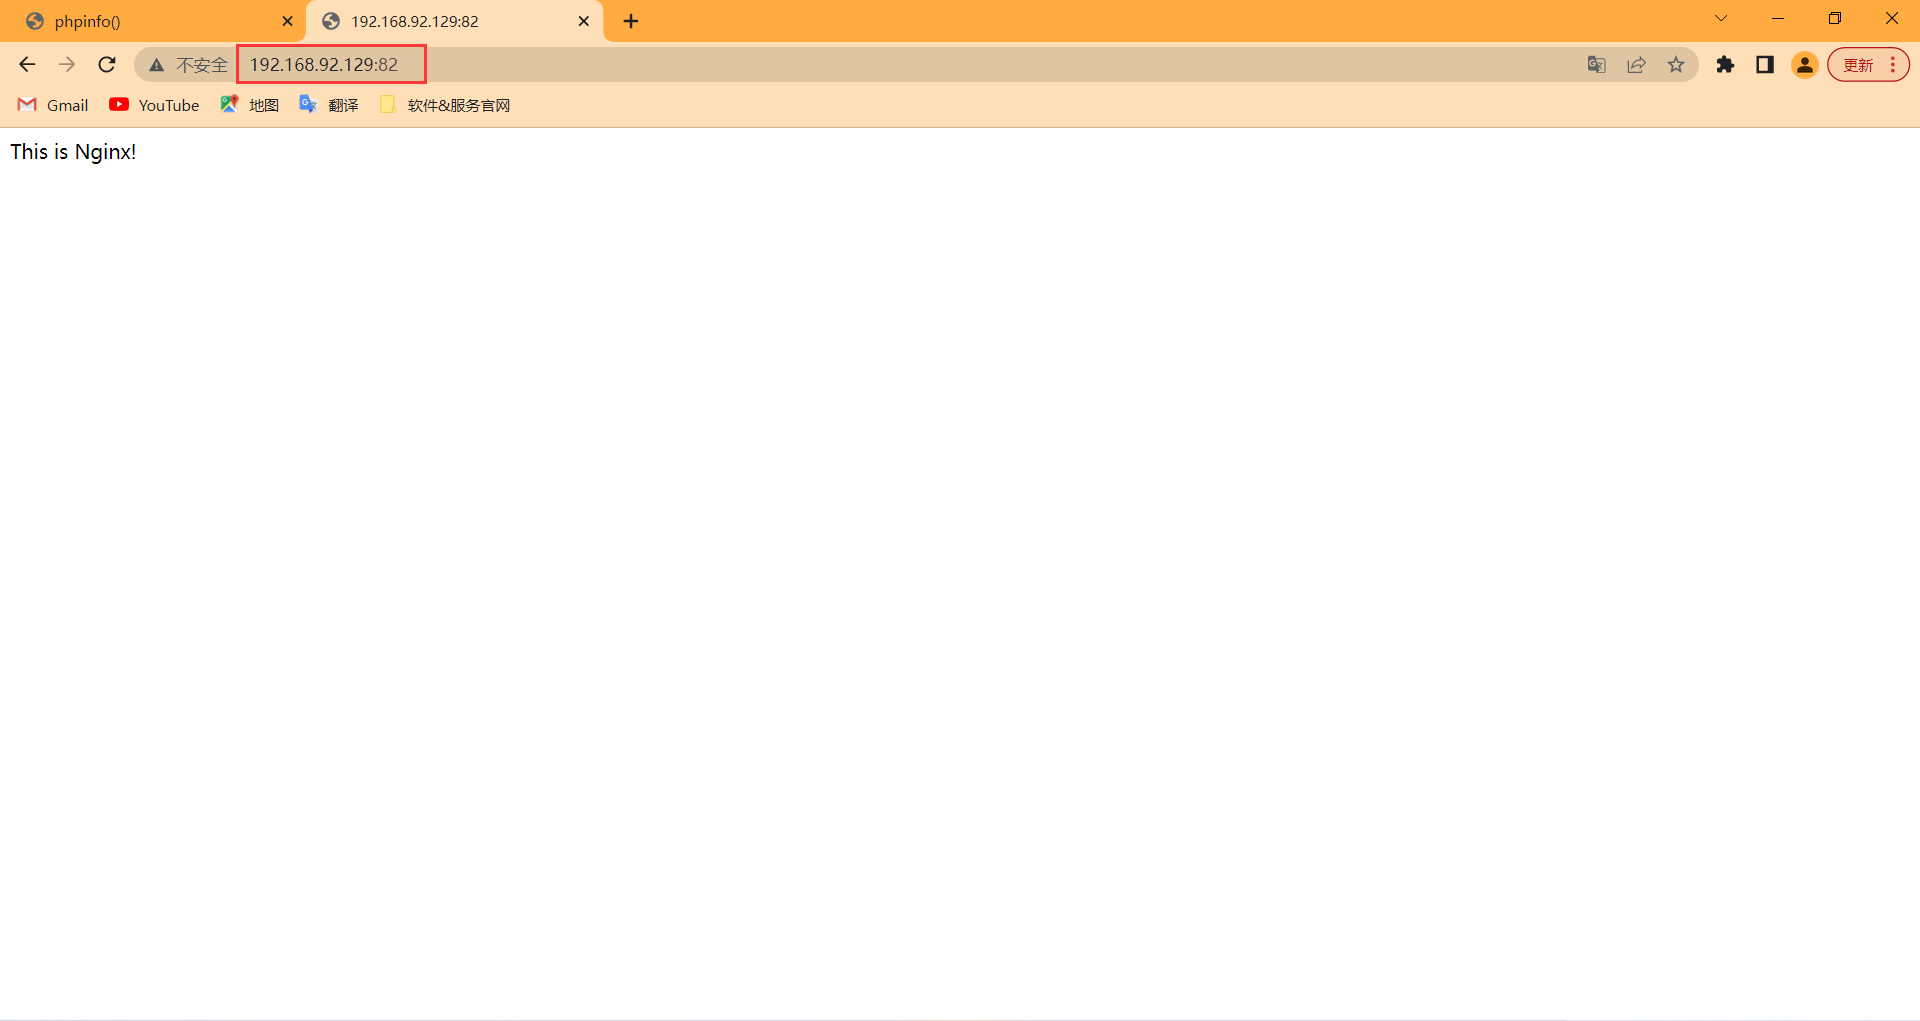
浏览器访问静态页面
配置RS02主机
该主机部署LAMP架构
#关闭防火墙与SELinux
[root@RS02 ~]# systemctl disable --now firewalld.service
[root@RS02 ~]# setenforce 0
[root@RS02 ~]# sed -i 's/SELINUX=enforcing/SELINUX=disabled/g' /etc/selinux/config
[root@RS02 ~]# systemctl status firewalld.service
● firewalld.service - firewalld - dynamic firewall daemon
   Loaded: loaded (/usr/lib/systemd/system/firewalld.service; disabled; vendor preset: enabled)
   Active: inactive (dead)
     Docs: man:firewalld(1)
[root@RS02 ~]# getenforce
Disabled

#配置国内YUM源仓库
[root@RS02 ~]# curl -o /etc/yum.repos.d/CentOS-Base.repo https://mirrors.aliyun.com/repo/Centos-vault-8.5.2111.repo
[root@RS02 ~]# sed -i -e '/mirrors.cloud.aliyuncs.com/d' -e '/mirrors.aliyuncs.com/d' /etc/yum.repos.d/CentOS-Base.repo

#yum安装httpd、mysql、php
[root@RS02 ~]# dnf -y install httpd
[root@RS02 ~]# dnf -y install mariadb*
[root@RS02 ~]# dnf -y install php*

#启动各服务并设为开机自启
[root@RS02 ~]# systemctl enable --now httpd
[root@RS02 ~]# systemctl enable --now mariadb
[root@RS02 ~]# systemctl enable --now php-fpm.service

#看到这里你可能会疑惑,php的9000端口呢?
[root@RS02 ~]# ss -anlt
State       Recv-Q      Send-Q           Local Address:Port             Peer Address:Port      Process
LISTEN      0           128                    0.0.0.0:22                    0.0.0.0:*
LISTEN      0           80                     0.0.0.0:3306                  0.0.0.0:*
LISTEN      0           128                       [::]:22                       [::]:*
LISTEN      0           128                          *:80                          *:*
#可以看到php已经启动了
[root@RS02 ~]# systemctl status php-fpm.service
● php-fpm.service - The PHP FastCGI Process Manager
   Loaded: loaded (/usr/lib/systemd/system/php-fpm.service; enabled; vendor preset: disabled)
   Active: active (running) since Wed 2022-10-19 18:43:52 CST; 12min ago
#进入配置文件一探究竟,可以看到php是以监听套接字文件启动
[root@RS02 ~]# vim /etc/php-fpm.d/www.conf
.........
listen = /run/php-fpm/www.sock
.........

#配置httpd
[root@RS02 ~]# vim /etc/httpd/conf/httpd.conf
..........
<IfModule dir_module>
    DirectoryIndex index.html index.php		#新增index.php
</IfModule>
...........

#重启服务,生效配置
[root@RS02 ~]# systemctl restart httpd

#写个php测试页面
[root@RS02 ~]# cd /var/www/html/
[root@RS02 html]# cat > index.php <<EOF
<?php
   phpinfo();
?>
EOF
[root@RS02 html]# ls
index.php

#把vhost的模板copy到conf.d目录下
[root@RS02 ~]# cd /etc/httpd/conf.d/
[root@RS02 conf.d]# find / -name httpd-vhost*
/usr/share/doc/httpd/httpd-vhosts.conf
[root@RS02 conf.d]# cp `find / -name httpd-vhost*` .

#配置虚拟主机
[root@RS02 conf.d]# vim httpd-vhosts.conf
Listen 82
<VirtualHost 192.168.92.132:82>
    DocumentRoot "/var/www/vhost1/"
    ErrorLog "/var/log/httpd/error_log"
    CustomLog "/var/log/httpd/access_log" combined
</VirtualHost>

#创建vhost的网页存放目录
[root@RS02 ~]# cd /var/www/
[root@RS02 www]# mkdir vhost1
[root@RS02 www]# echo 'This is Apache!' > vhost1/index.html
#重启服务,生效配置
[root@RS02 www]# systemctl restart httpd
#可以看到虚拟主机的82端口也起来了
[root@RS02 www]# ss -anlt
State       Recv-Q      Send-Q           Local Address:Port             Peer Address:Port      Process
LISTEN      0           128                    0.0.0.0:22                    0.0.0.0:*
LISTEN      0           80                     0.0.0.0:3306                  0.0.0.0:*
LISTEN      0           128                       [::]:22                       [::]:*
LISTEN      0           128                          *:80                          *:*
LISTEN      0           128                          *:82                          *:*
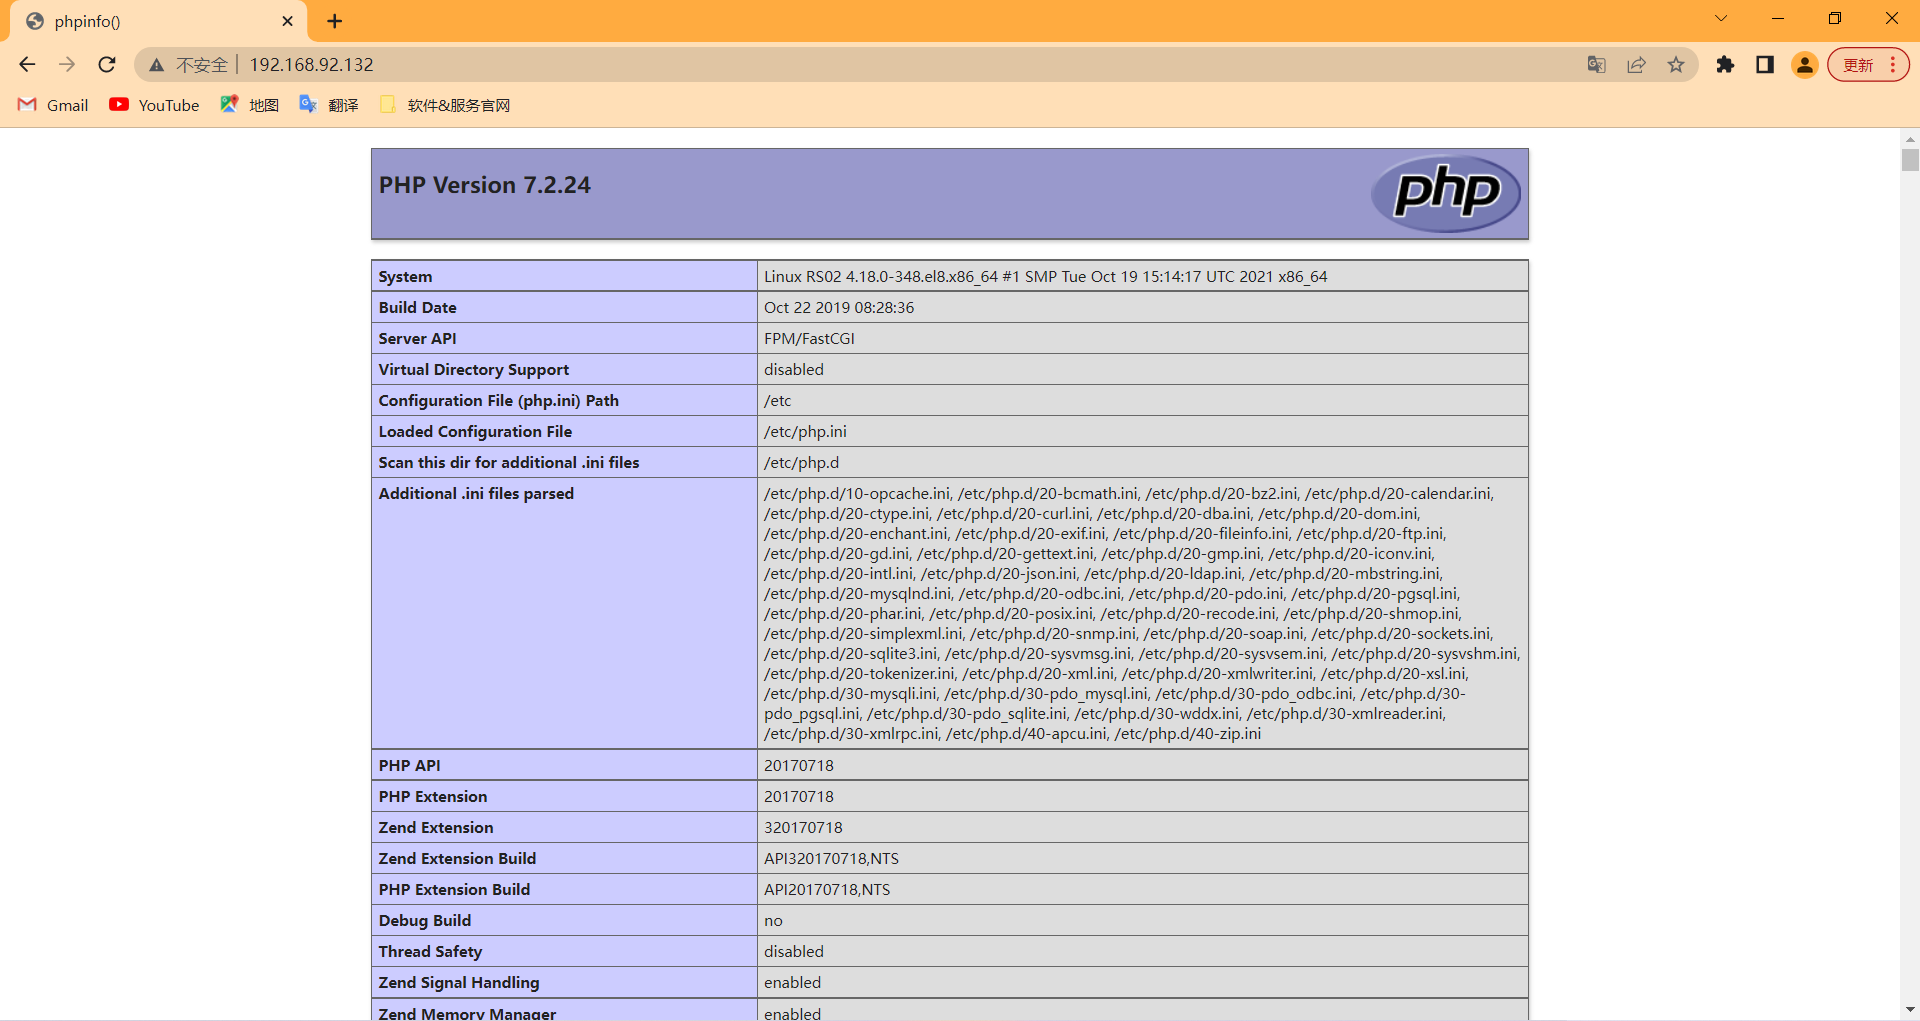
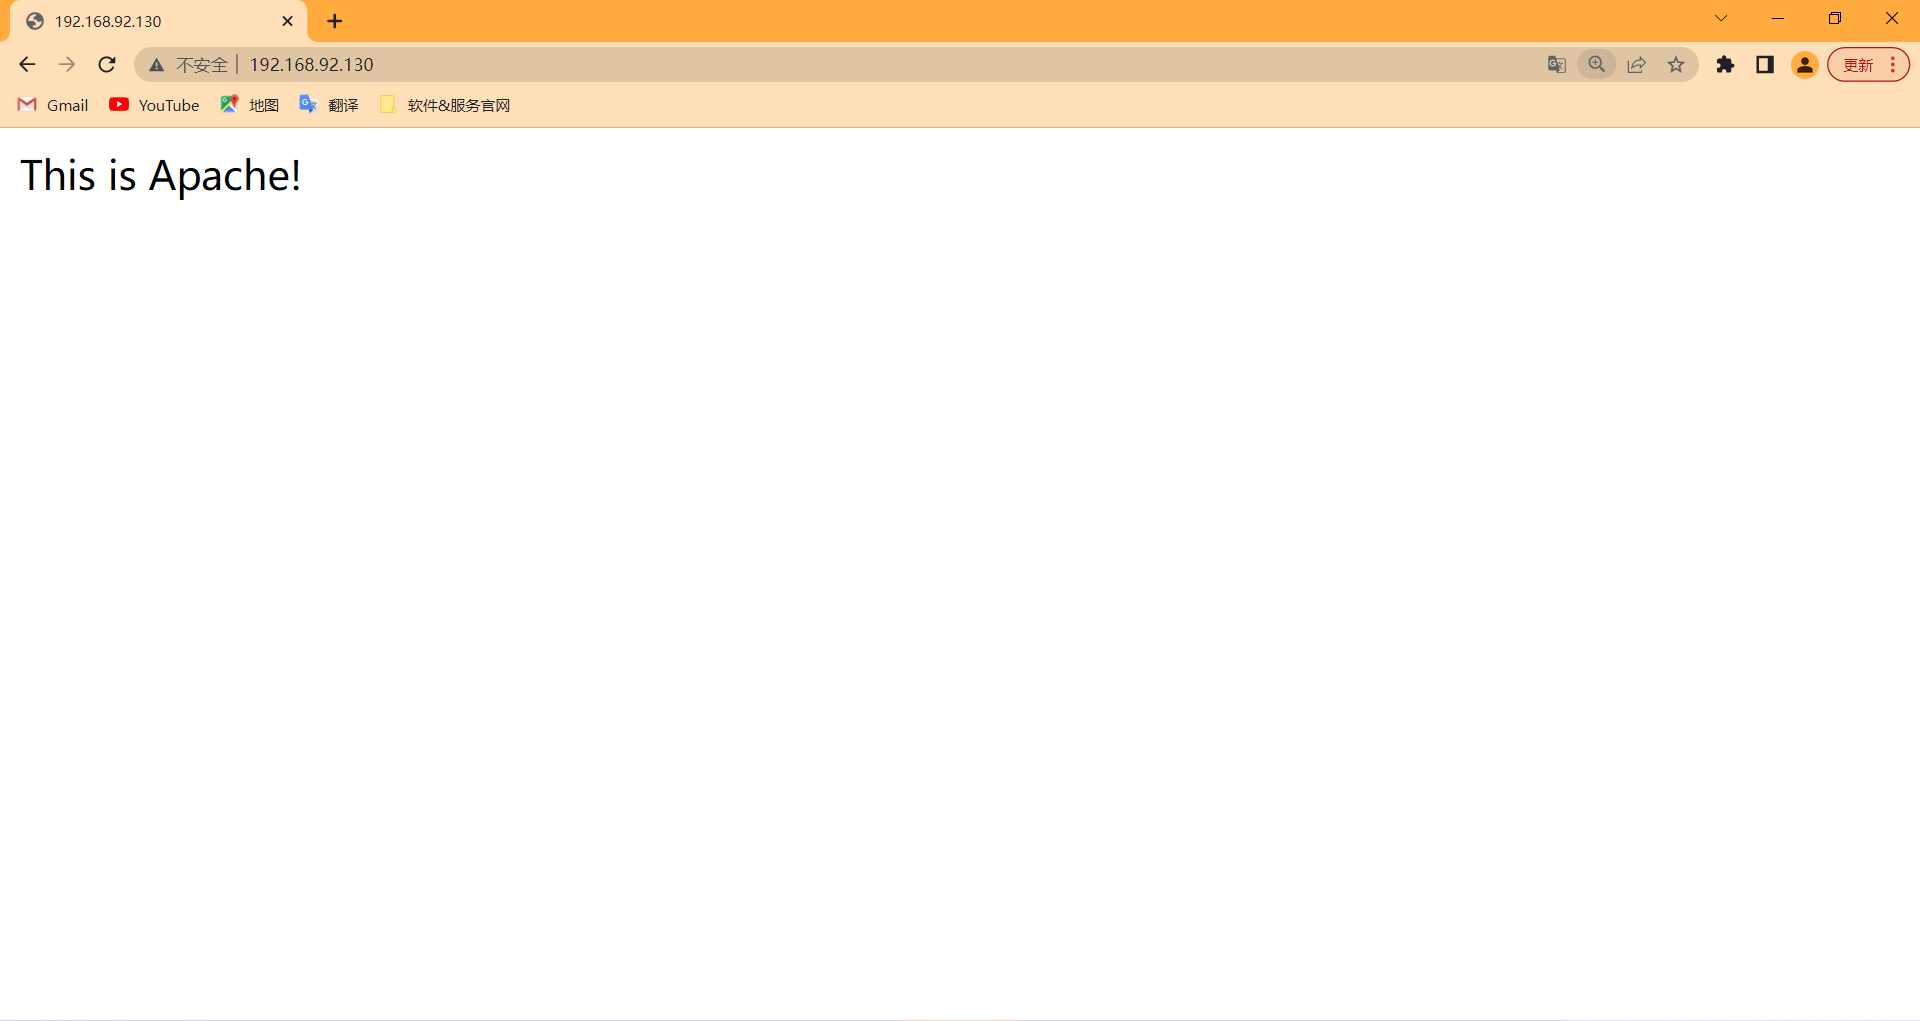
去到浏览器访问动态页面
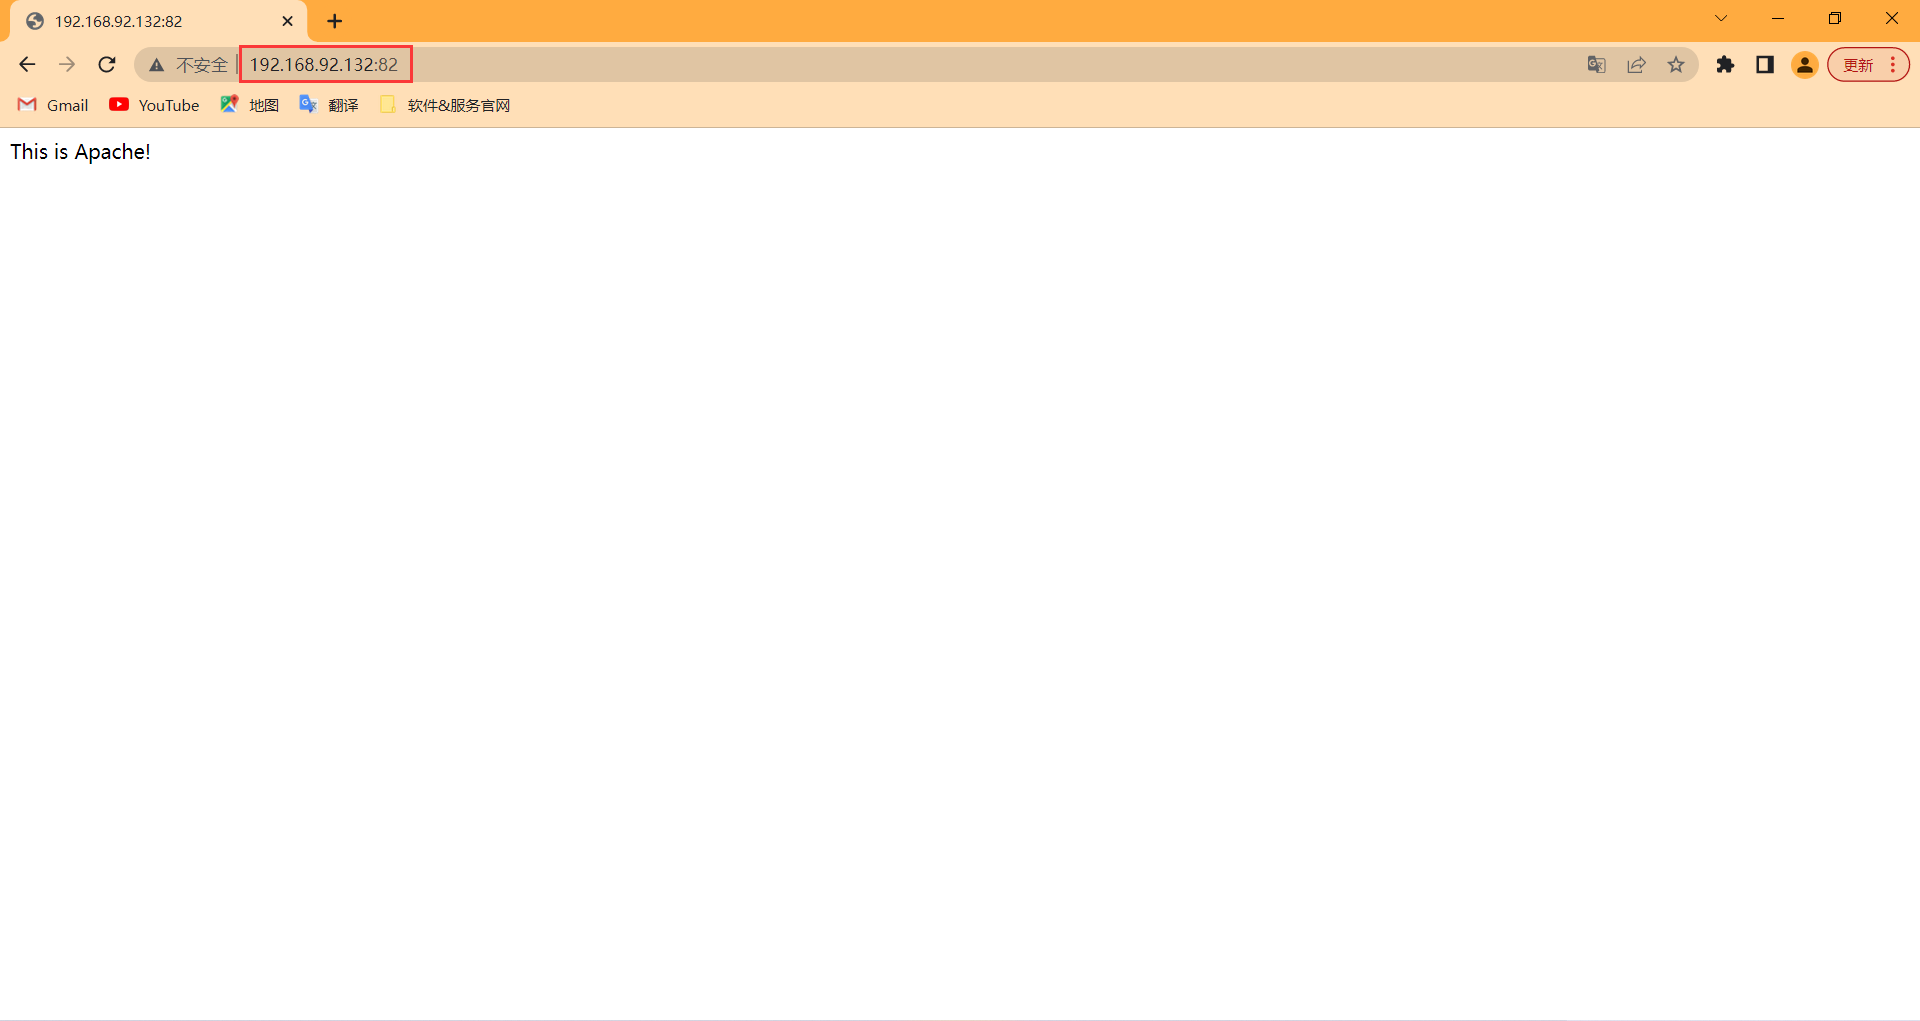
去到浏览器访问静态页面
配置LB主机
安装nginx做负载均衡,动静分离
#关闭防火墙与SELinux
[root@RS02 ~]# systemctl disable --now firewalld.service
[root@RS02 ~]# setenforce 0
[root@RS02 ~]# sed -i 's/SELINUX=enforcing/SELINUX=disabled/g' /etc/selinux/config
[root@RS02 ~]# systemctl status firewalld.service
● firewalld.service - firewalld - dynamic firewall daemon
   Loaded: loaded (/usr/lib/systemd/system/firewalld.service; disabled; vendor preset: enabled)
   Active: inactive (dead)
     Docs: man:firewalld(1)
[root@RS02 ~]# getenforce
Disabled

#配置国内YUM源仓库
[root@RS02 ~]# curl -o /etc/yum.repos.d/CentOS-Base.repo https://mirrors.aliyun.com/repo/Centos-vault-8.5.2111.repo
[root@RS02 ~]# sed -i -e '/mirrors.cloud.aliyuncs.com/d' -e '/mirrors.aliyuncs.com/d' /etc/yum.repos.d/CentOS-Base.repo

#yum安装nginx
[root@LB ~]# dnf -y install nginx

#启动nginx并设为开机自启
[root@LB ~]# systemctl enable --now nginx.service

#配置负载均衡与动静分离
[root@LB ~]# vim /etc/nginx/nginx.conf
...............
    upstream active {		#定义动态网站池
        server 192.168.92.129;
        server 192.168.92.132;
    }

    upstream static {		#定义静态网站池
        server 192.168.92.129:82;
        server 192.168.92.132:82;
    }

    server {
        listen       80;

        include /etc/nginx/default.d/*.conf;

        location ~ \.php$ {			#反代动态网站
            proxy_pass http://active;
        }

        location ~ .*\.(html|jpg|ico|txt|png|css|svg|js)$ {		#反代静态网站
            proxy_pass http://static;
        }
.................
[root@LB ~]# systemctl restart nginx.service
测试负载均衡与动静分离
先测试静态网站的负载均衡
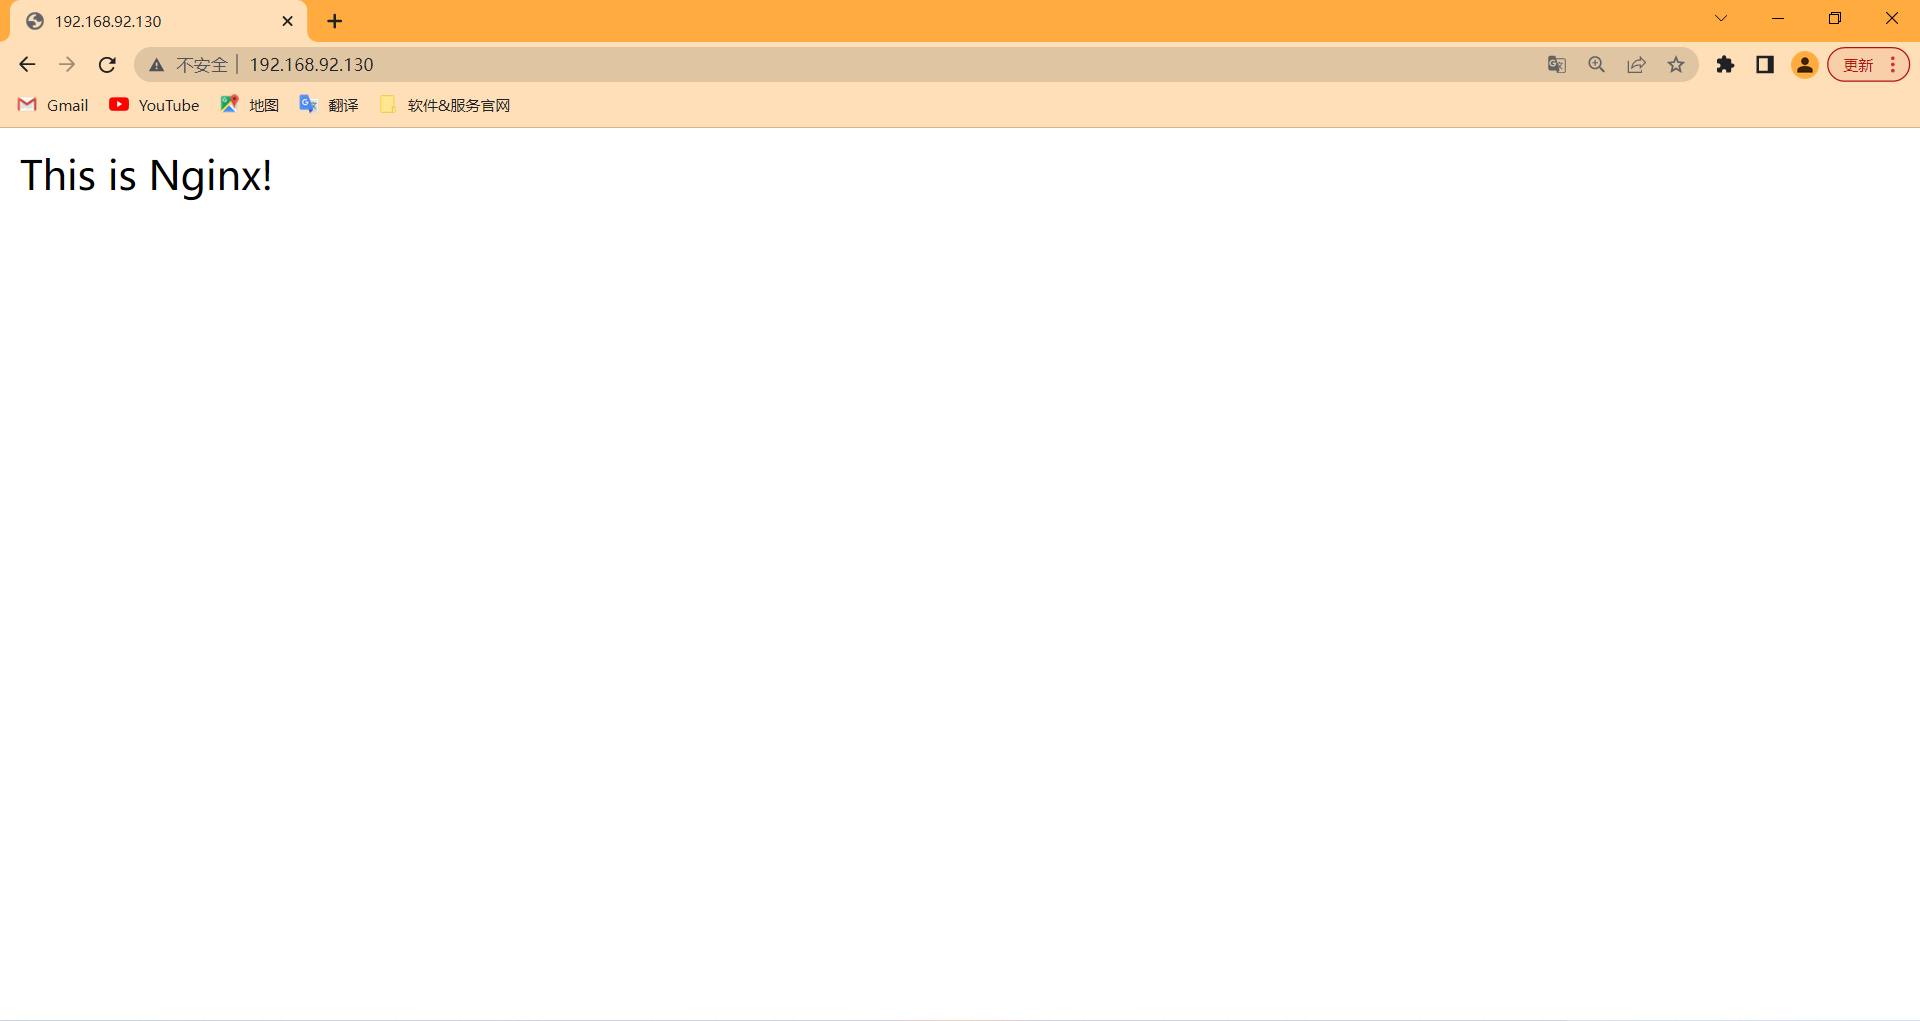
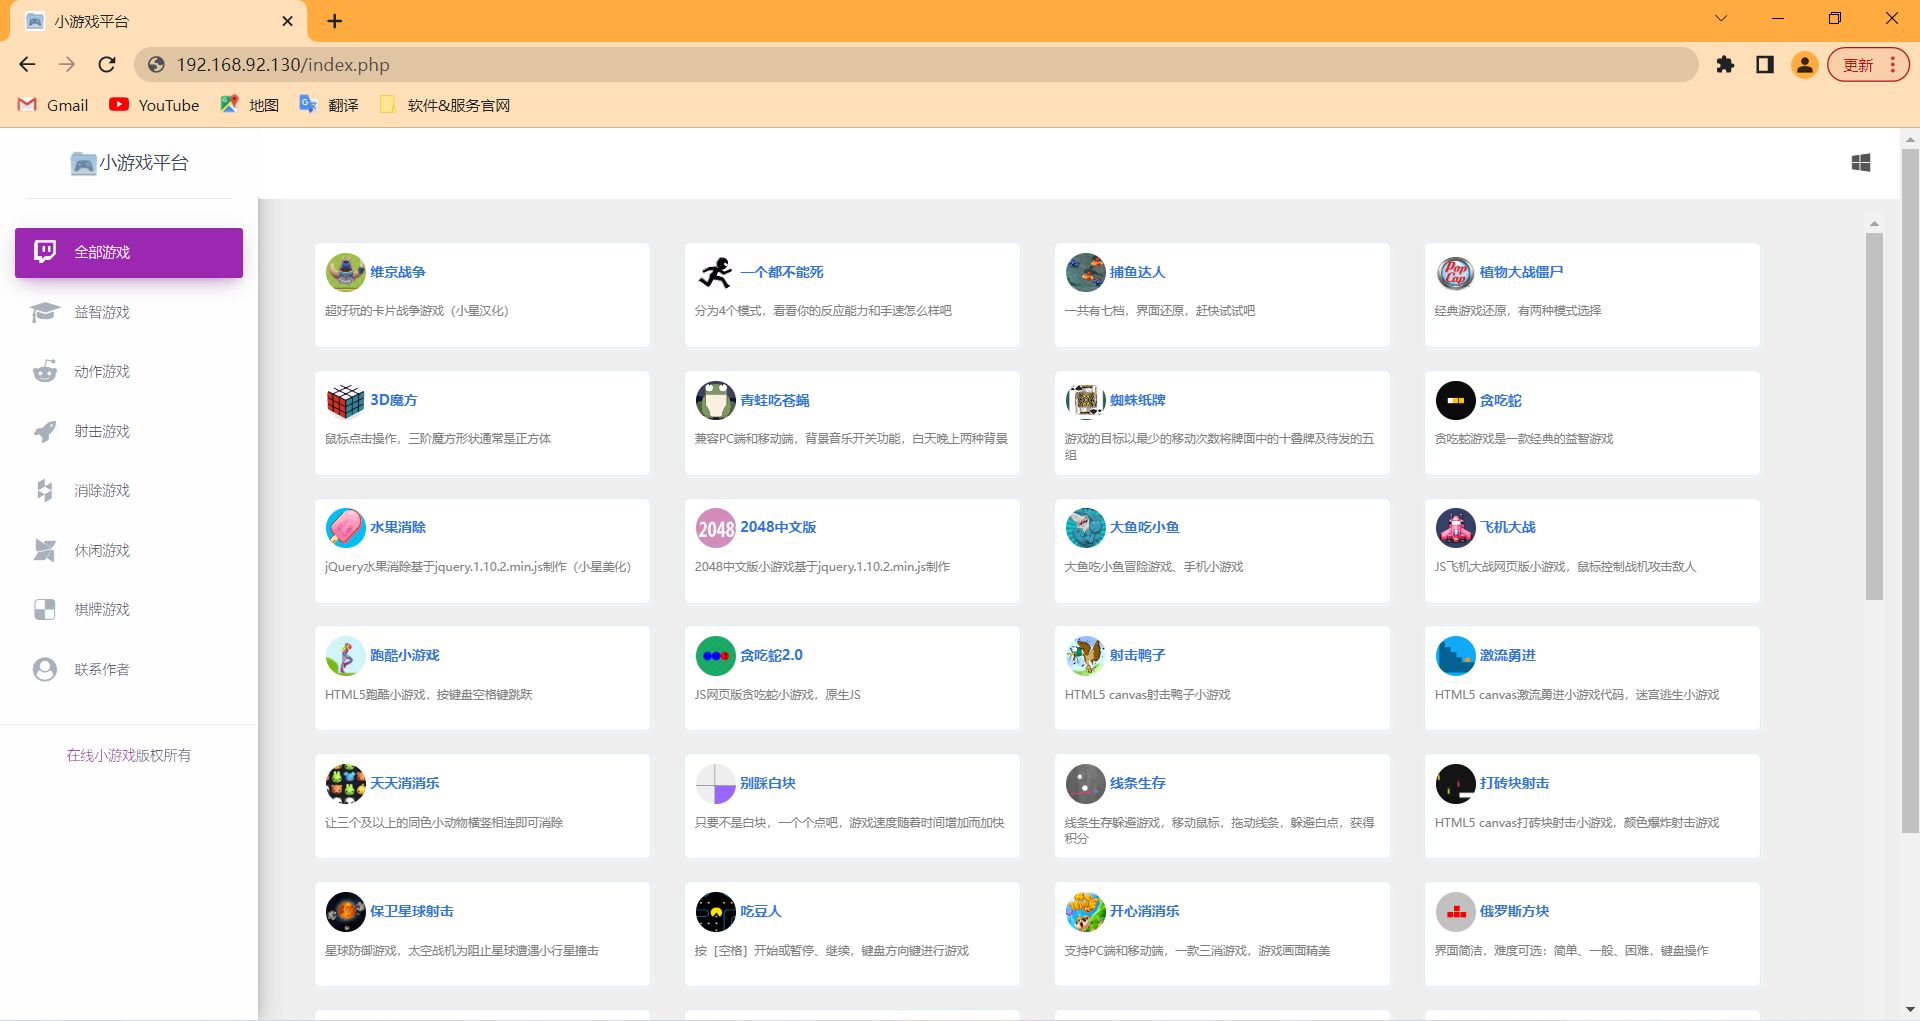
测试动态网站负载均衡,可以看到加个index.php的URI就访问到了动态网站,实现了动态分离,为区分开两个动态网站,我在其中一个安装了游戏网站