SpringBoot+Vue开发记录(六)-- 后端配置mybatis
原型图什么的就先不管,后面再写。
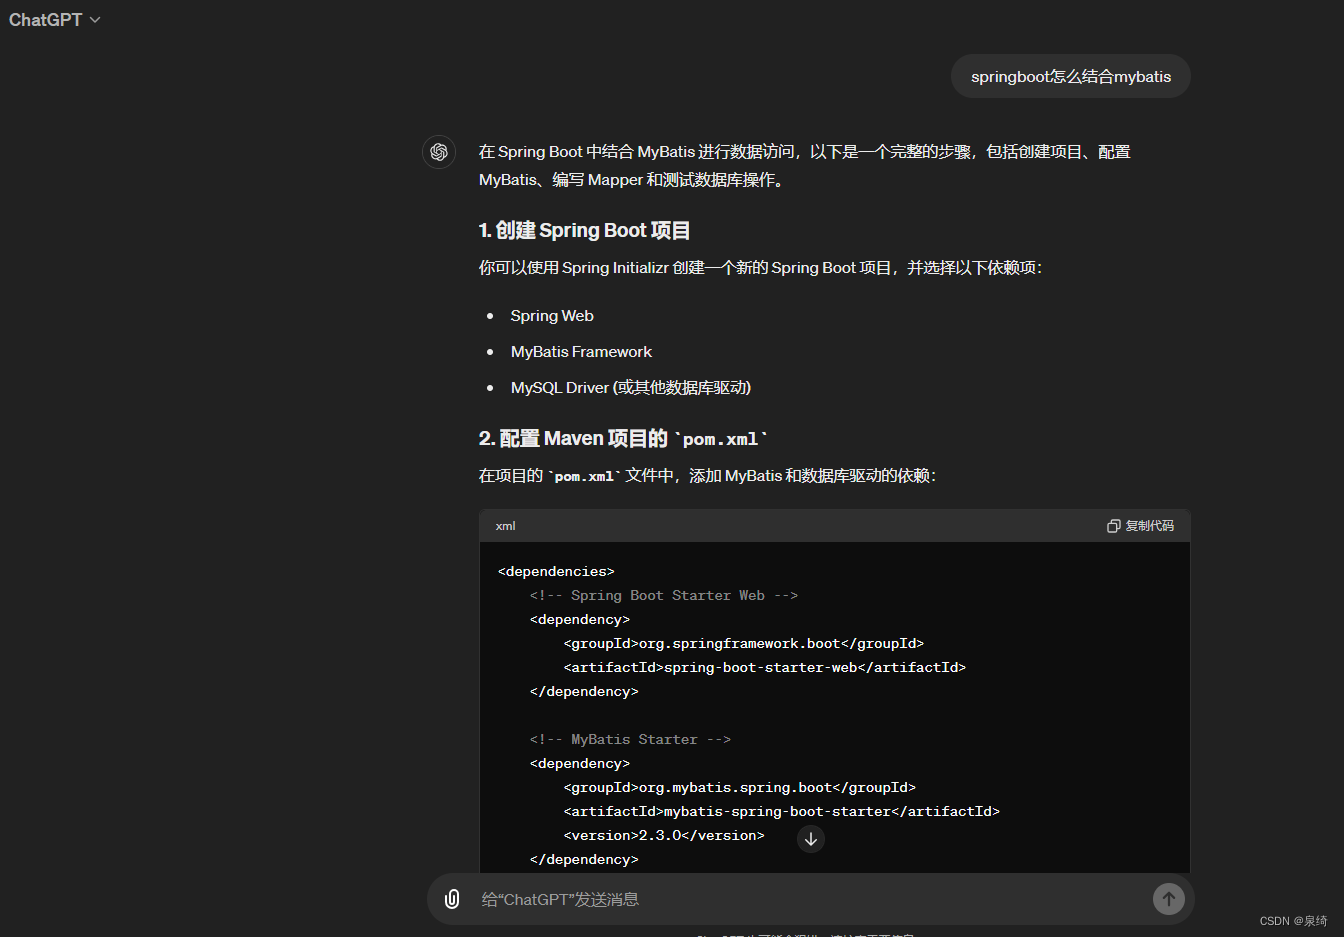
本篇文章的主要内容就是springboot通过mybatis操作数据库实现增删改查。
重点是mybatis配置与相关文件数据,以后开新项目忘记了怎么配置的话可以再照着这个搞。
这算是最基础的部分了吧。
文章目录
- 一,配置pom.xml文件
- 二、配置application.yml文件
- 三、新建对应的包
- 1. 在自己的项目里新建如上的包和目录
- 2. 后端与数据库产生连接
- 后端操作数据库功能实现
- 四、 使用Postman测试接口
- 五、 结语
一,配置pom.xml文件
先就要往pom.xml文件里添加配置。
好像这个东西是maven里面的,等我待我背背八股再解释这些。
<!-- MyBatis Starter --><dependency><groupId>org.mybatis.spring.boot</groupId><artifactId>mybatis-spring-boot-starter</artifactId><version>2.3.0</version></dependency><!-- MySQL Driver --><dependency><groupId>mysql</groupId><artifactId>mysql-connector-java</artifactId><scope>runtime</scope></dependency>
先说一下,我还不确定这个对不对,等一会儿看看能不能跑通项目。
你问我这个从哪里来的?
如下:(失败了
应该复制粘贴这些:
	<!-- https://mvnrepository.com/artifact/org.springframework.boot/spring-boot-starter-jdbc --><dependency><groupId>org.springframework.boot</groupId><artifactId>spring-boot-starter-jdbc</artifactId><version>3.2.5</version></dependency><!-- https://mvnrepository.com/artifact/org.projectlombok/lombok --><dependency><groupId>org.projectlombok</groupId><artifactId>lombok</artifactId><version>1.18.32</version><scope>provided</scope></dependency><!-- https://mvnrepository.com/artifact/com.mysql/mysql-connector-j --><dependency><groupId>com.mysql</groupId><artifactId>mysql-connector-j</artifactId><version>8.3.0</version></dependency><!-- https://mvnrepository.com/artifact/org.mybatis.spring.boot/mybatis-spring-boot-starter --><dependency><groupId>org.mybatis.spring.boot</groupId><artifactId>mybatis-spring-boot-starter</artifactId><version>2.3.0</version></dependency><dependency><groupId>org.mybatis</groupId><artifactId>mybatis-spring</artifactId><version>3.0.3</version></dependency><!-- https://mvnrepository.com/artifact/org.mybatis.generator/mybatis-generator-core --><dependency><groupId>org.mybatis.generator</groupId><artifactId>mybatis-generator-core</artifactId><version>1.3.7</version></dependency><dependency><groupId>org.junit.jupiter</groupId><artifactId>junit-jupiter</artifactId><version>RELEASE</version><scope>test</scope></dependency><!--        <dependency>-->
<!--            <groupId>org.springframework.boot</groupId>-->
<!--            <artifactId>spring-boot-starter-security</artifactId>-->
<!--            <version>3.2.4</version>-->
<!--        </dependency>--><dependency><groupId>junit</groupId><artifactId>junit</artifactId><scope>test</scope></dependency>
二、配置application.yml文件
这个文件的作用大概就是springboot项目的全局配置吧。
application.yaml
server:port: 9527spring:datasource:url: jdbc:mysql://localhost:3300/questionDataBase?serverTimezone=UTC&useUnicode=true&characterEncoding=utf8&useSSL=falseusername: rootpassword: 123456driver-class-name: com.mysql.cj.jdbc.Driver
三、新建对应的包
我们的项目结构如下:
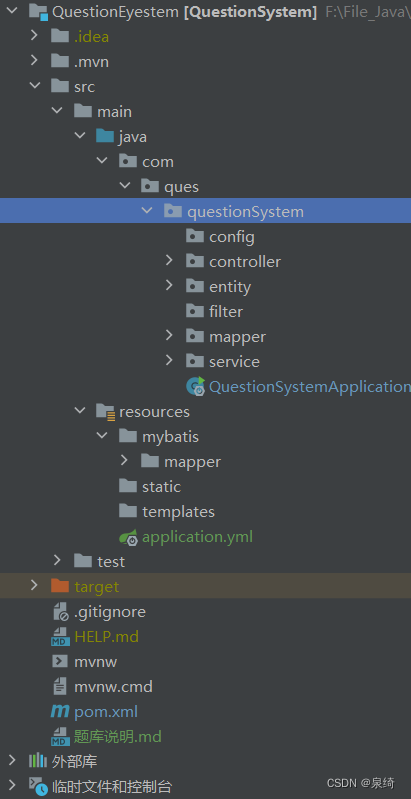
1. 在自己的项目里新建如上的包和目录
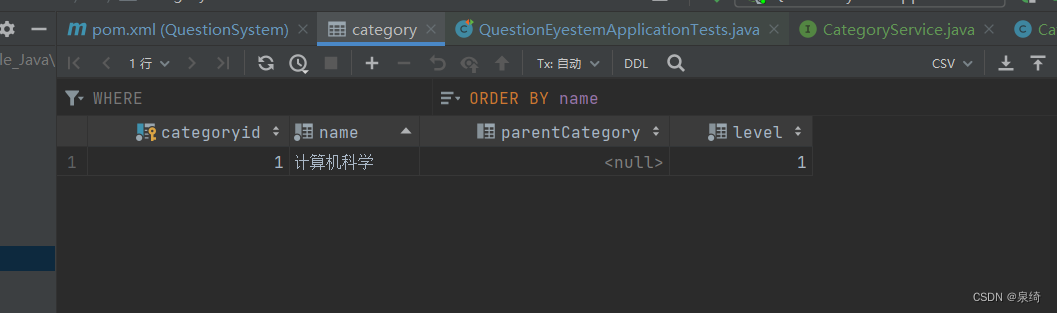
当包都建好后,就可以开始弄了,我们以Category表为例展示
2. 后端与数据库产生连接
- 新建Caregory类
这个类要求里面的属性与表中一致
package com.ques.questionSystem.entity;import lombok.*;
//由于我们已经引入了lombok包,所以我们就不用再写那些繁杂的get,set函数了。
//直接使用以下注解即可
@Getter
@Setter
@NoArgsConstructor
@AllArgsConstructor
@ToString
public class Category {private Integer categoryid;private String name;private Integer parentCategory;private Integer level;
}
- 新建CaregoryMapper接口和CaregoryMapper.xml
这个Mapper接口将会和CaregoryMapper.xml的内容关联
CaregoryMapper类:
package com.ques.questionSystem.mapper;import com.ques.questionSystem.entity.Category;
import org.apache.ibatis.annotations.Mapper;import java.util.List;@Mapper
public interface CategoryMapper {List<Category> findAll();int insert(Category category);int delete(Integer id);Category getCategoryById(Integer id);
}
CaregoryMapper.xml
xml文件主要就用来往里面塞sql语句了。
<?xml version="1.0" encoding="UTF-8"?>
<!DOCTYPE mapper PUBLIC "-//mybatis.org//DTD Mapper 3.0//EN""http://mybatis.org/dtd/mybatis-3-mapper.dtd">
<!-- 首先这个namespace 的内容就是对应Mapper接口 ,我们得输入正确的位置才可-->
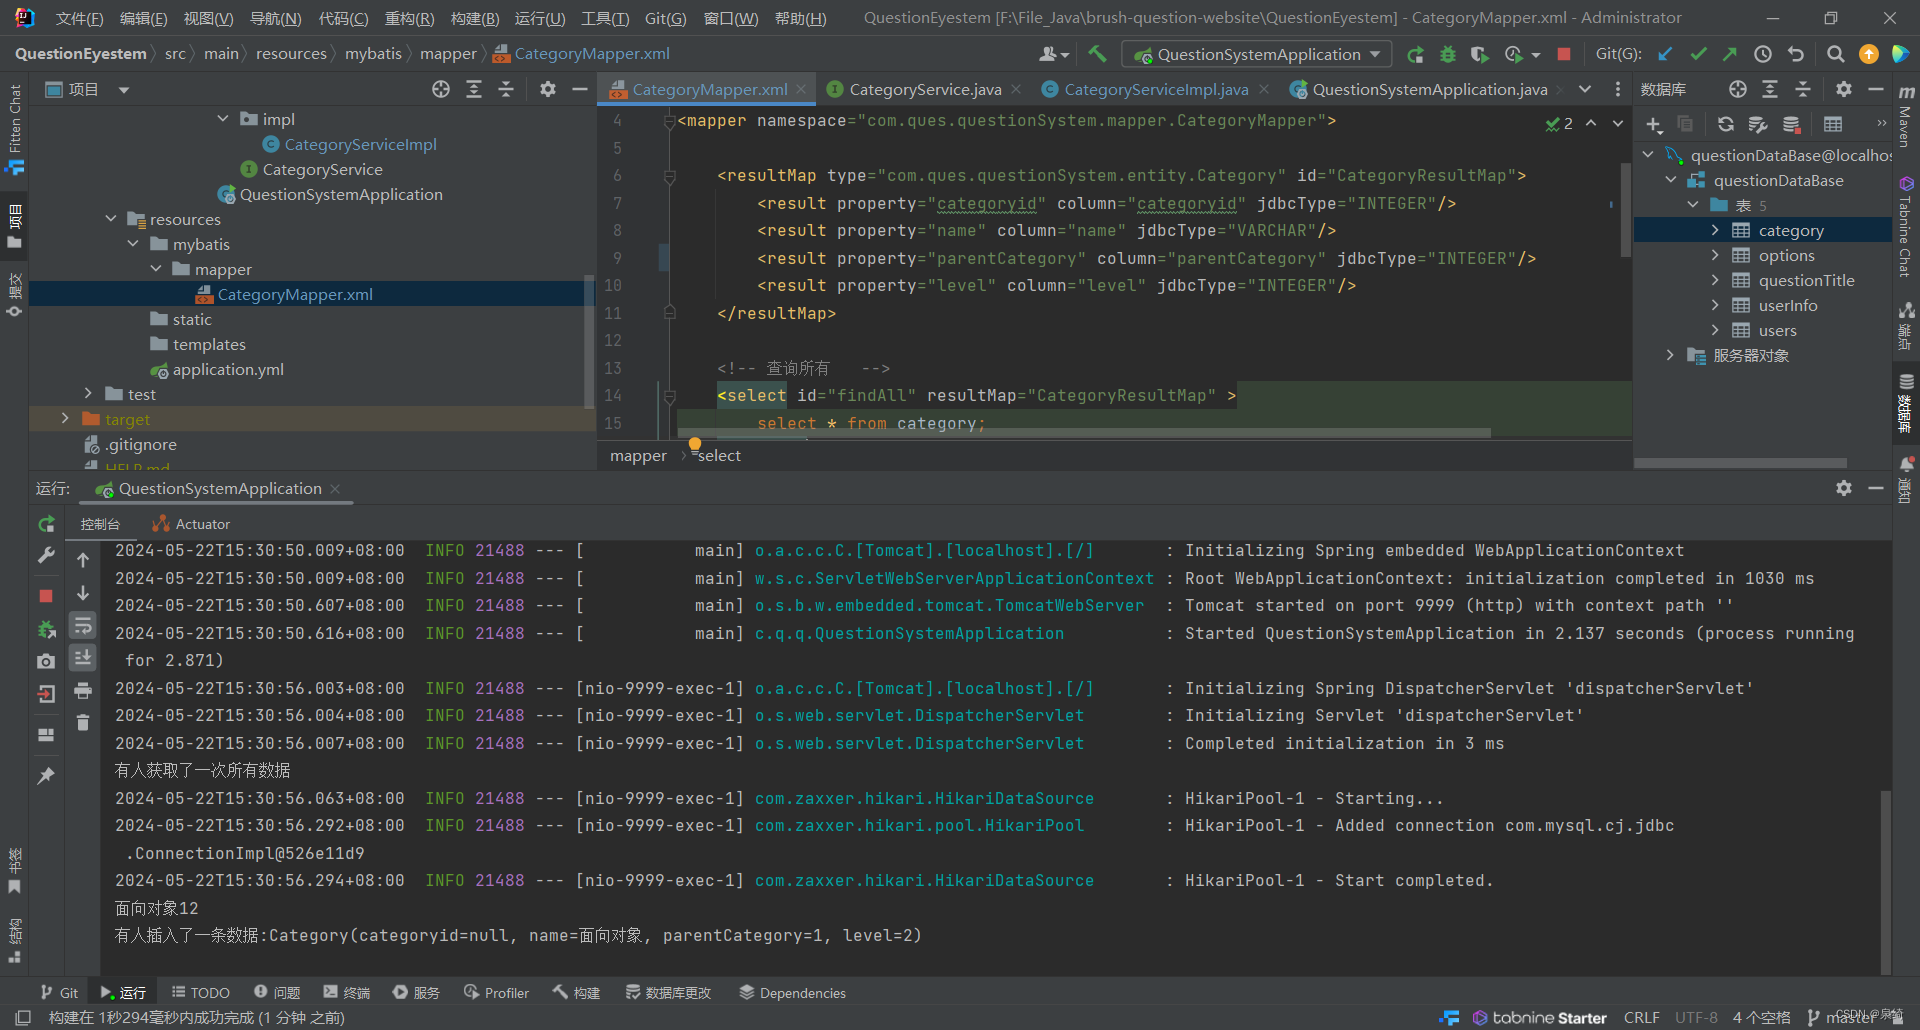
<mapper namespace="com.ques.questionSystem.mapper.CategoryMapper"><!-- 接下来的这个resultMap 是我们自定义一个输出类型,一个xml文件里可以写多个,这个在后面的使用中会有显示 --><resultMap type="com.ques.questionSystem.entity.Category" id="CategoryResultMap"><result property="categoryid" column="categoryid" jdbcType="INTEGER"/><result property="name" column="name" jdbcType="VARCHAR"/><result property="parentCategory" column="parentCategory" jdbcType="INTEGER"/><result property="level" column="level" jdbcType="INTEGER"/></resultMap><!-- 查询所有 --><!-- 这里就是sql语句了, id里面的内容填对应接口的函数名, resultMap则是我们上面写好了的一种输出 --><select id="findAll" resultMap="CategoryResultMap" >select * from category;</select><insert id="insert" useGeneratedKeys="true" parameterType="com.ques.questionSystem.entity.Category">insert into category(name, parentCategory,level)VALUE (#{name},#{parentCategory},#{level});</insert><delete id="delete" parameterType="int">delete from category where categoryid = #{id};</delete><select id="getCategoryById" parameterType="int" resultMap="CategoryResultMap">select * from category where categoryid = #{id};</select></mapper>后端操作数据库功能实现
- 写对应的Service接口与实现类:
一般功能都是在Service层里定义实现的
CategoryService接口:

package com.ques.questionSystem.service;import com.ques.questionSystem.entity.Category;import java.util.List;
//接口嘛,定义个函数名,不用实现。
public interface CategoryService {public List<Category> findAll();public int insert(Category category);public int delete(Integer id);public Category getCategoryById(Integer id);
}
CategoryServiceImpl实现类:
package com.ques.questionSystem.service.impl;import com.ques.questionSystem.entity.Category;
import com.ques.questionSystem.mapper.CategoryMapper;
import com.ques.questionSystem.service.CategoryService;
import org.springframework.beans.factory.annotation.Autowired;
import org.springframework.stereotype.Service;import java.util.List;
@Service
public class CategoryServiceImpl implements CategoryService {@Autowiredprivate CategoryMapper categoryMapper;//自动注入一个Mapper,在接下来的函数中调用这个Mapper@Overridepublic List<Category> findAll() {return categoryMapper.findAll();}@Overridepublic int insert(Category category) {return categoryMapper.insert(category);}@Overridepublic int delete(Integer id) {return categoryMapper.delete(id);}@Overridepublic Category getCategoryById(Integer id) {return categoryMapper.getCategoryById(id);}
}
通过以上步骤,这个Service层就实现了。
- Controller层实现
在后端中Controller层的功能大概就是分配路由这些。
CategoryController类:
package com.ques.questionSystem.controller;import com.ques.questionSystem.entity.Category;
import com.ques.questionSystem.service.CategoryService;
import org.springframework.beans.factory.annotation.Autowired;
import org.springframework.web.bind.annotation.*;import java.util.List;@RestController
@RequestMapping("/category")
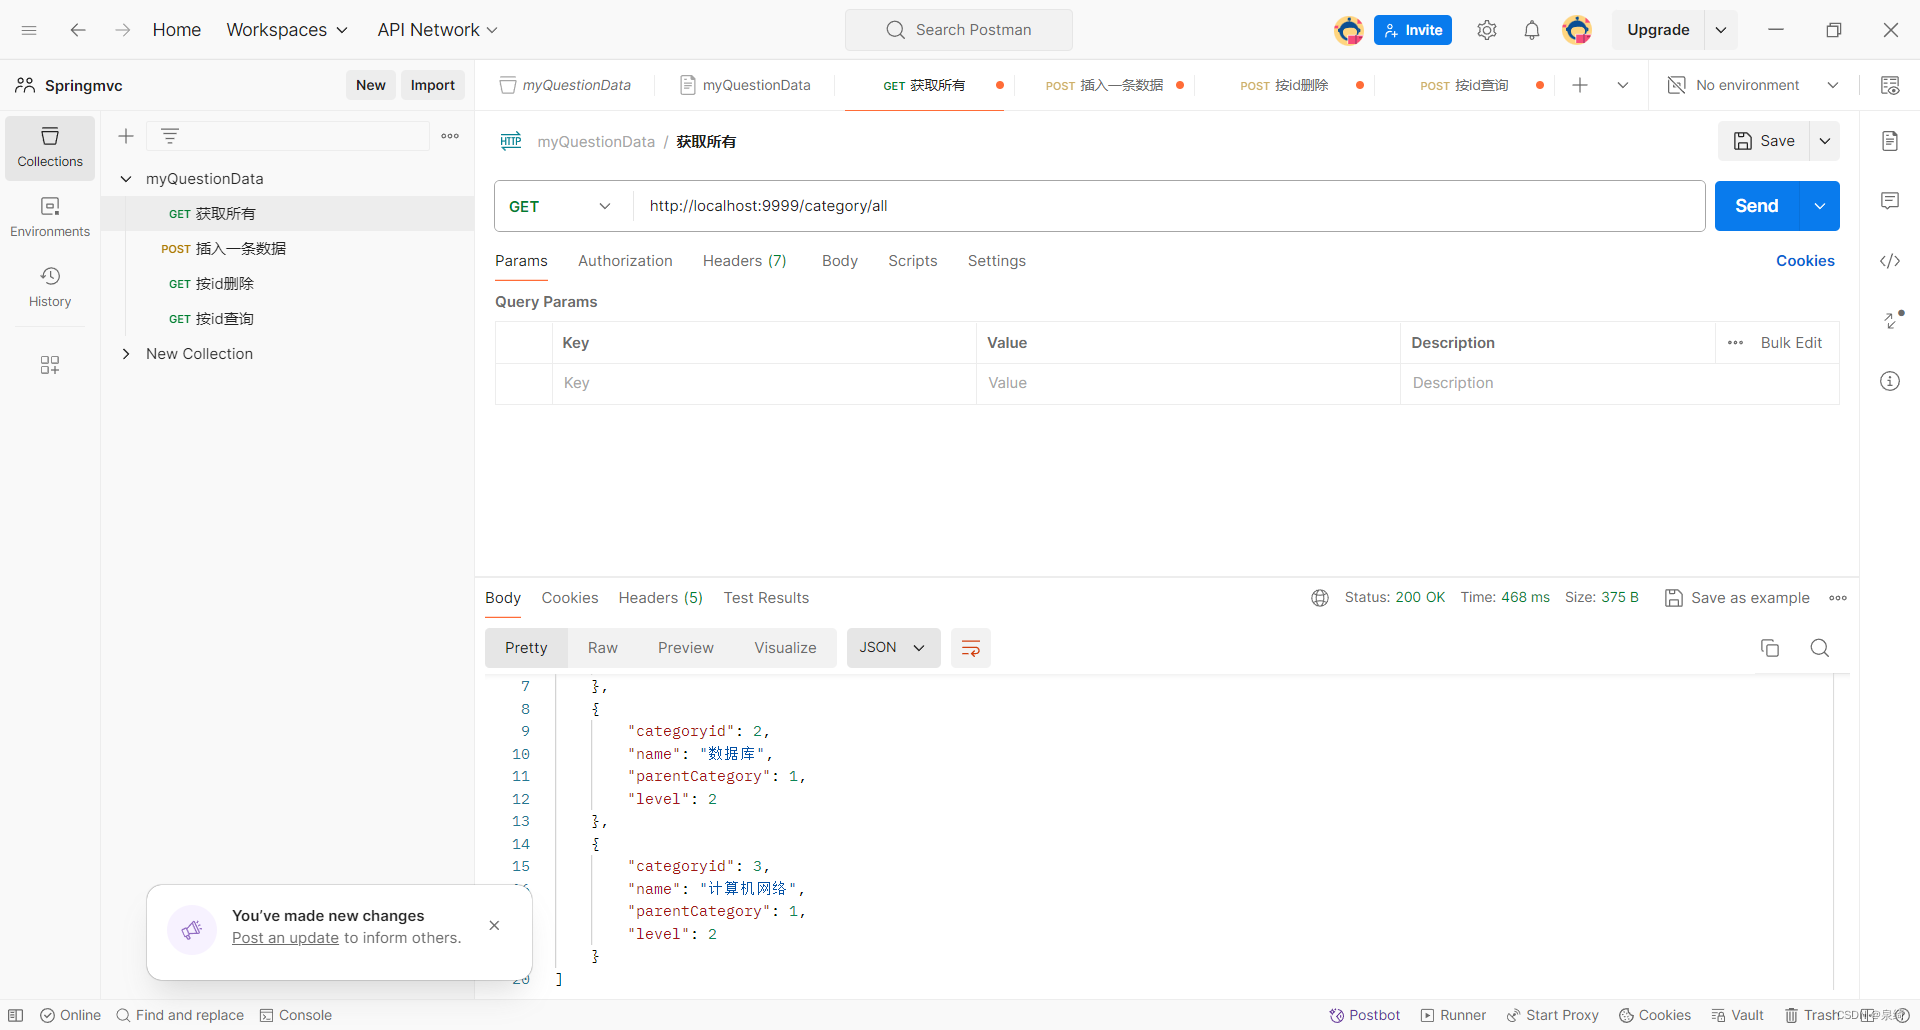
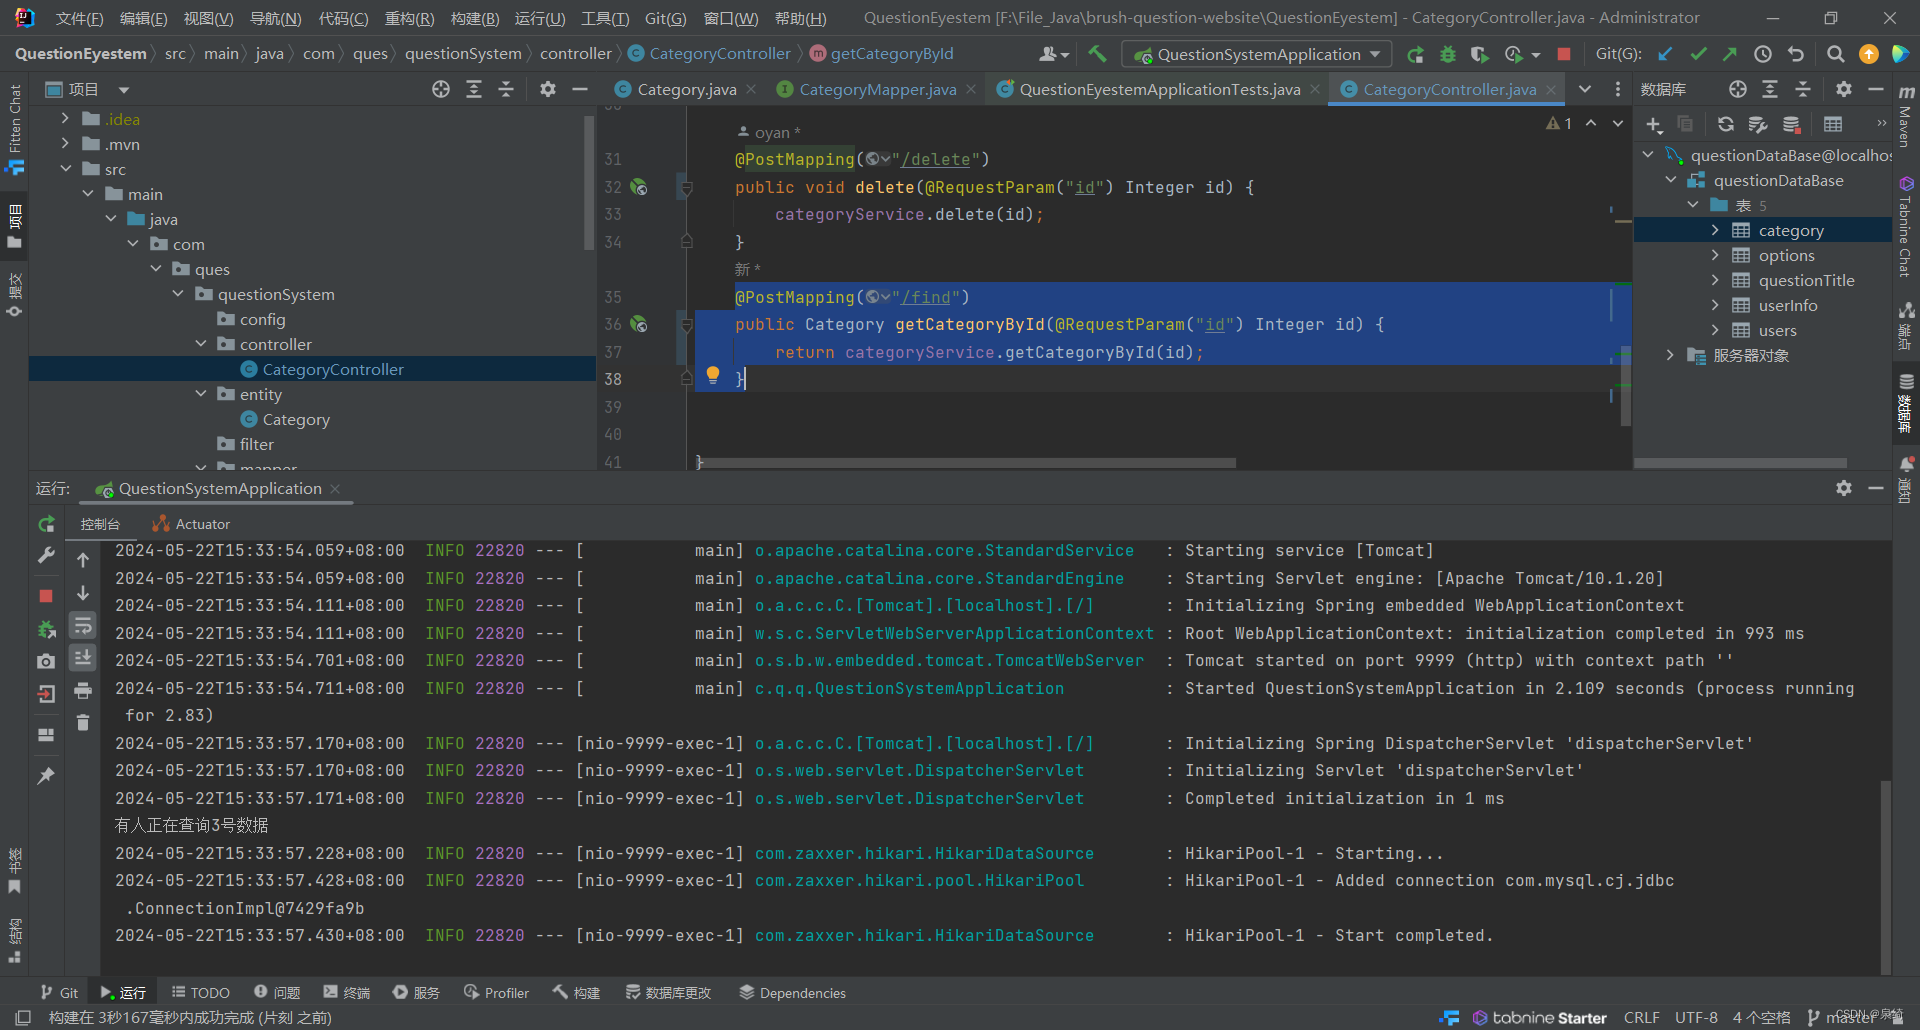
public class CategoryController {@Autowiredprivate CategoryService categoryService;@GetMapping("/all")public List<Category> findAll() {return categoryService.findAll();}@PostMapping("/input")public void insert(@RequestParam("name") String name, @RequestParam("parentCategory") Integer parentCategory, @RequestParam("level") Integer level) {System.out.println(name+parentCategory+level);Category category = new Category();category.setName(name);category.setParentCategory(parentCategory);category.setLevel(level);categoryService.insert(category);}@PostMapping("/delete")public void delete(@RequestParam("id") Integer id) {categoryService.delete(id);}@PostMapping("/find")public Category getCategoryById(@RequestParam("id") Integer id) {return categoryService.getCategoryById(id);}
}四、 使用Postman测试接口
-
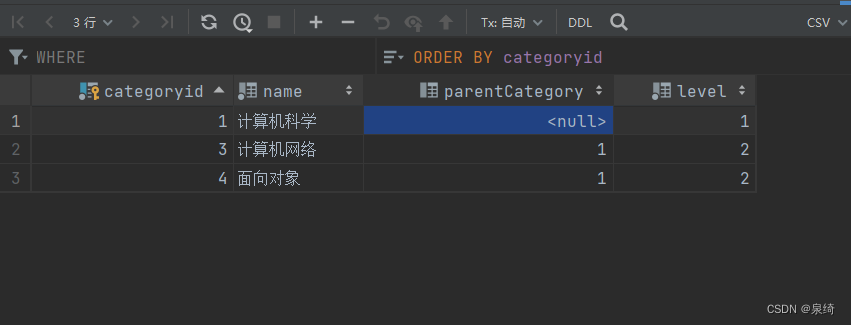
测试findAll:
-
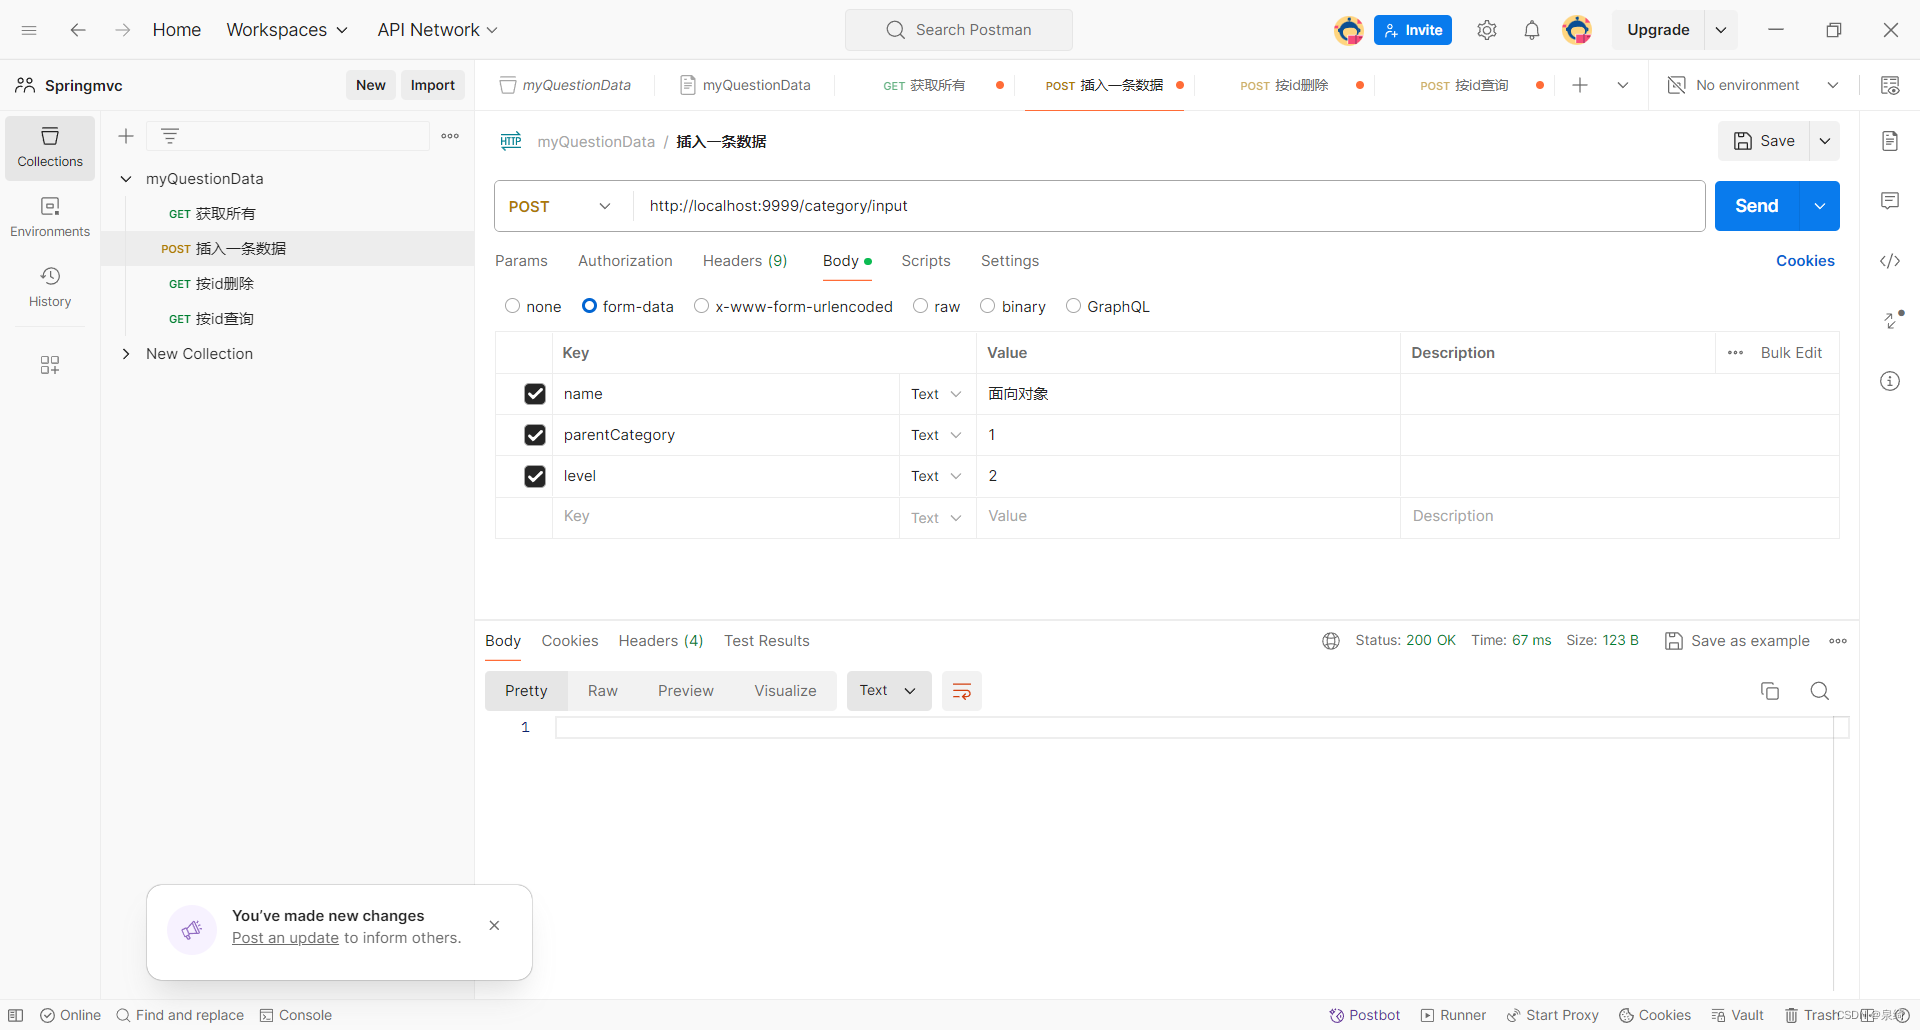
测试insert:
-
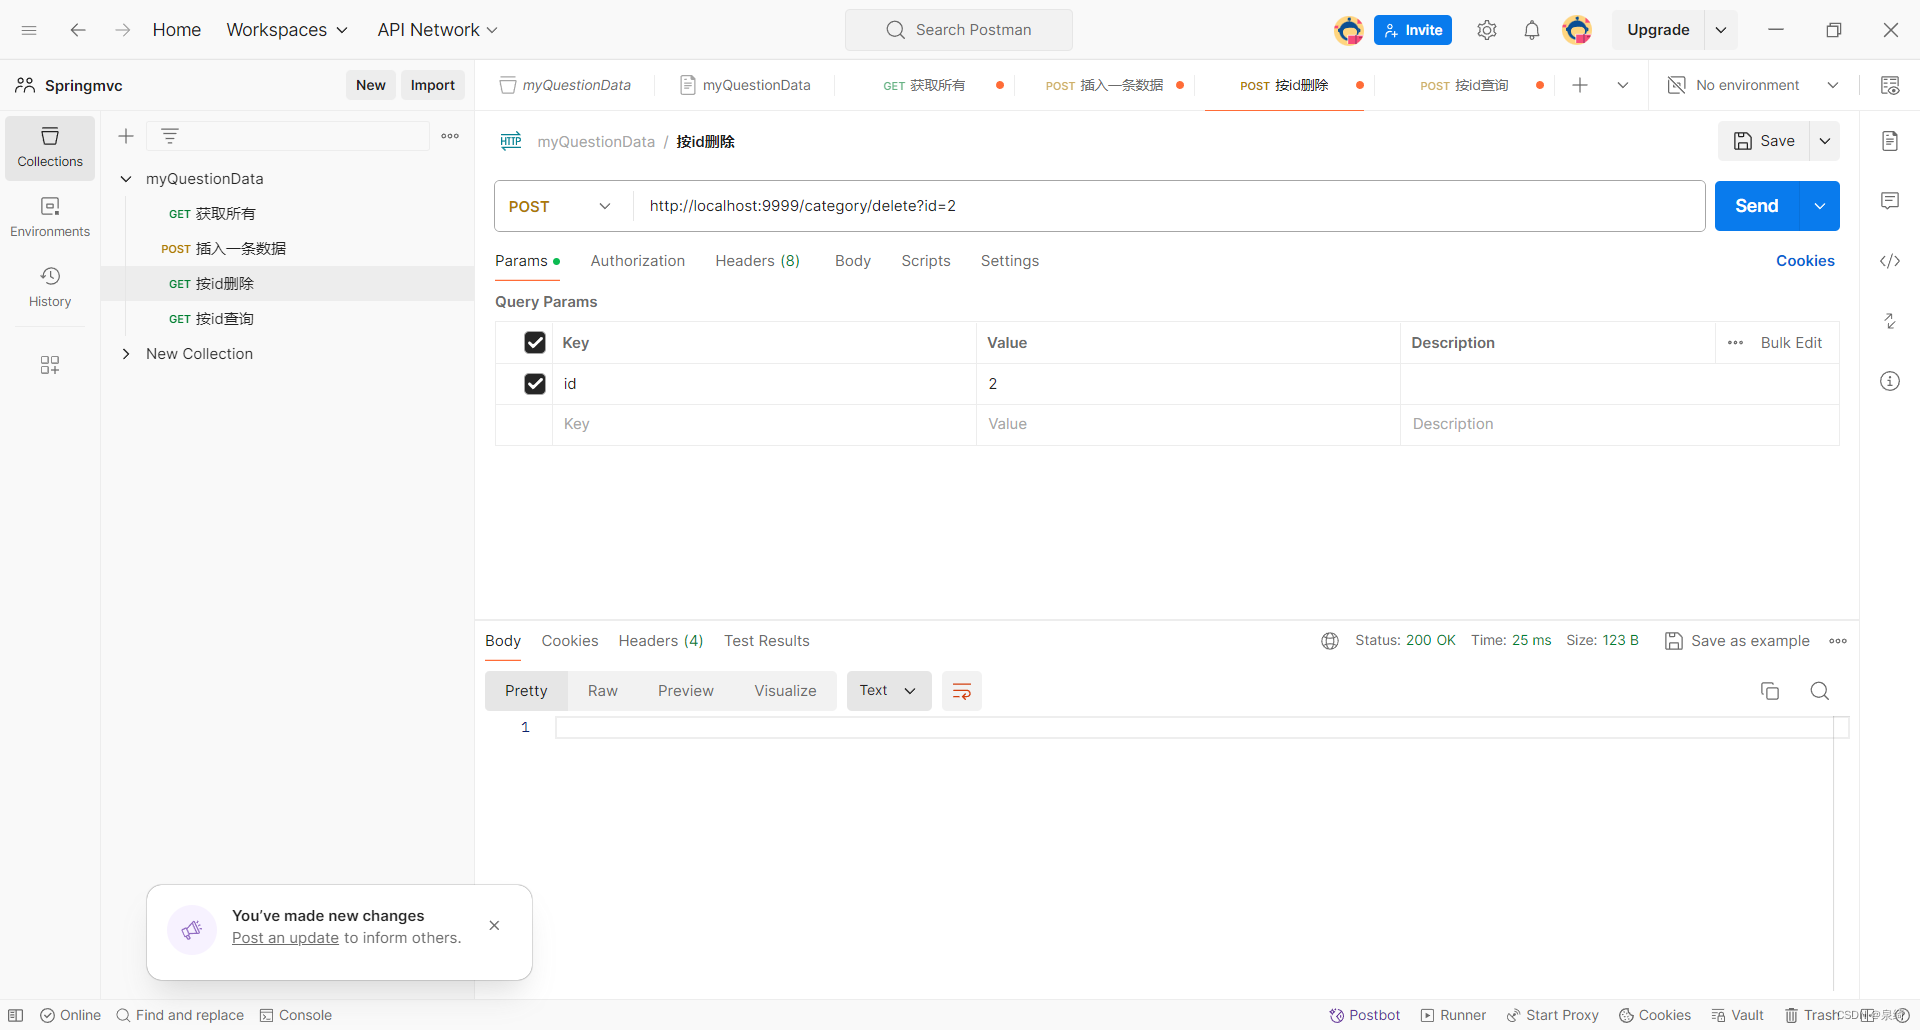
测试delete:

-
测试getCategoryById:
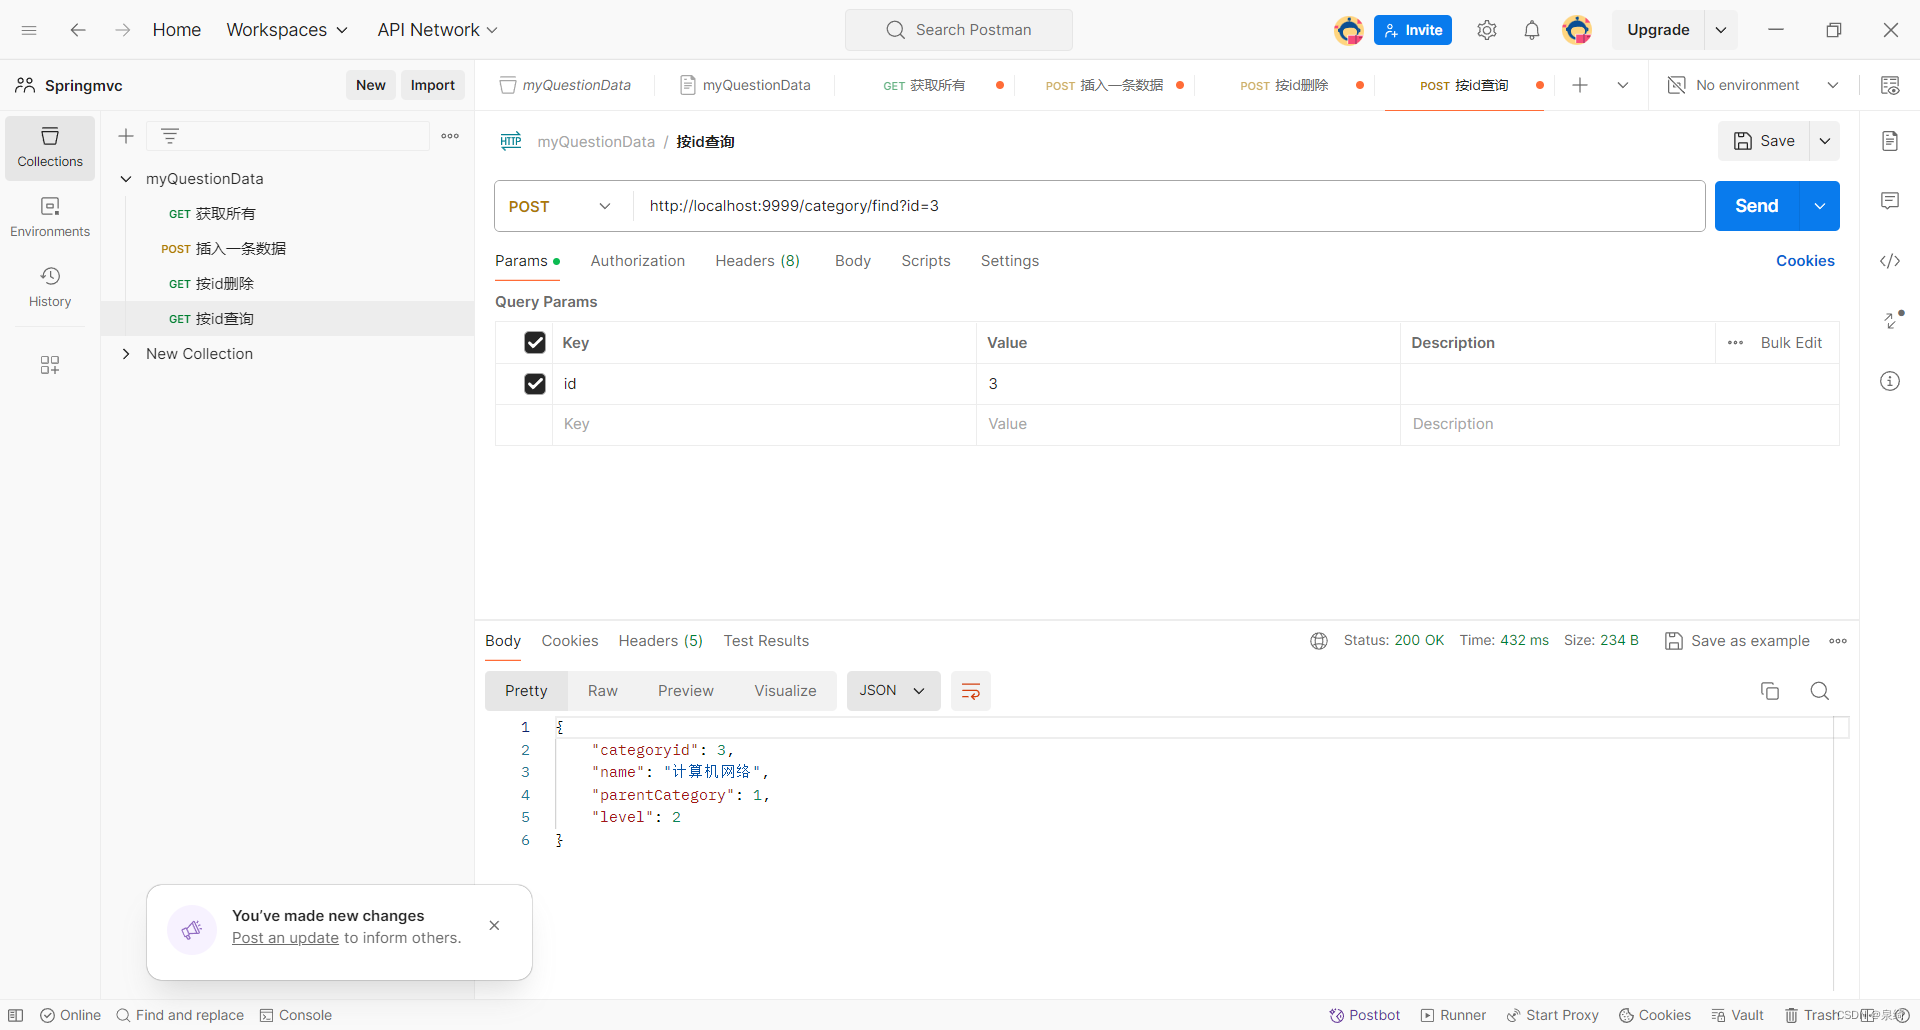
完成
五、 结语
看着简单做着就出现了很多问题。
这篇文章是完全版,照着上面来倒不会有什么错。
至此,后端操作数据库就完成了,就是这样。接下来就是其他的扩展。